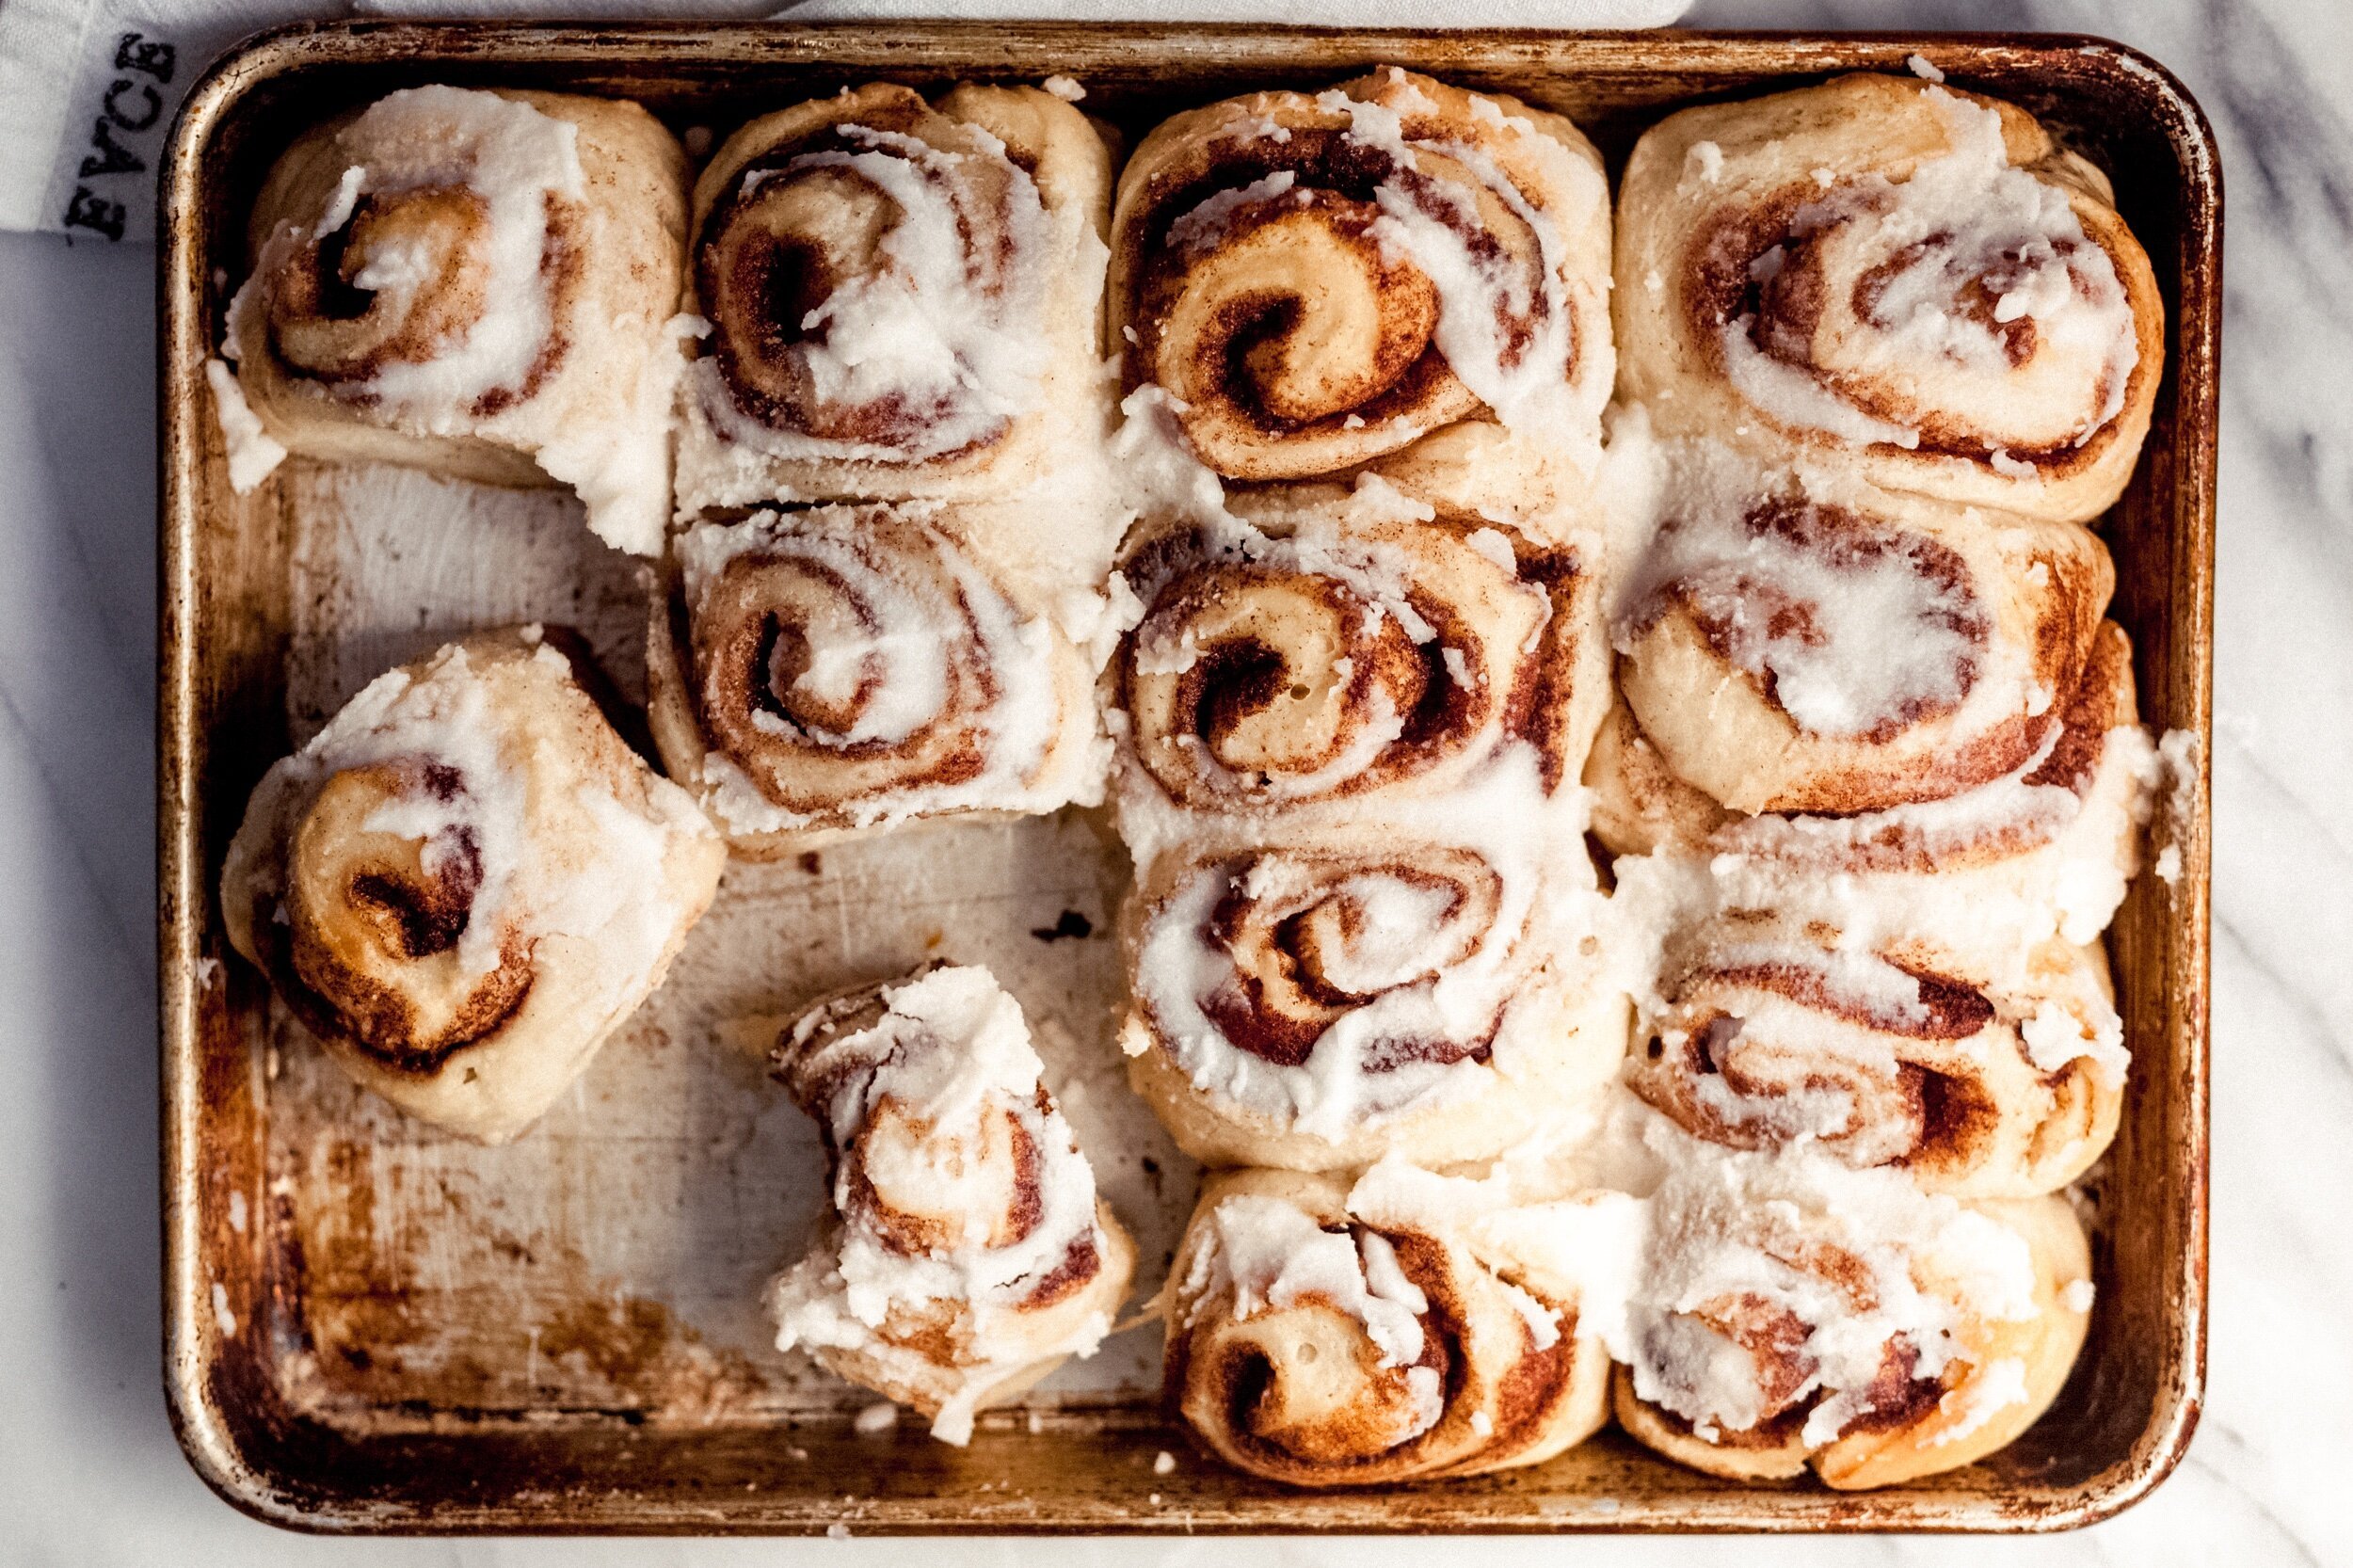
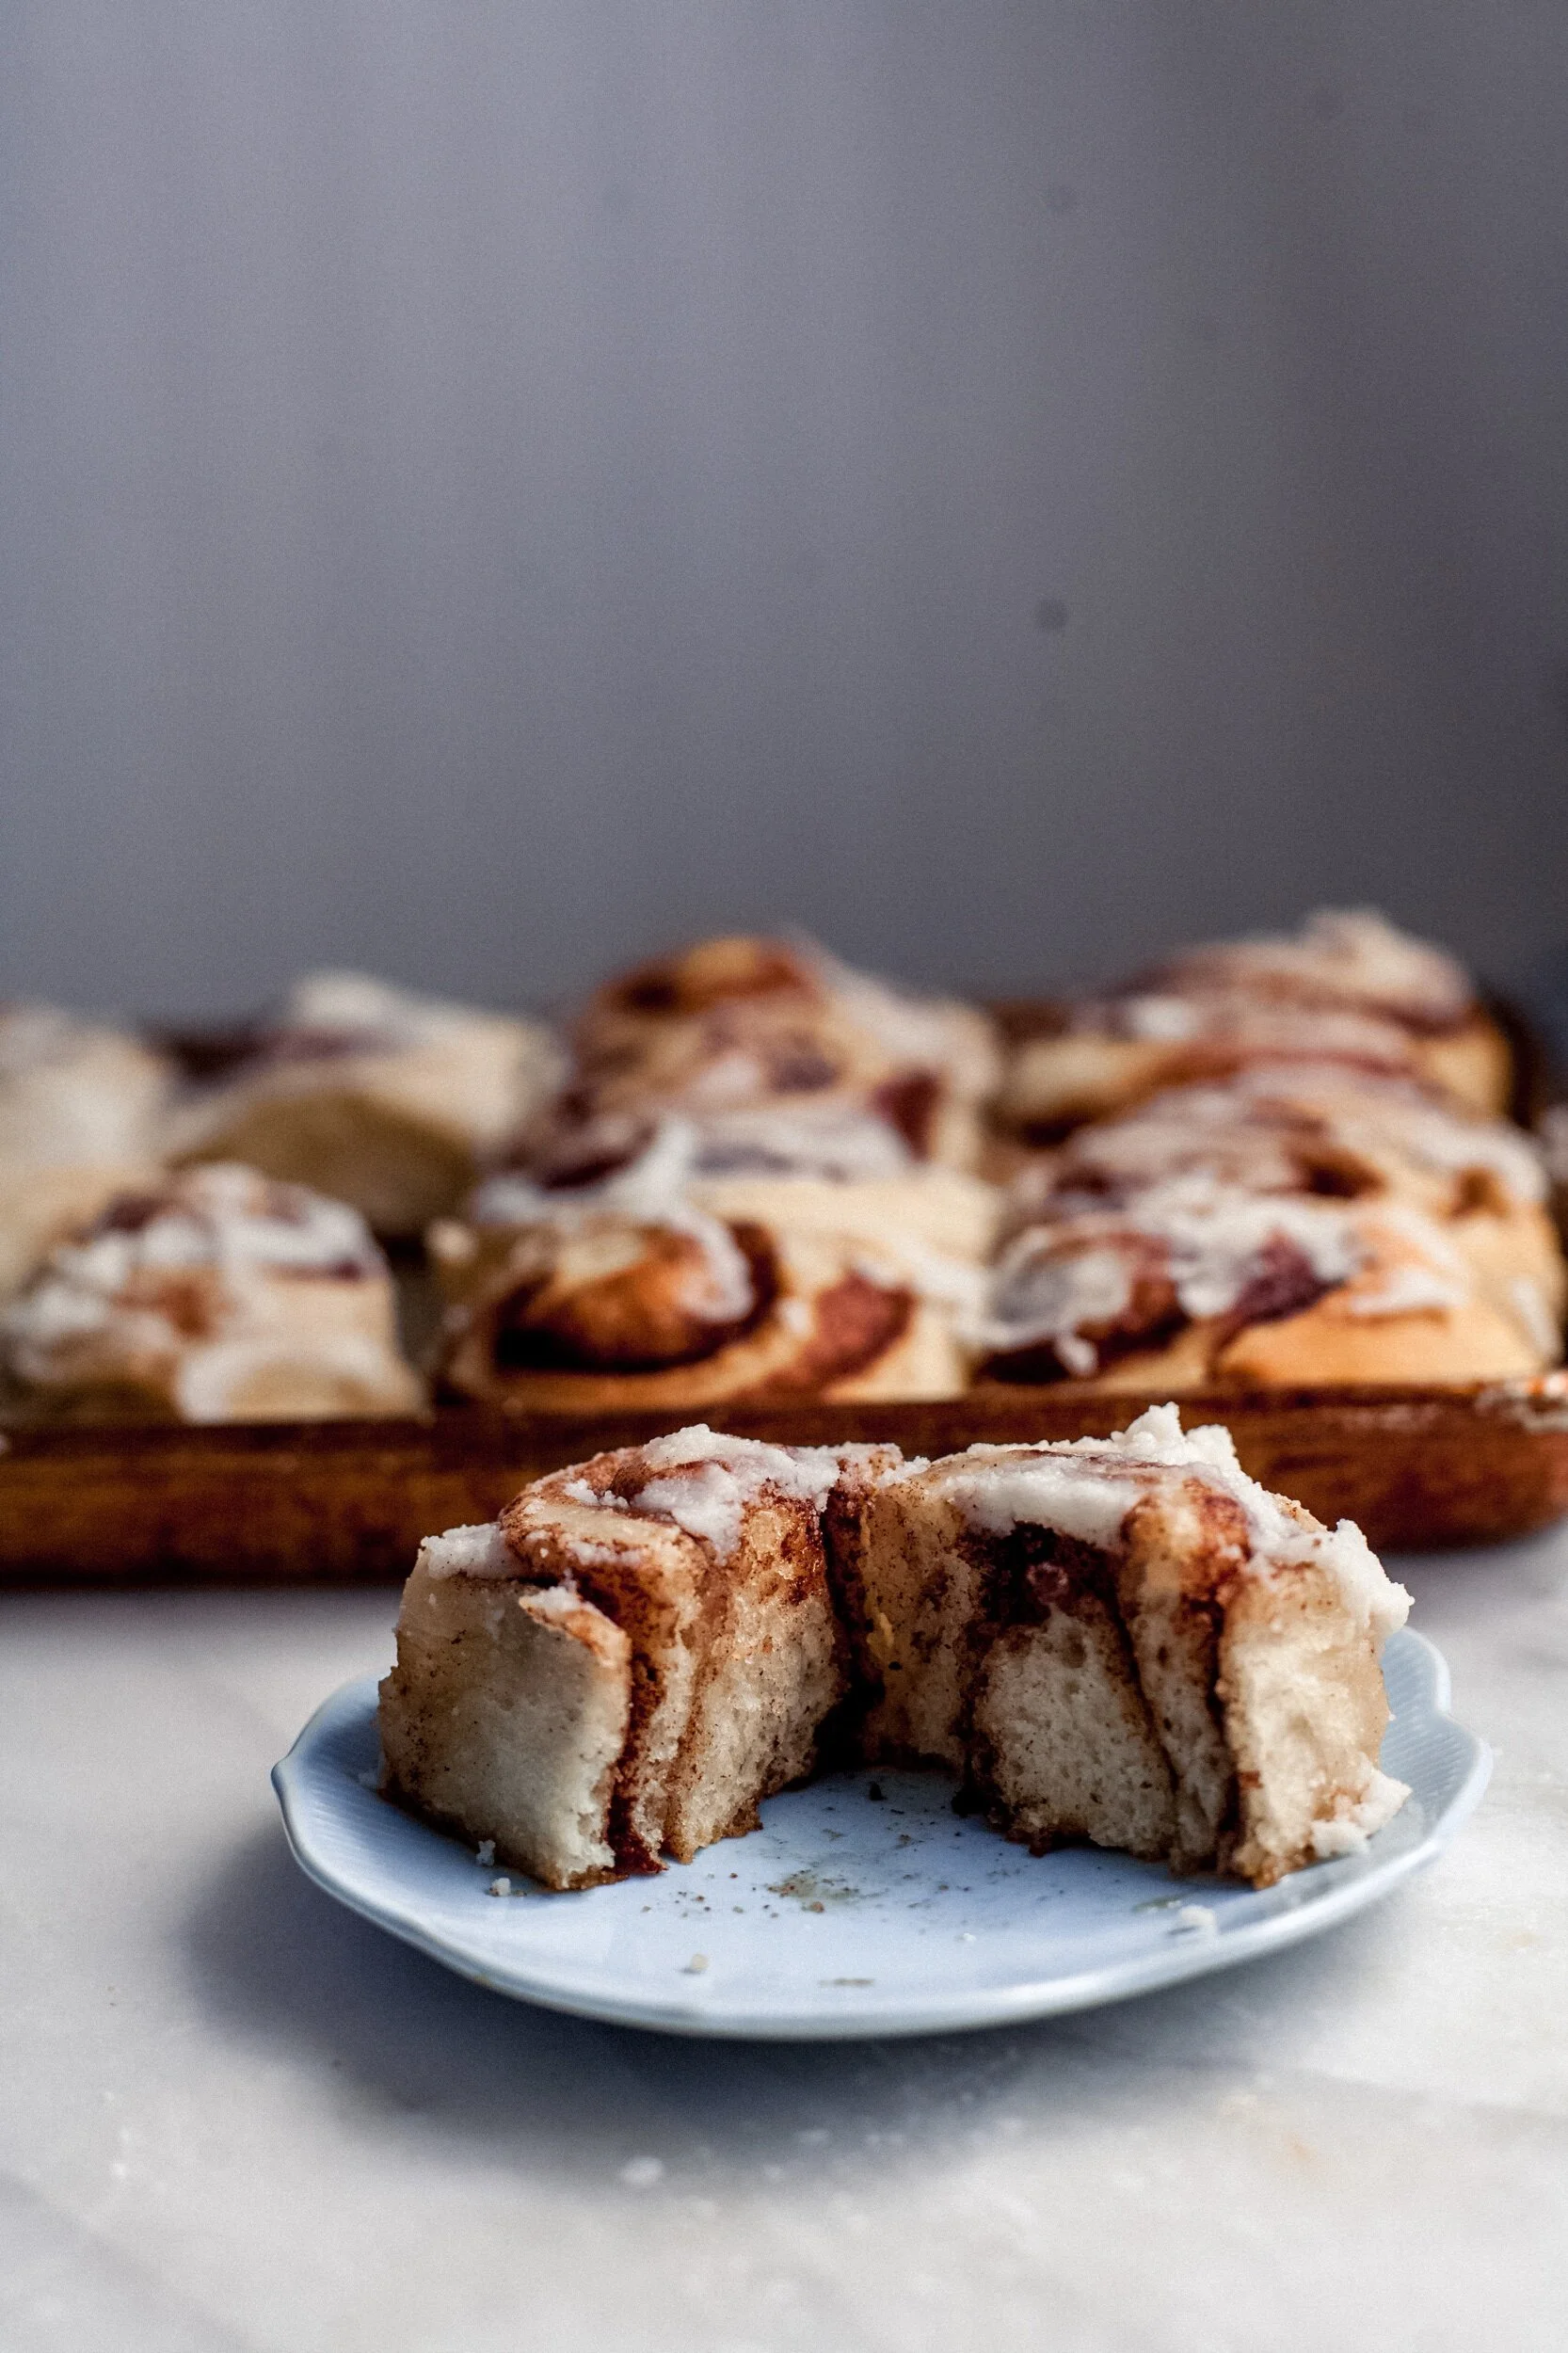
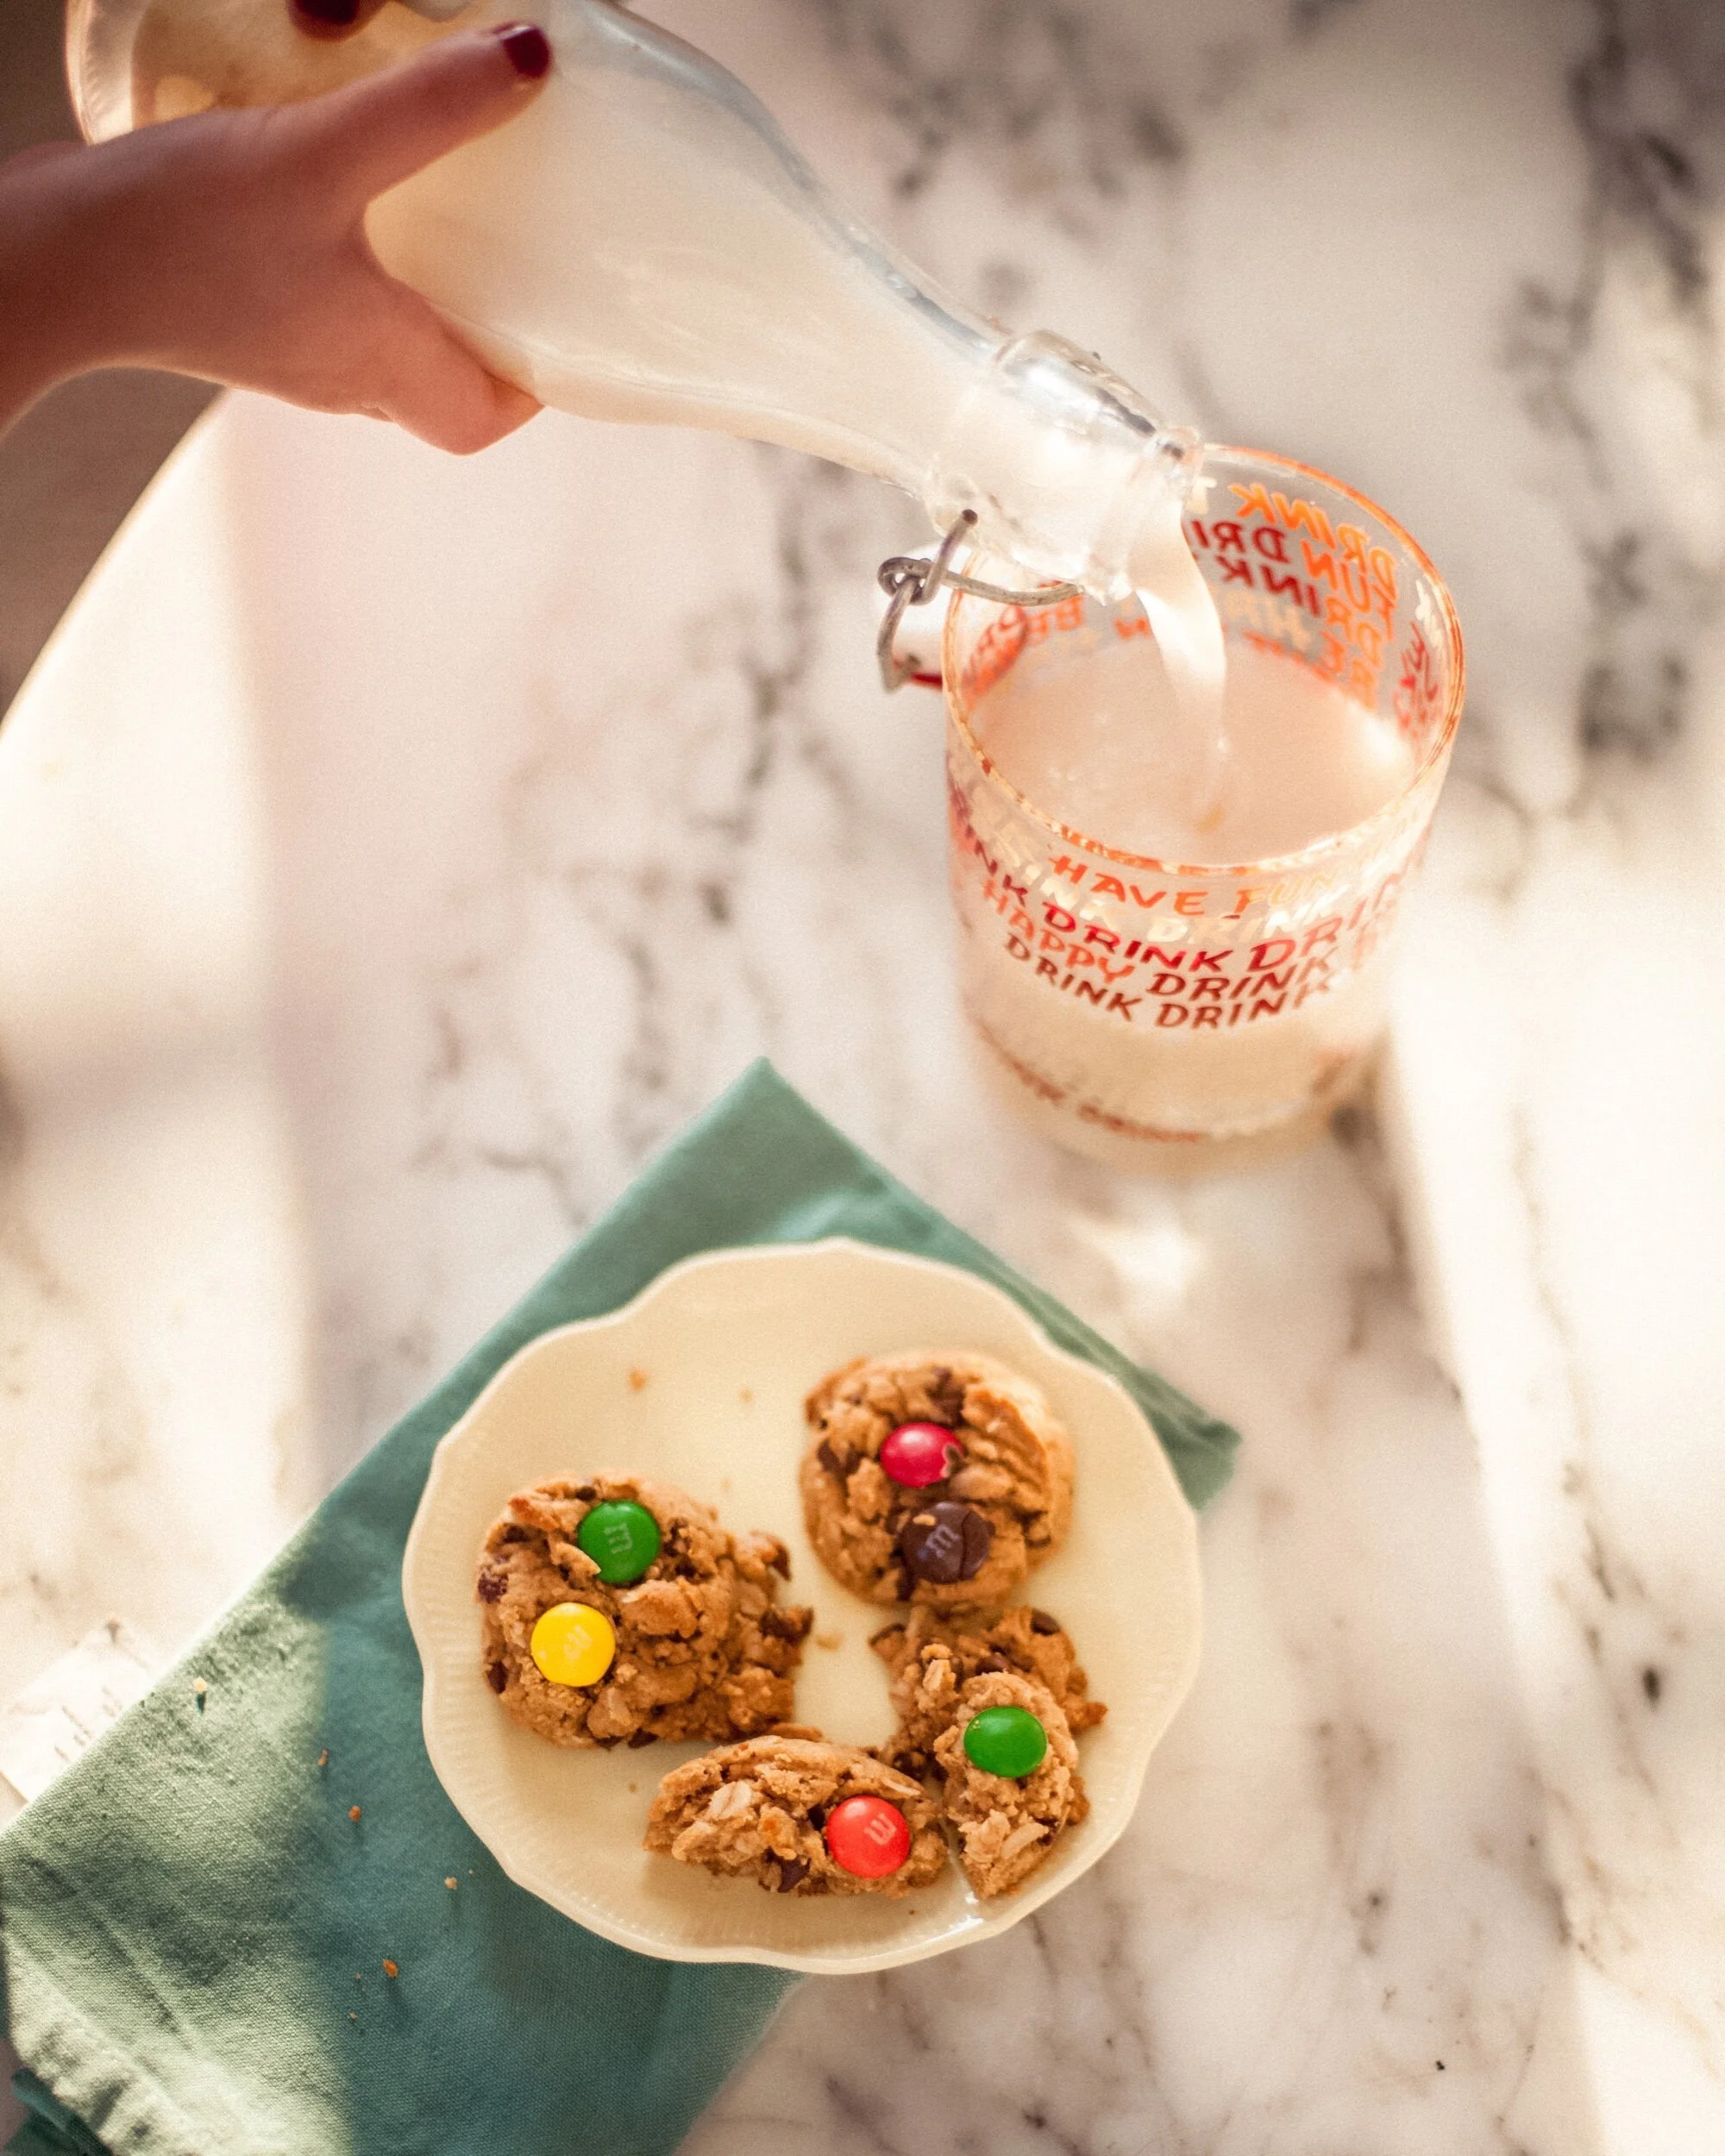
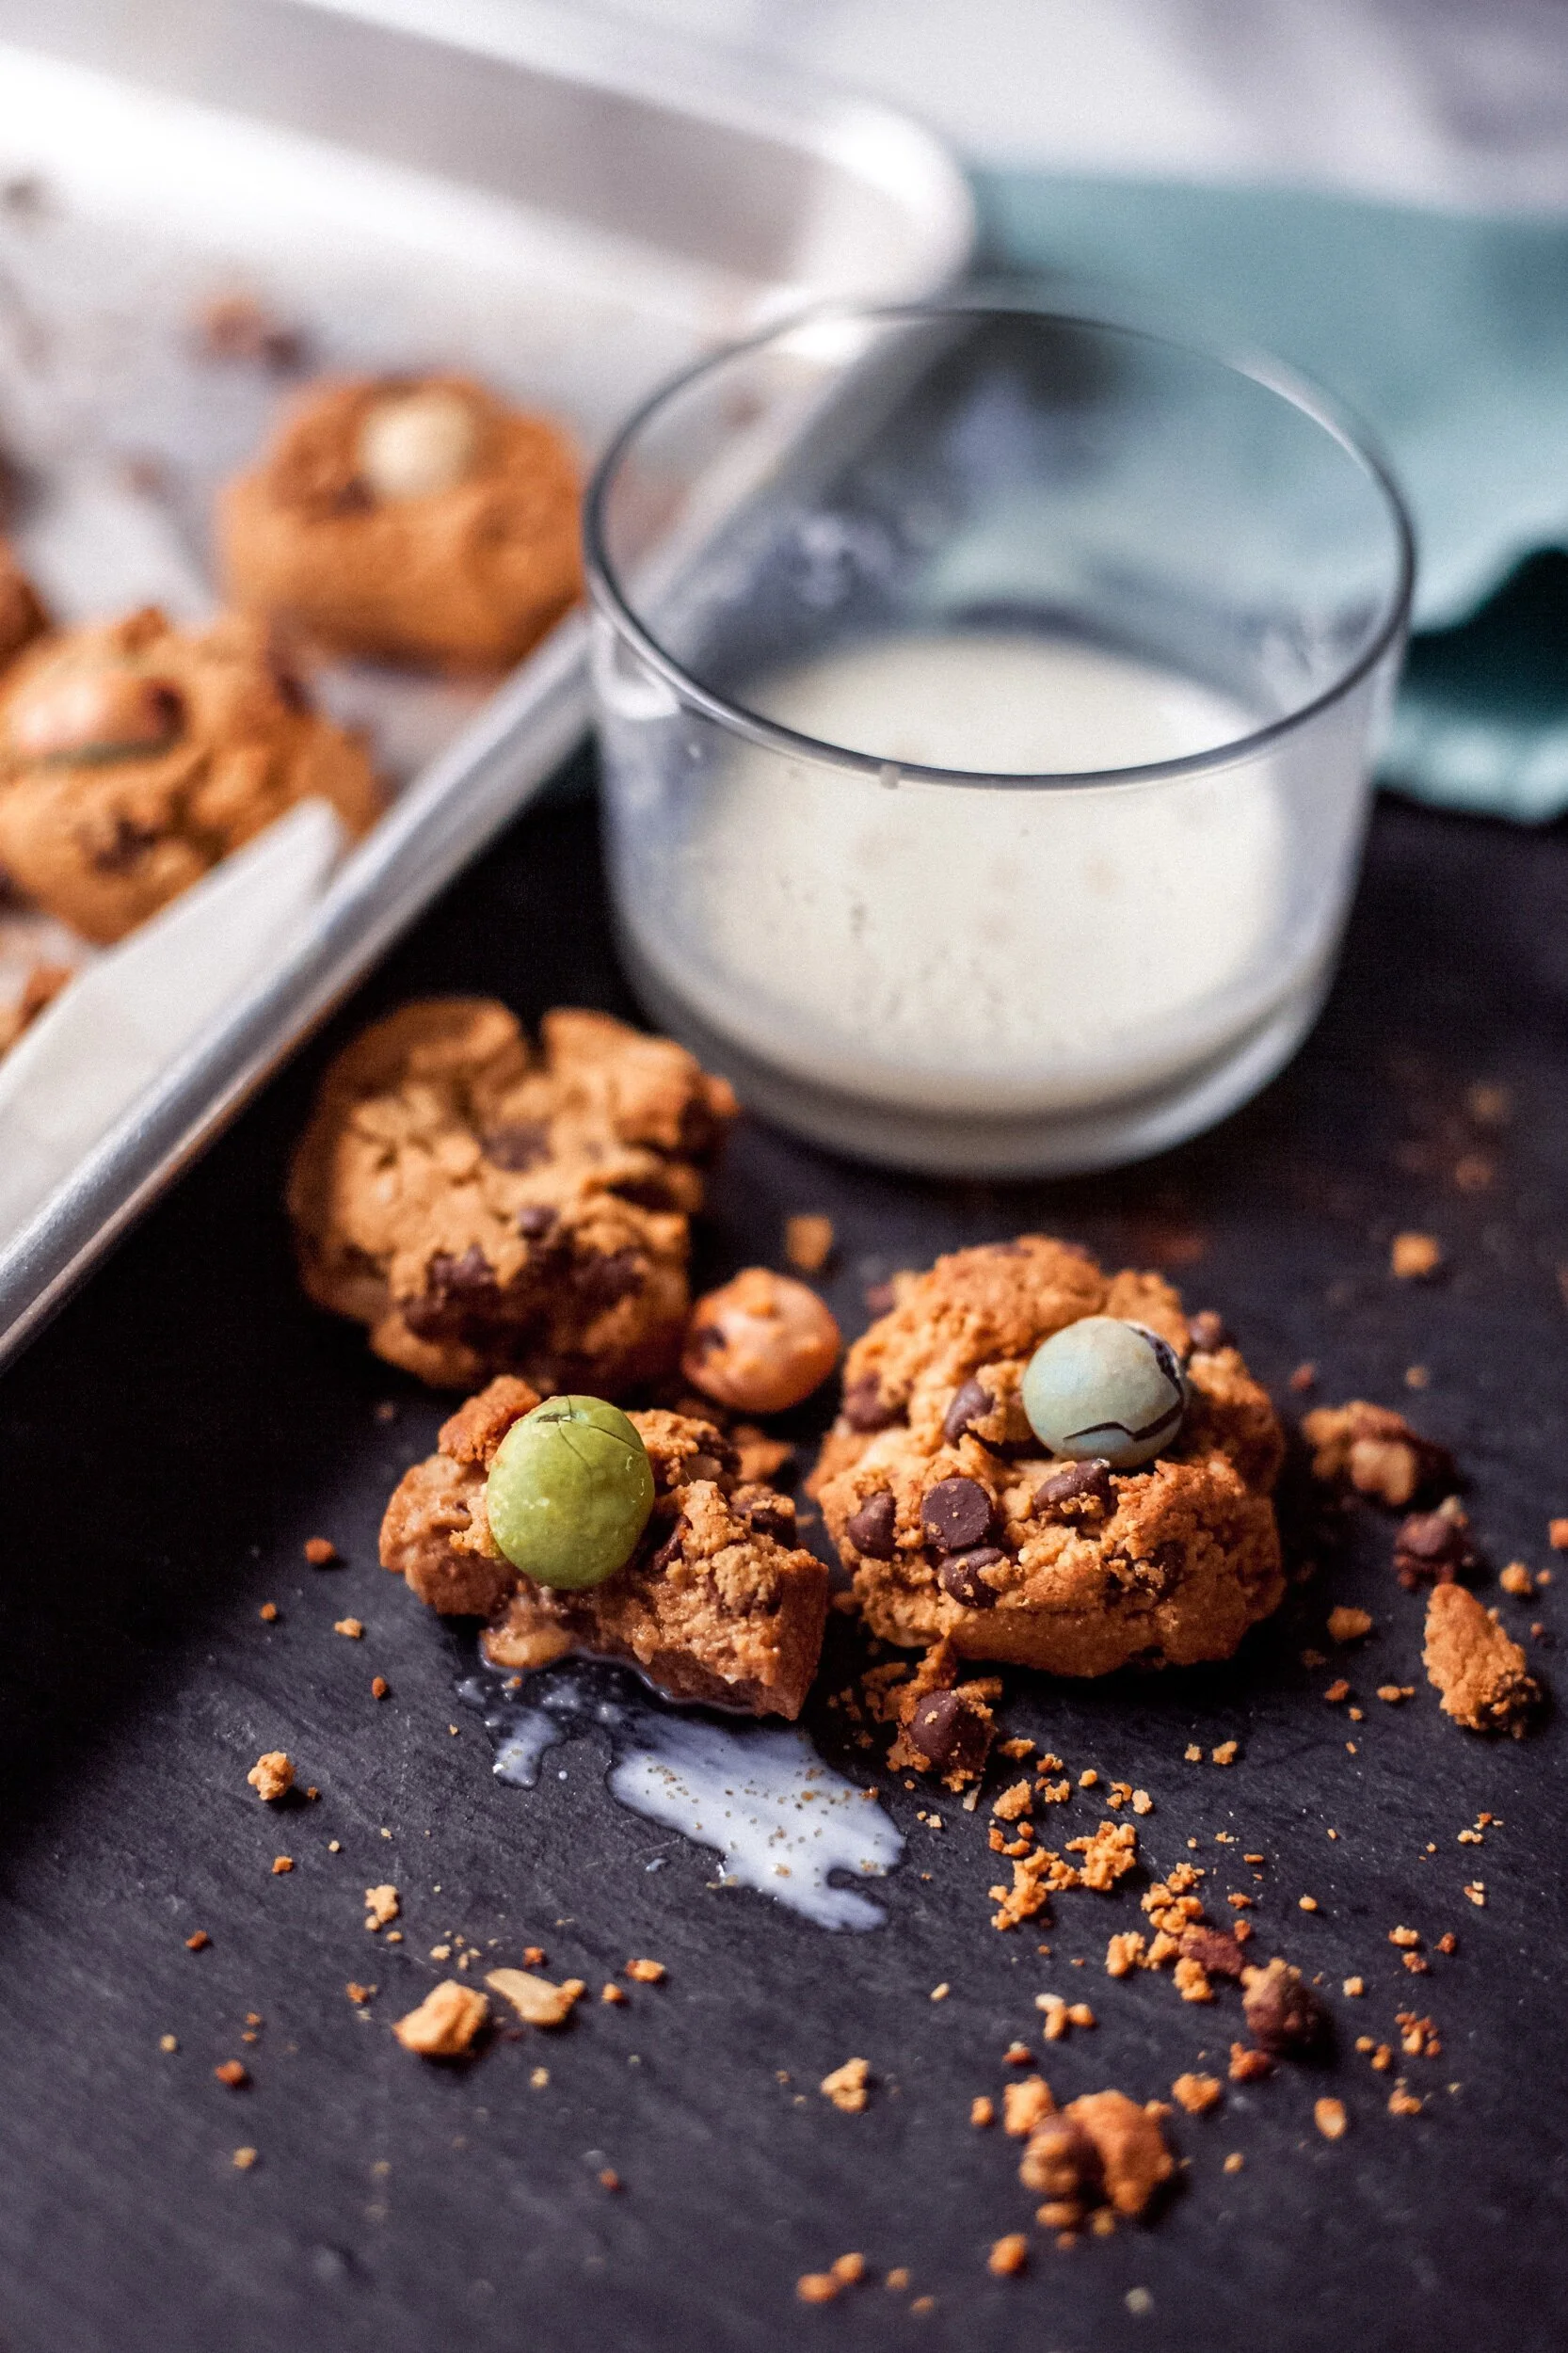
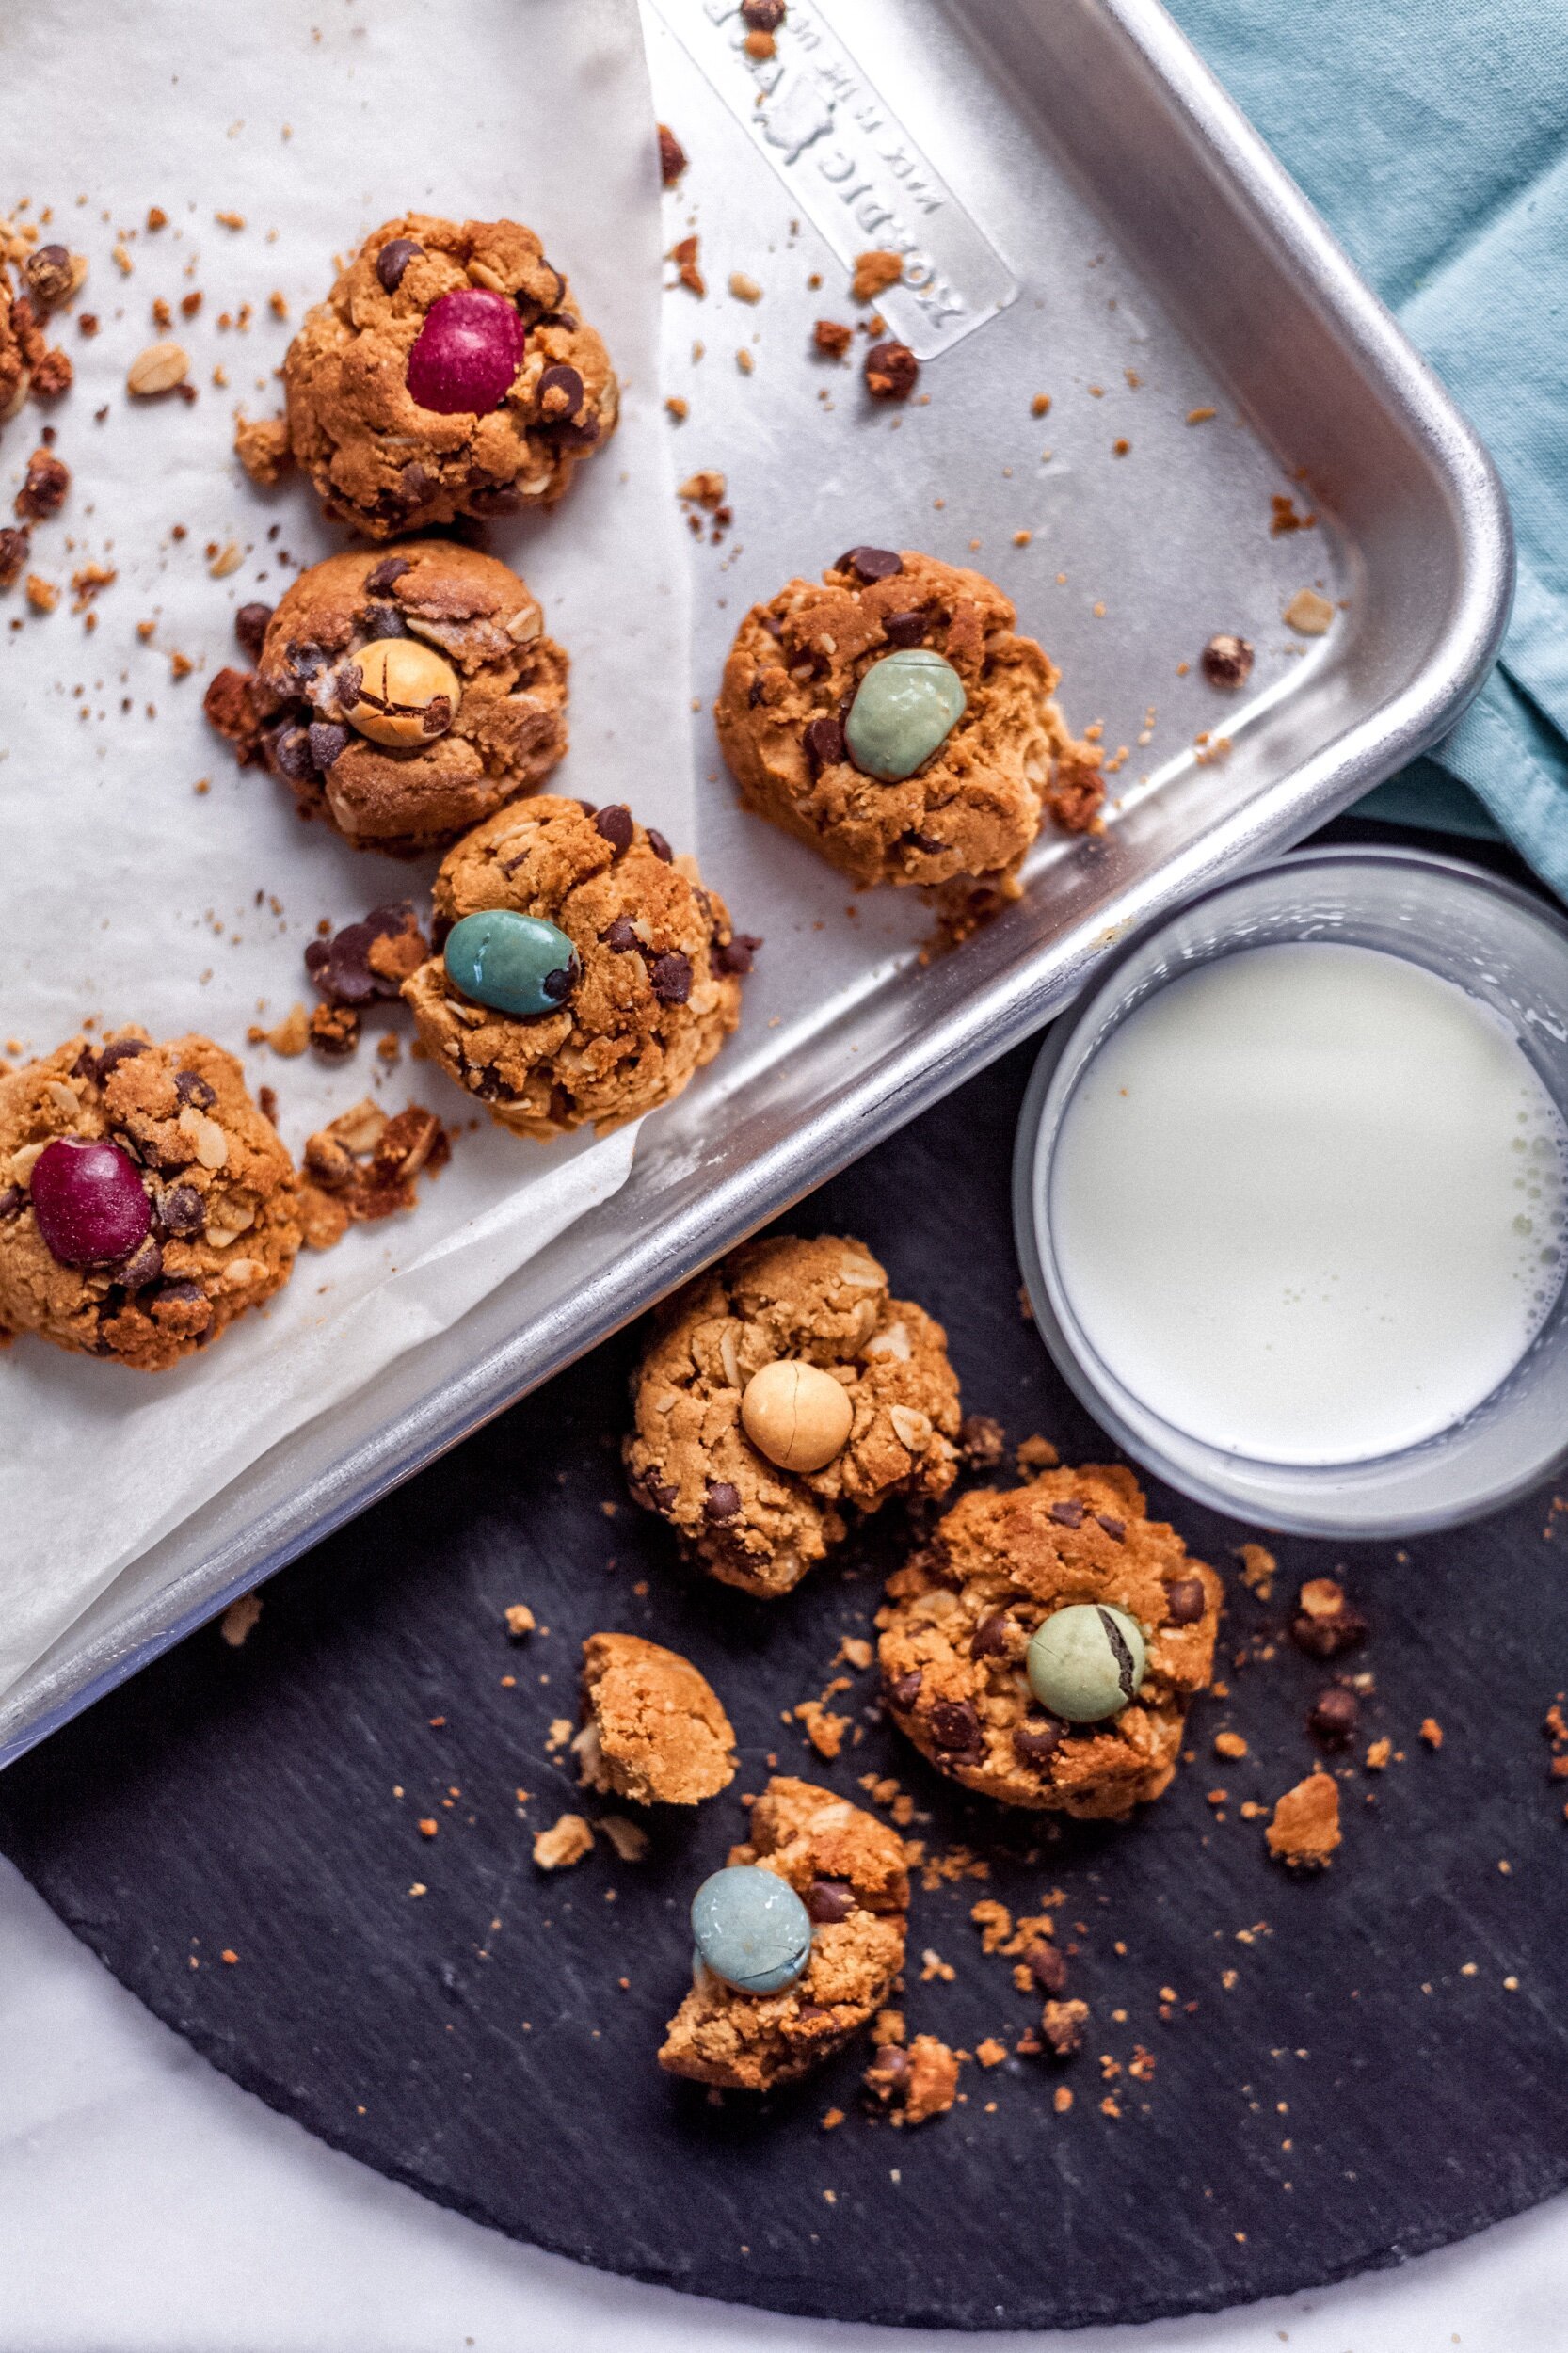
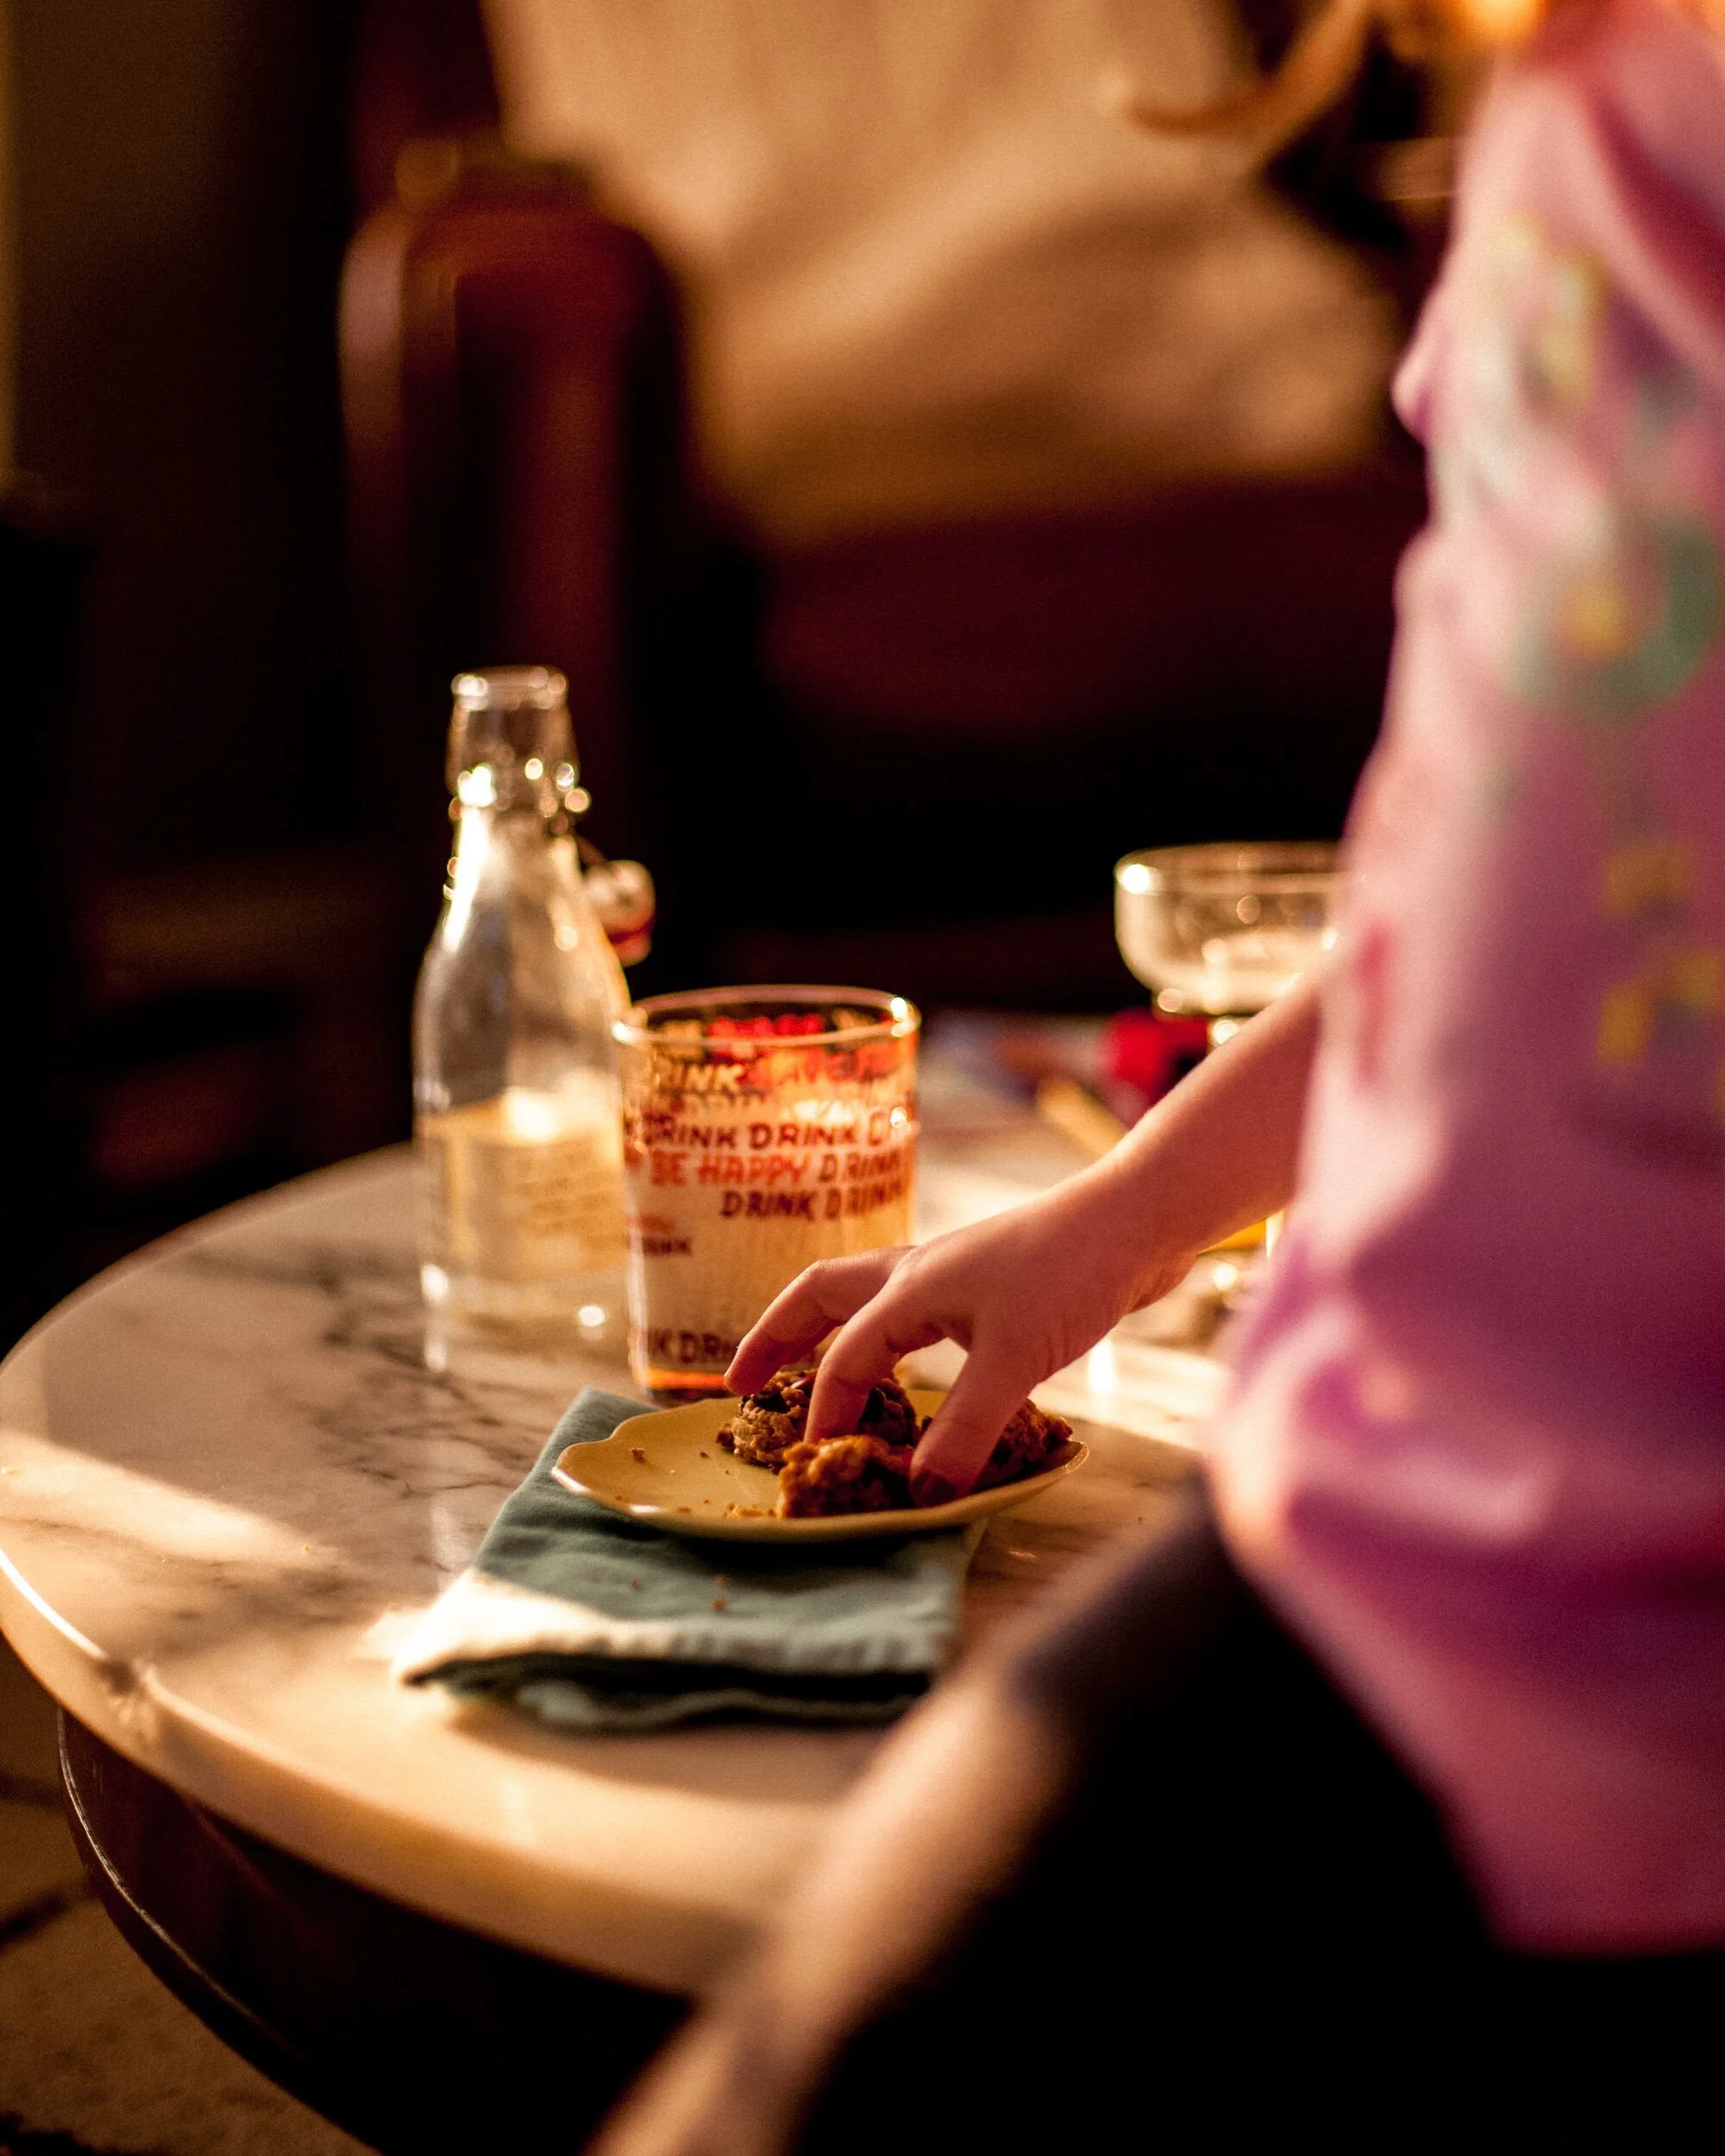
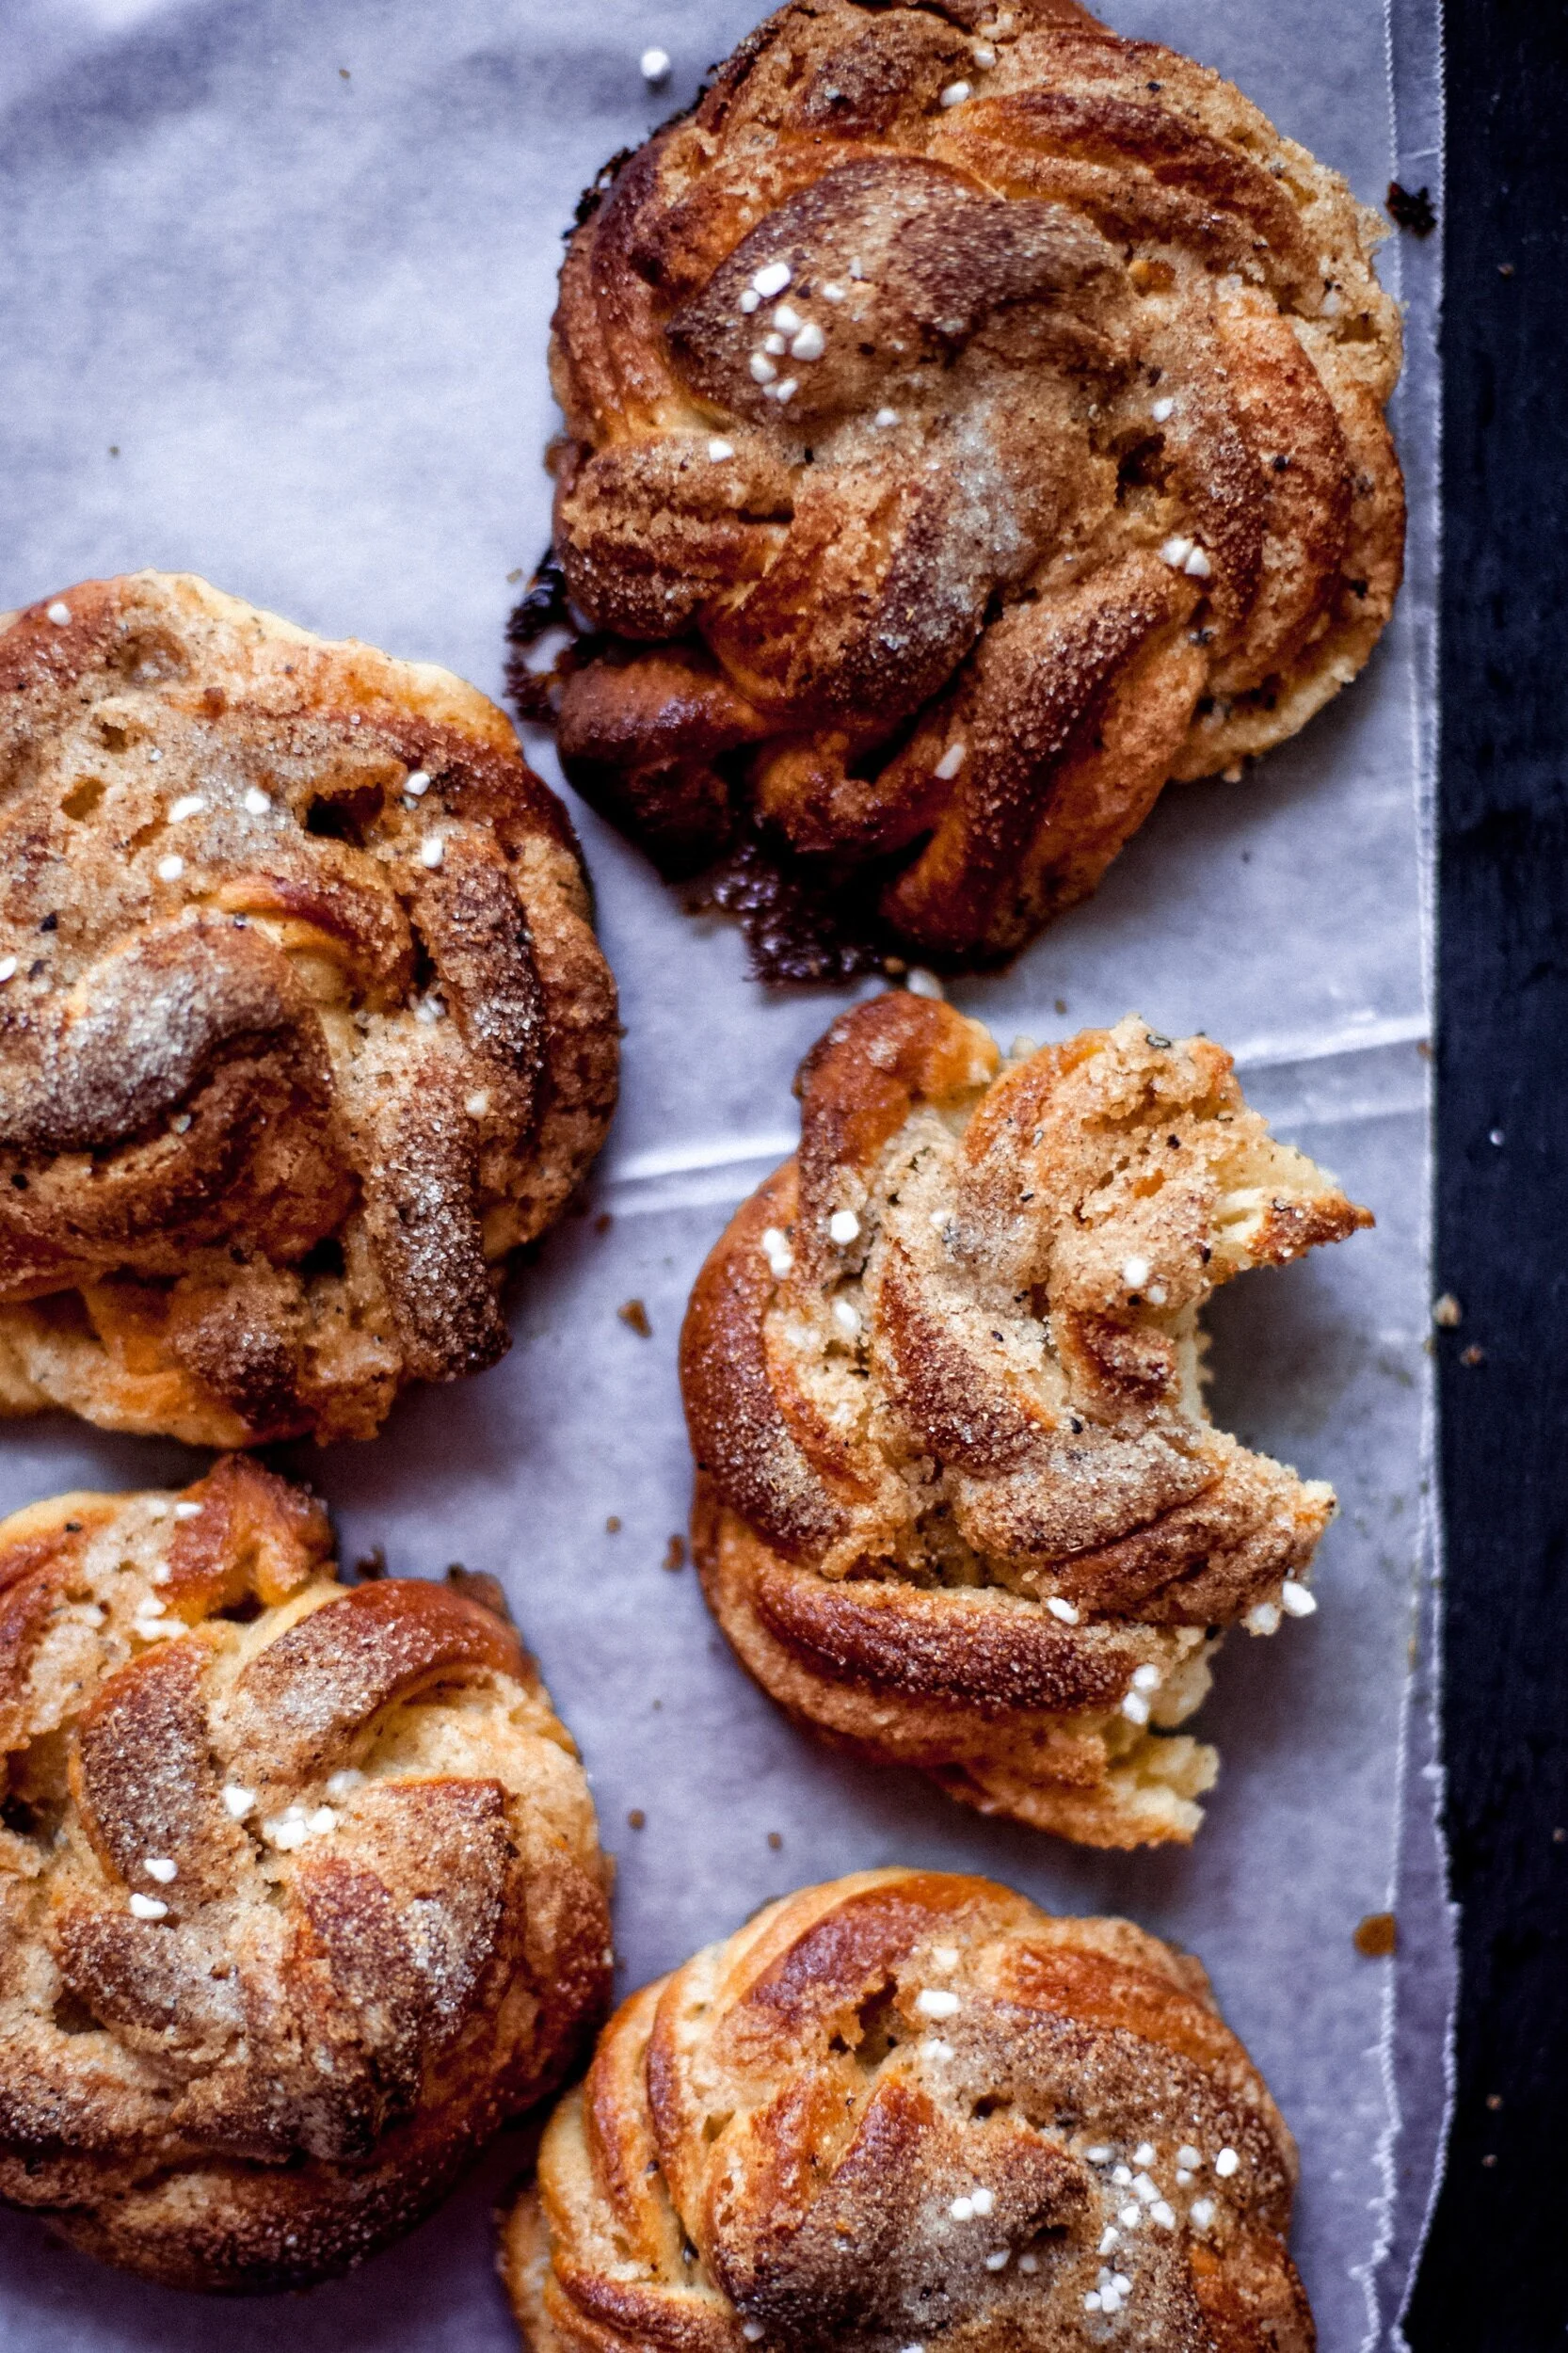
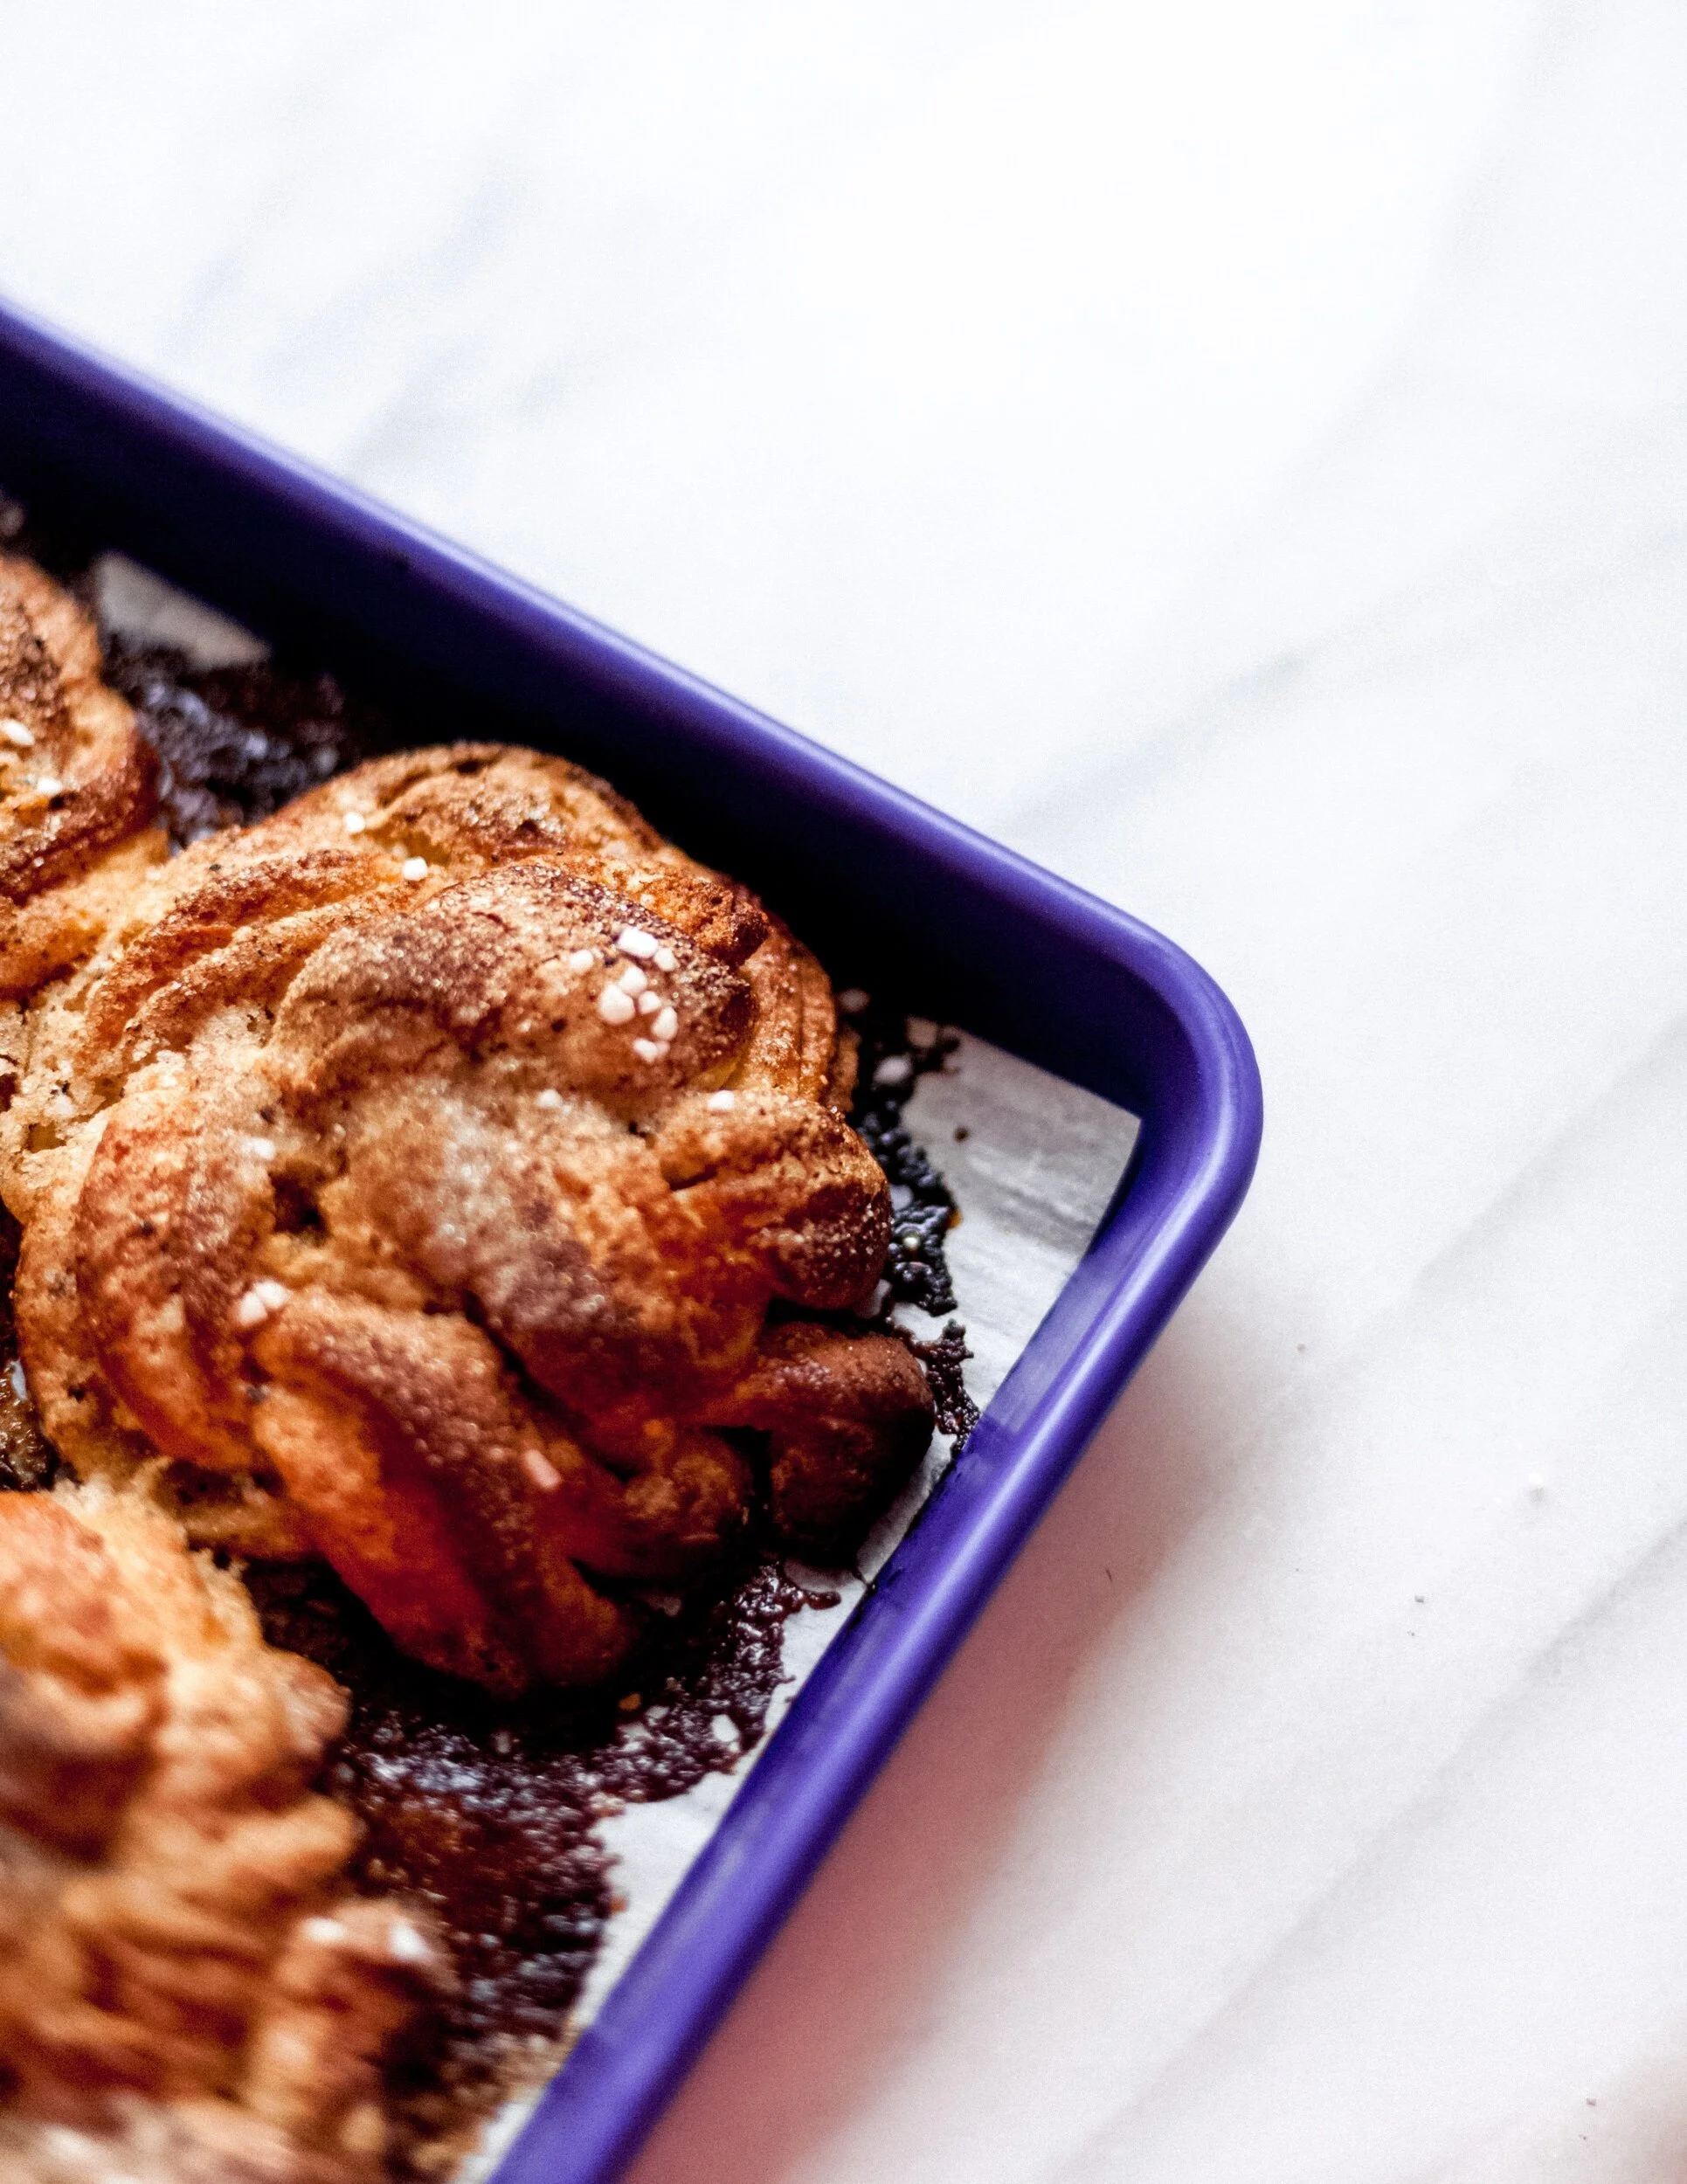
Bakeover: Chocolate Chip Ripple Cookies

"OHH, you didn't have to, really you didn't have to; I'm used to just bringing my own meal." 

I was tired of hearing this from my friends with food allergies or preferences say this every week when they'd come over for dinner. They'd sit with their sad takeout from the grocery store while we'd feast on homemade meals and tasty desserts every Tuesday for our community group gatherings.

And I was tired of feeling bad about it. What kind of hostess would I be if I expected my friend, who I invited to dinner at my house, to sit this one out because I decided I wanted to serve a glutenous treat?

Before, as one of my favorite YouTubers calls it, The Great Unpleasantness, I would cook and bake for various social occasions each week. A community group gathering on Tuesday with friends who are gluten-free and avoid dairy, and a girl’s night on Wednesdays that needs baked goods without eggs and milk. To be honest, I started to get bored with the few allergy-friendly cookbooks in my possession. I wanted to bake the brownies from the most recent Ina Garten episode I just watched, or Gesina Prado's focaccia bread that would be perfect alongside the soup I was planning for my Tuesday night gathering.

That's when the idea for BAKEOVERS was born. Slowly but surely, I started taking 'traditional' recipes and swapping in egg replacements or gluten-free flour. I didn't tell anyone at first because I wanted to see if they could tell the difference. To my friends with food allergies, I’d just say “This is {insert their name here} friendly”, to which they’d smile and dig right in.

Bakeovers are my version of a recipe makeover, given the Everybody Baking Co. treatment. I'll share and link you up with the original recipe that inspired my variations, and then share the gluten-free, dairy-free, and vegan versions here. I thought these cookies would be the perfect place to start - pan banging chocolate chip cookies.

Intriguing title? Check.

Drool-worthy golden crispy brown allure? Check.

I've read about these cookies for a while now, and even Ina Garten has her version in her newest cookbook. Sarah Keiffer is a Minneapolis-based home baker and 2x cookbook author. Her Vanilla Bean Blog is the home of our Bakeover Candidate today.

Some things to know

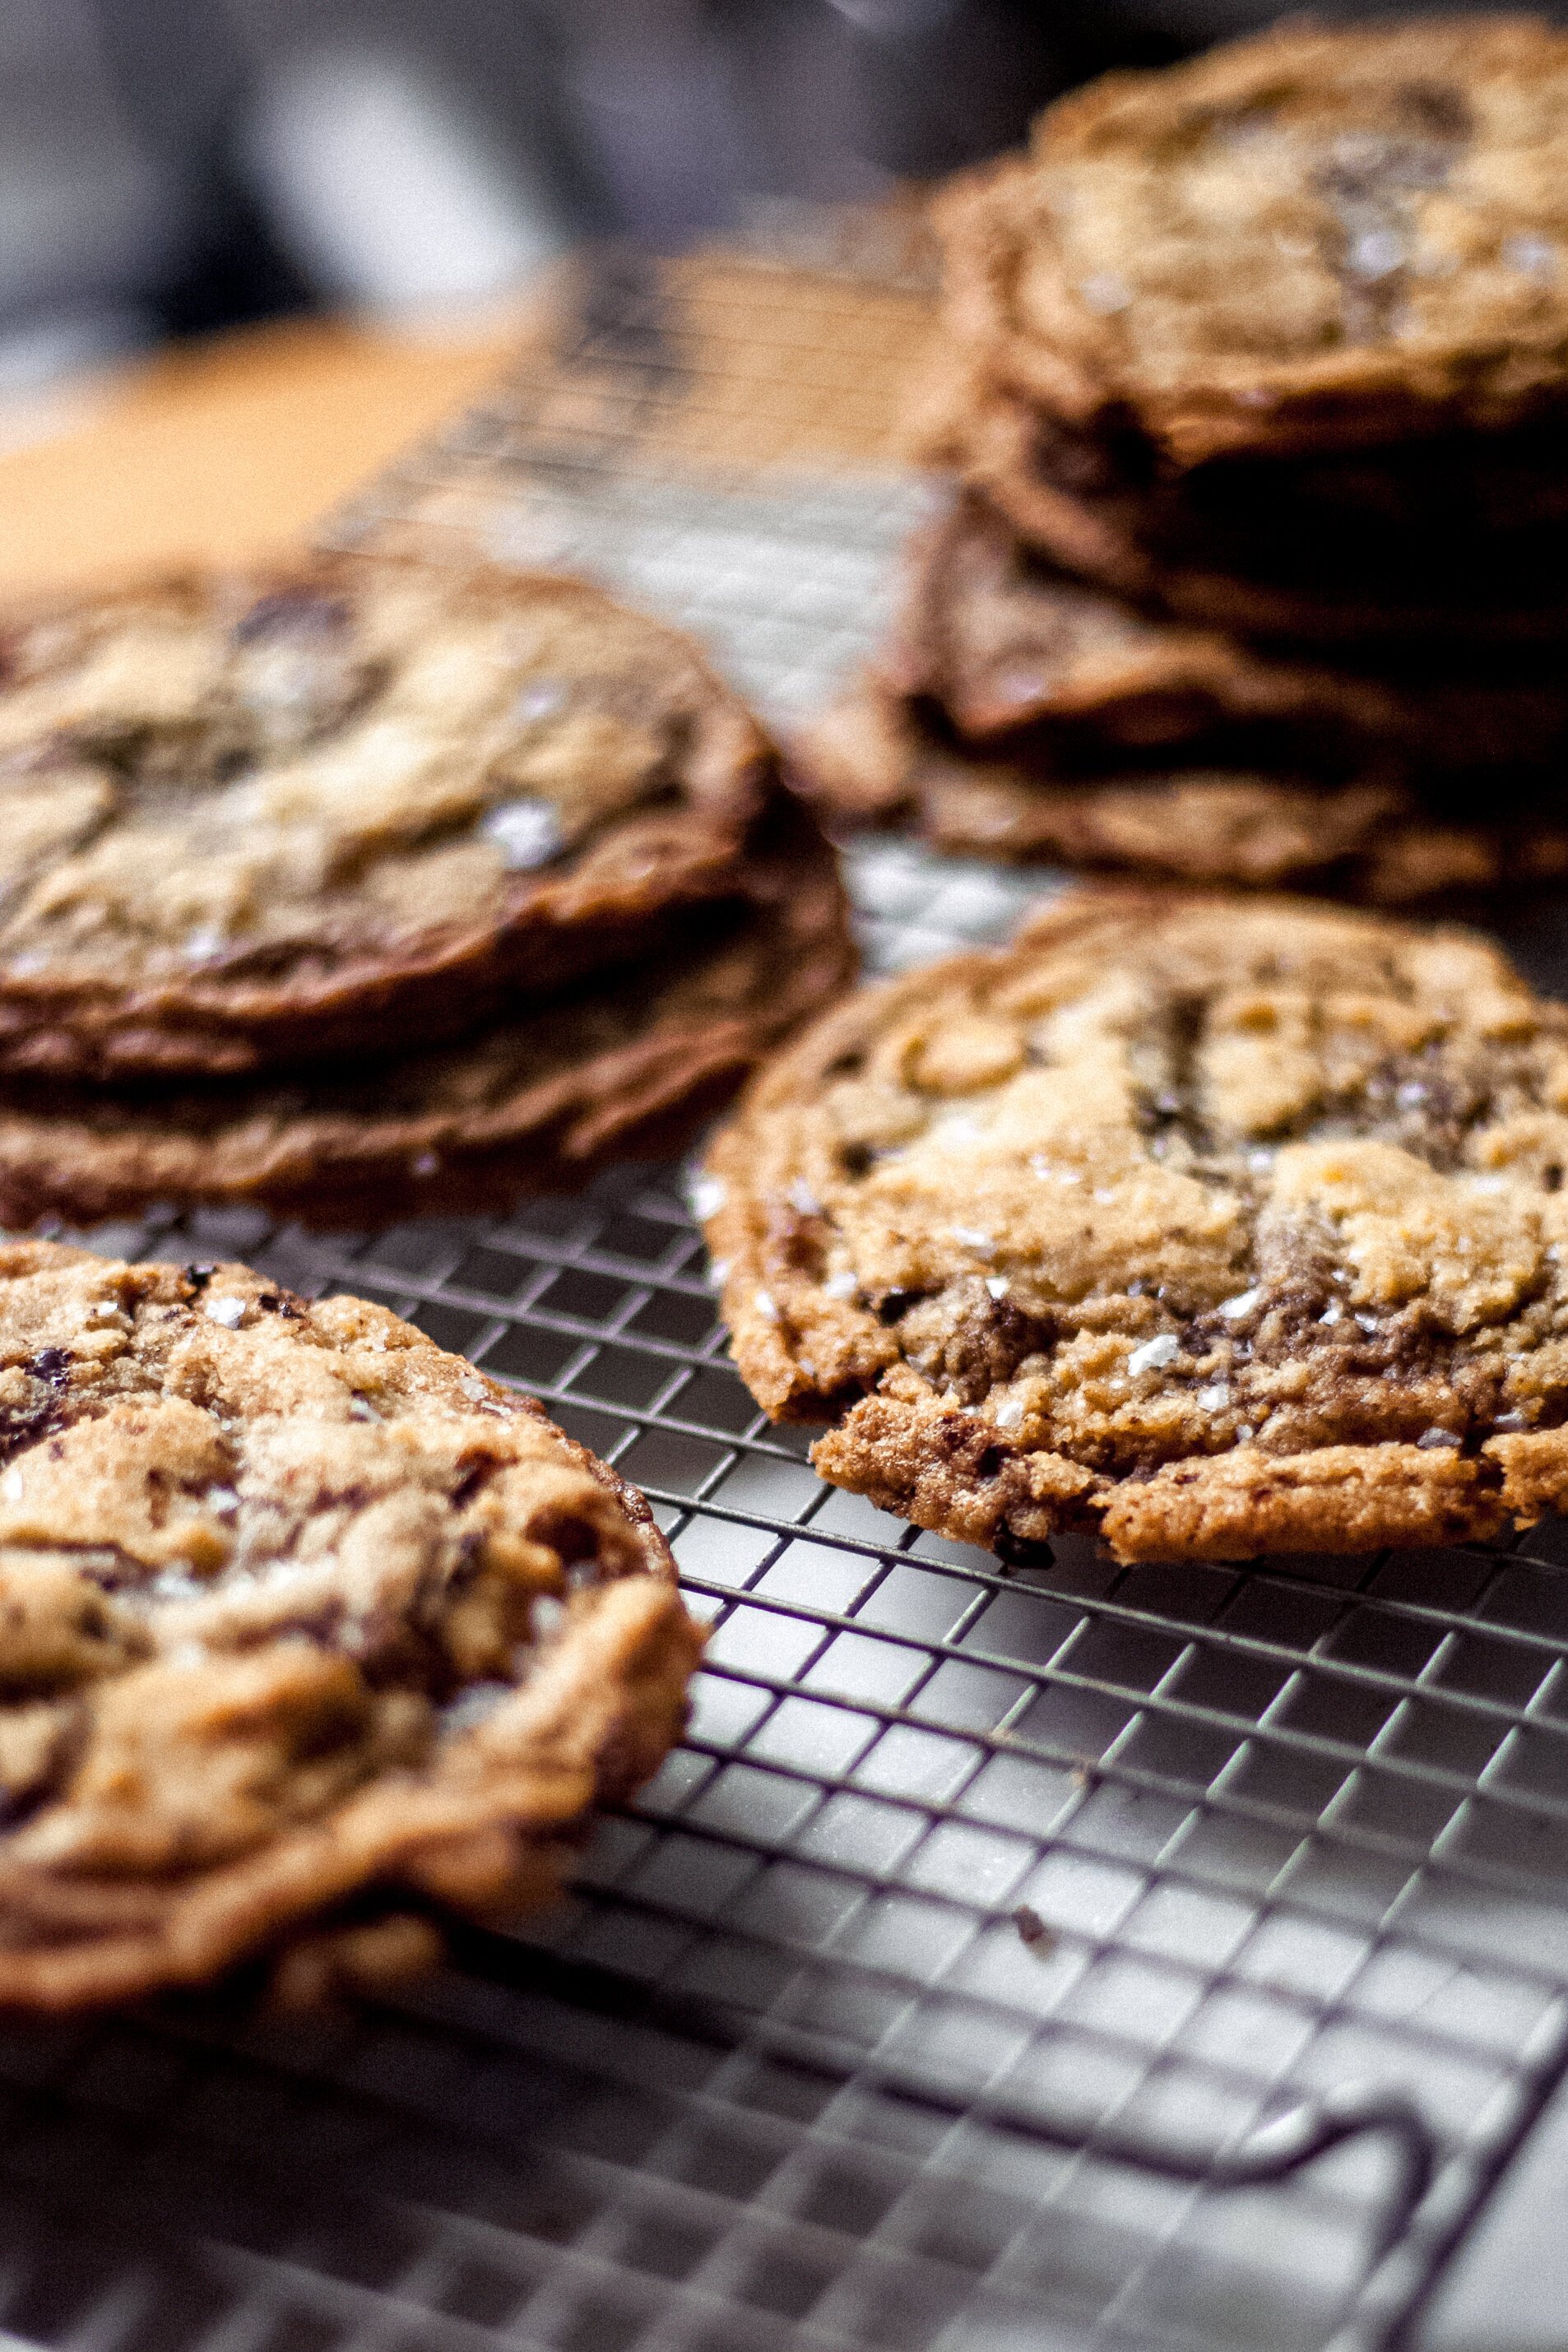
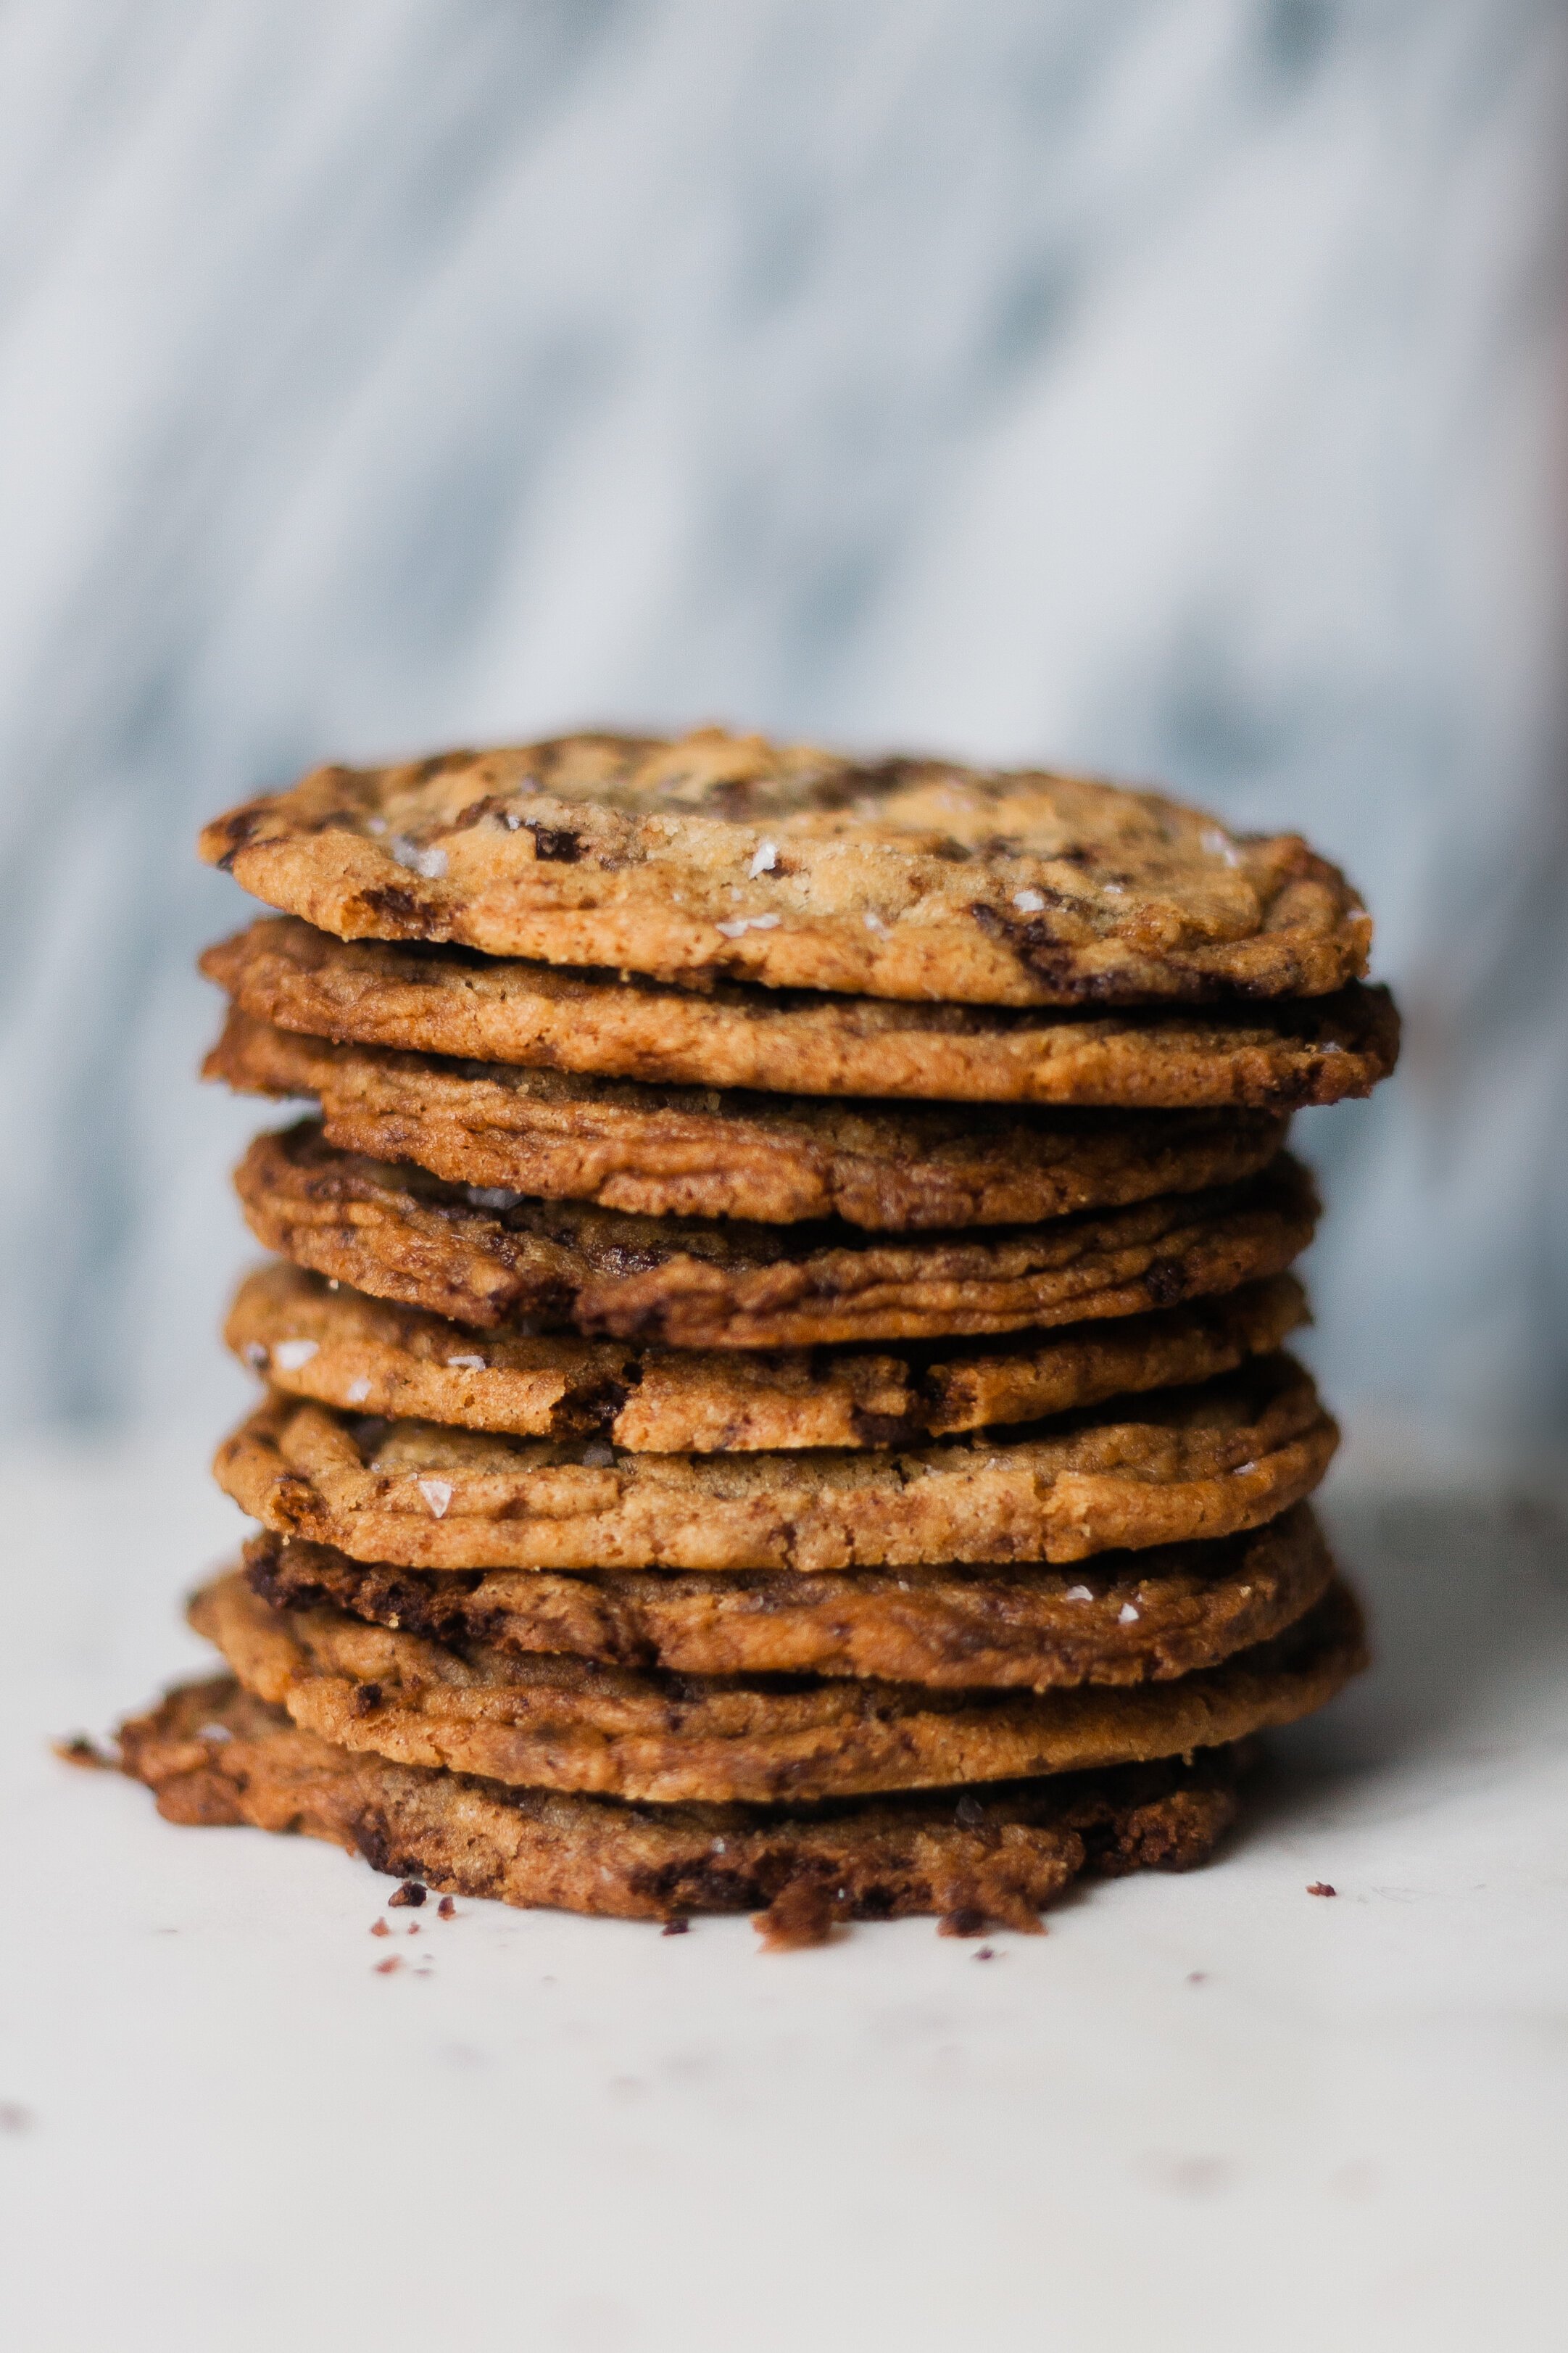
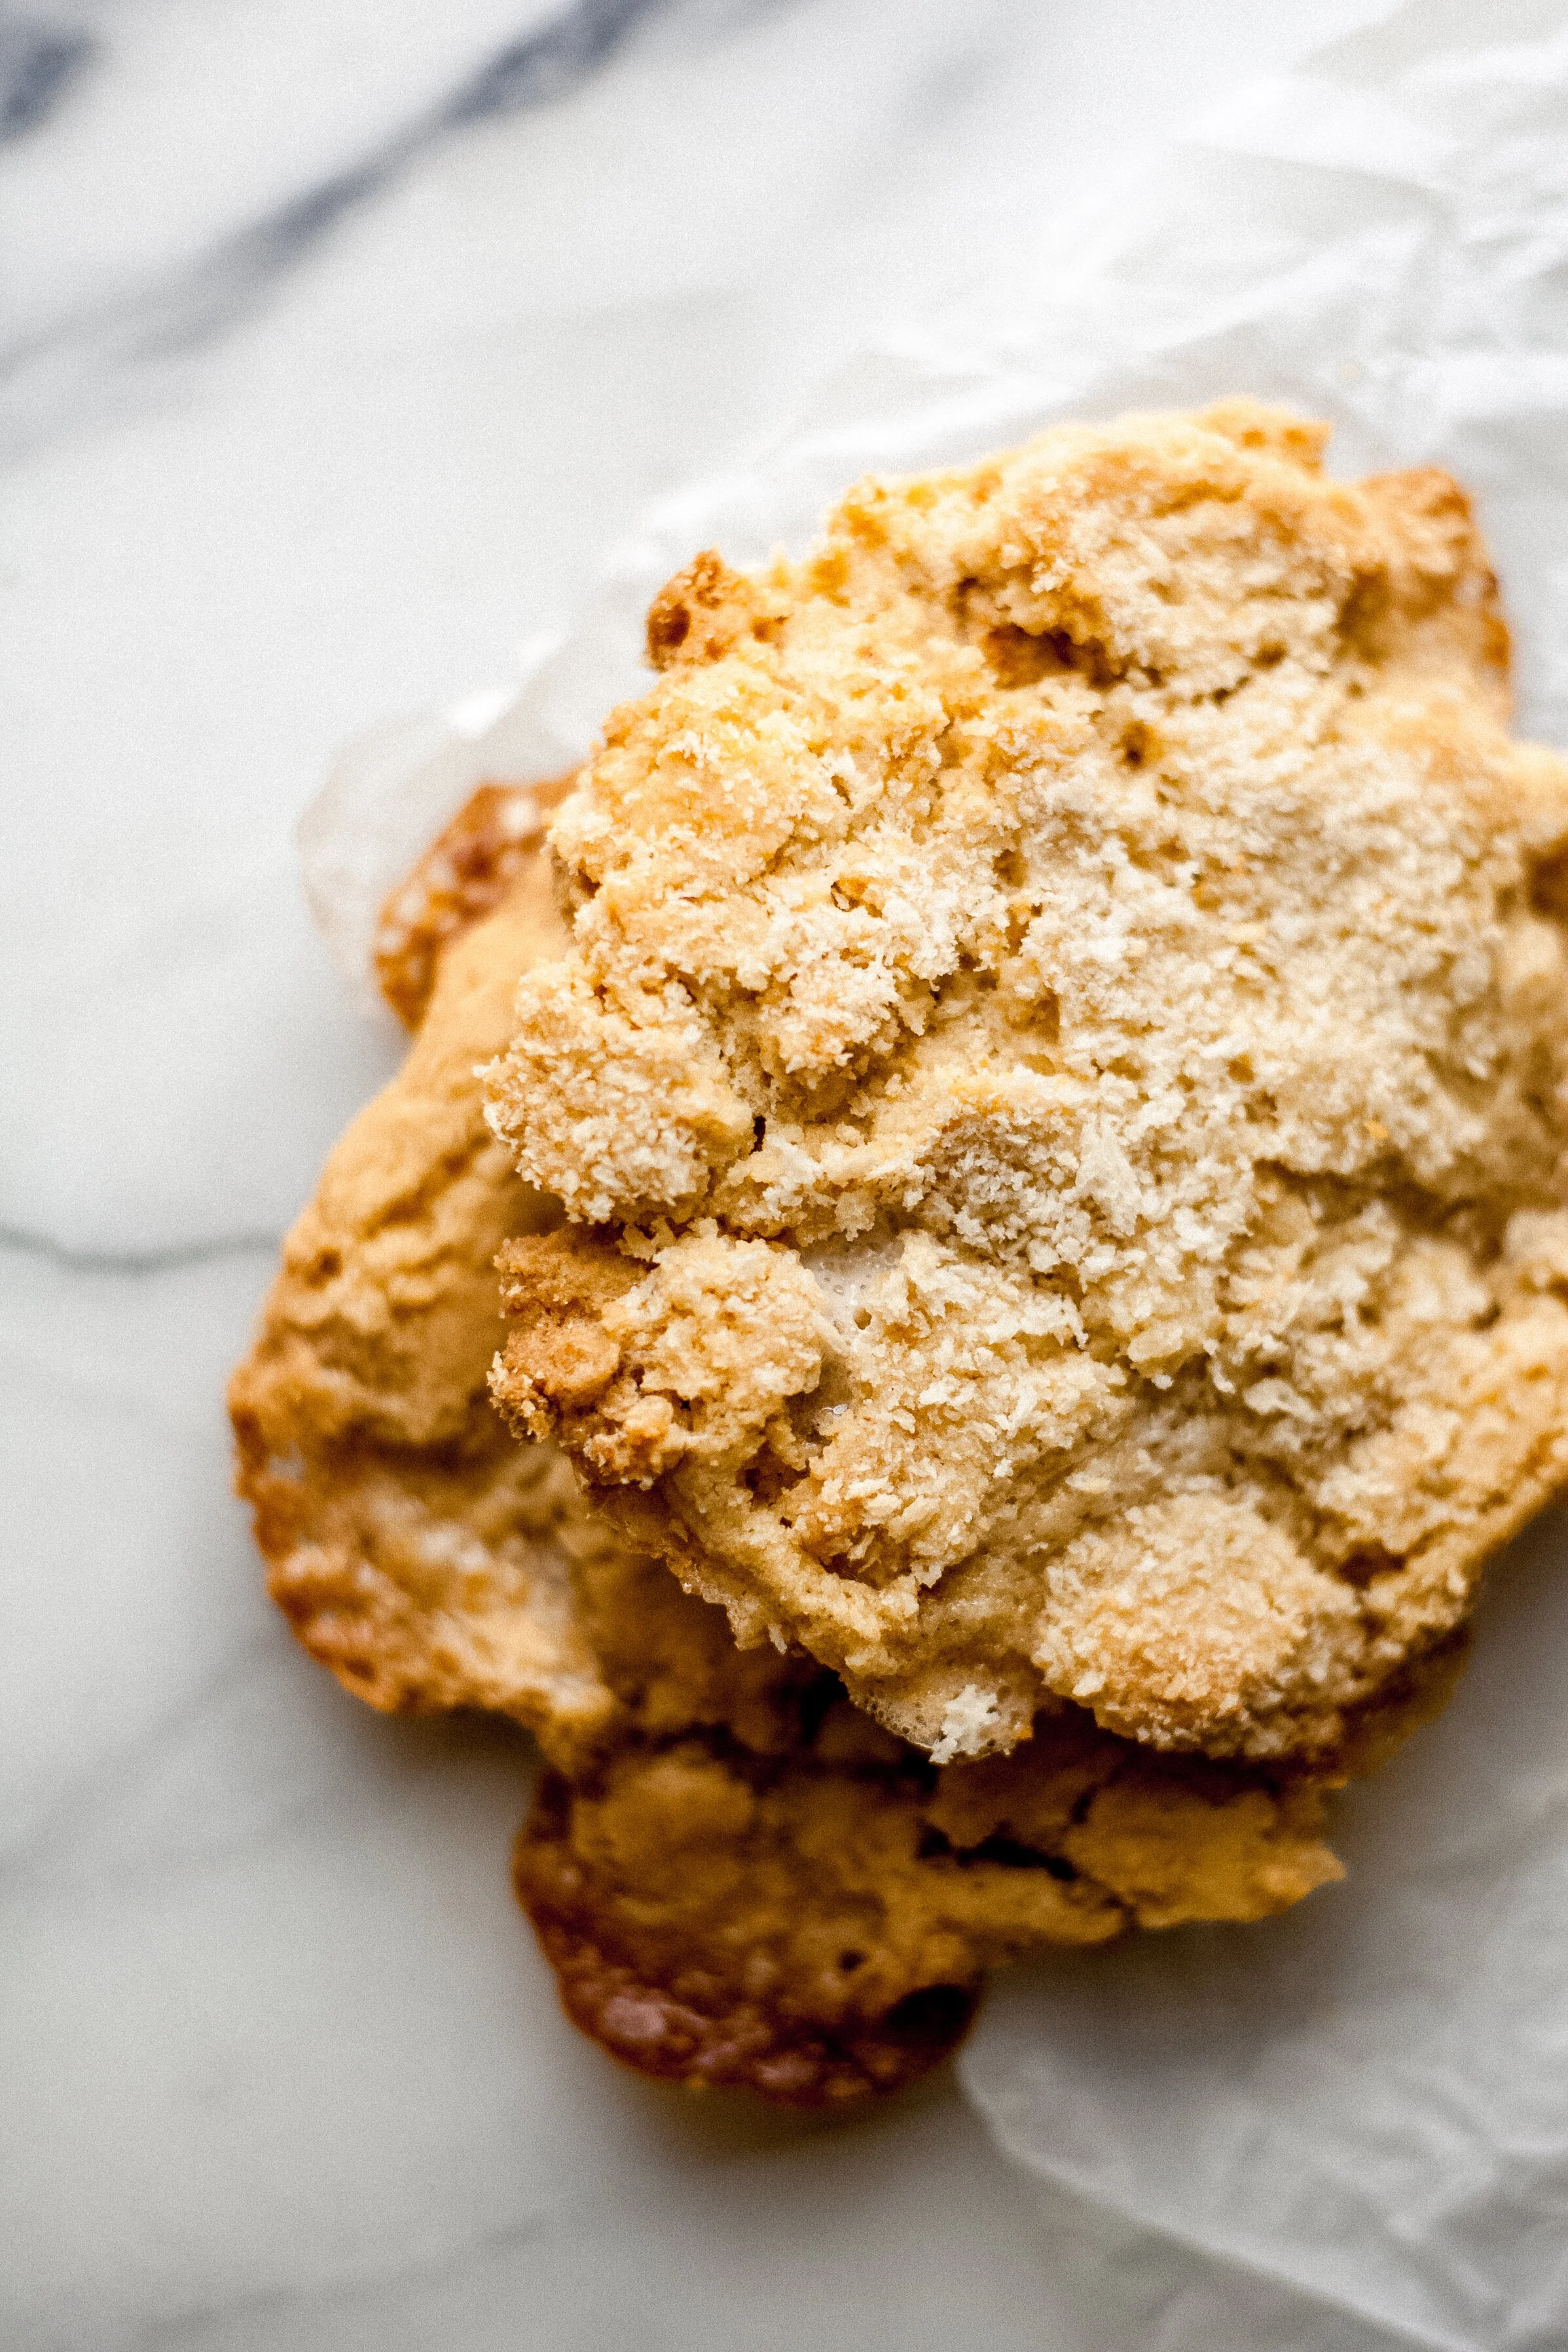
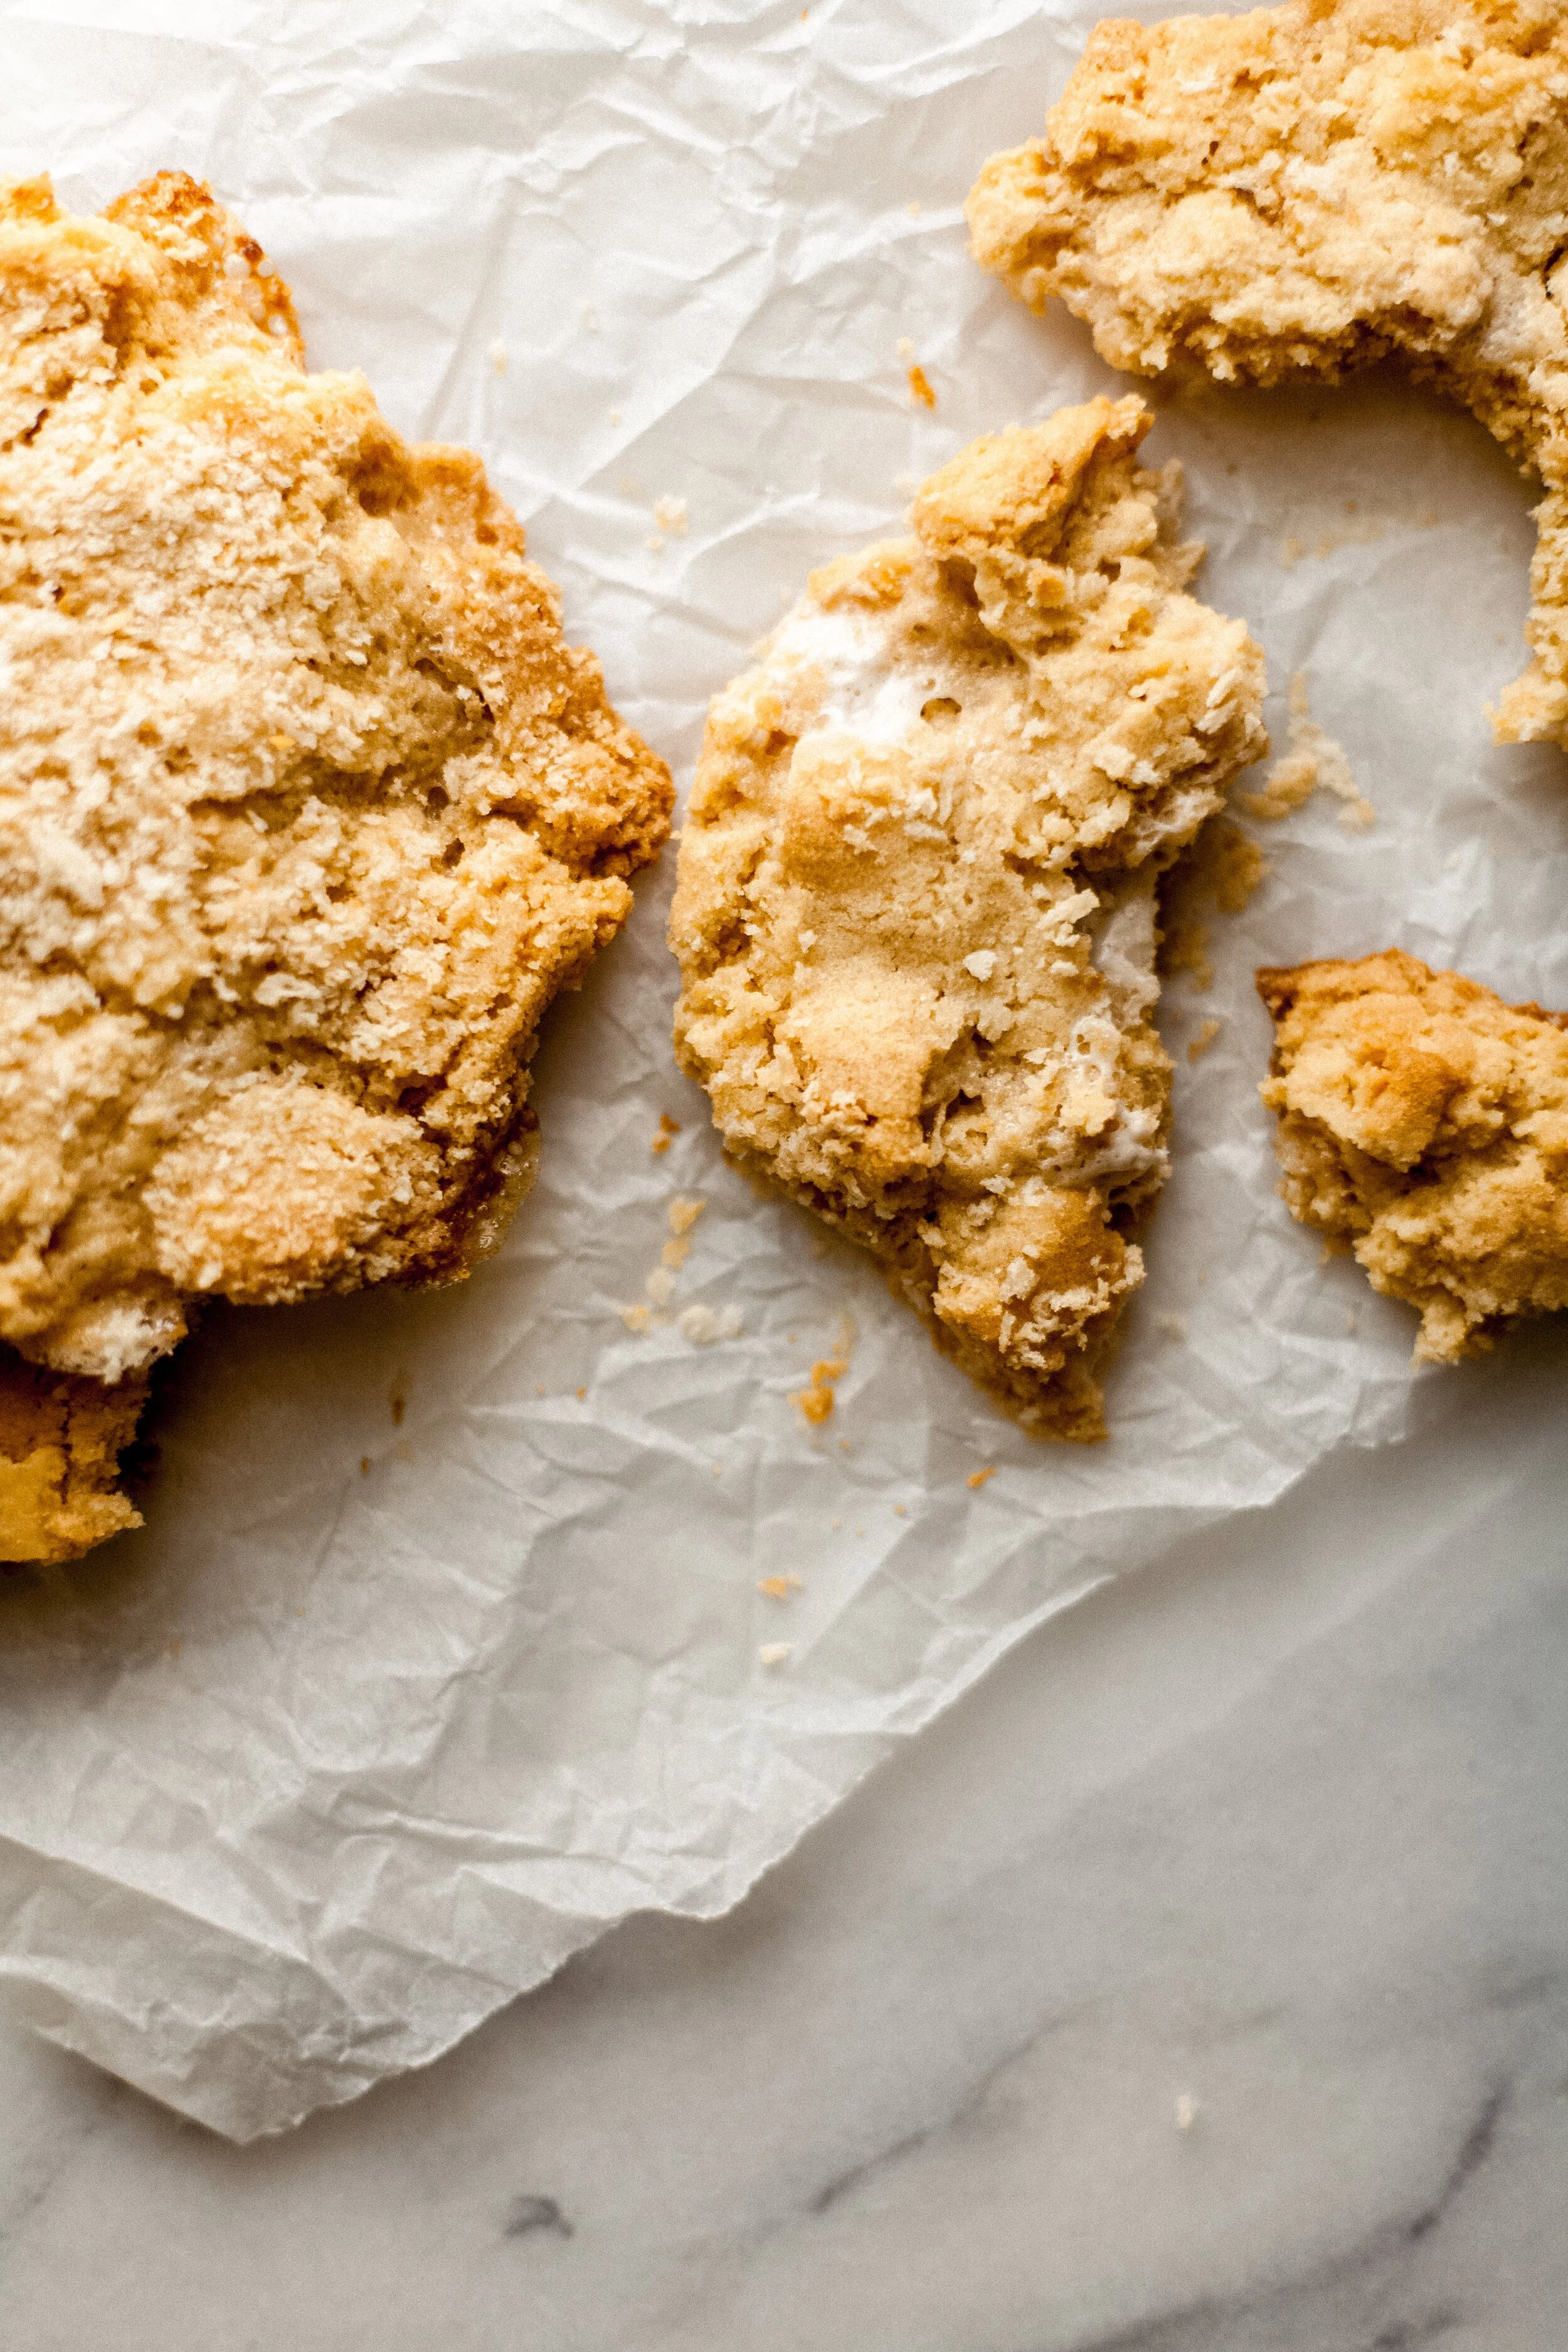
  1. Sugar is the star. These cookies are deliciously golden in color and crispy on the edges with gooey just cooked centers. The crisp forms as they cool thanks to the high amount of sugar, mainly white sugar. As the sugar bakes, it carmelizes, making the cookies browner and crisper by absorbing moisture in the dough. As the white sugar melts, this is also why the cookies spread. This also is key to the pan banging that will ensue: dropping the pan will push the melted dough outward from the center, resulting in ripply goodness with each bang of the sheet pan.

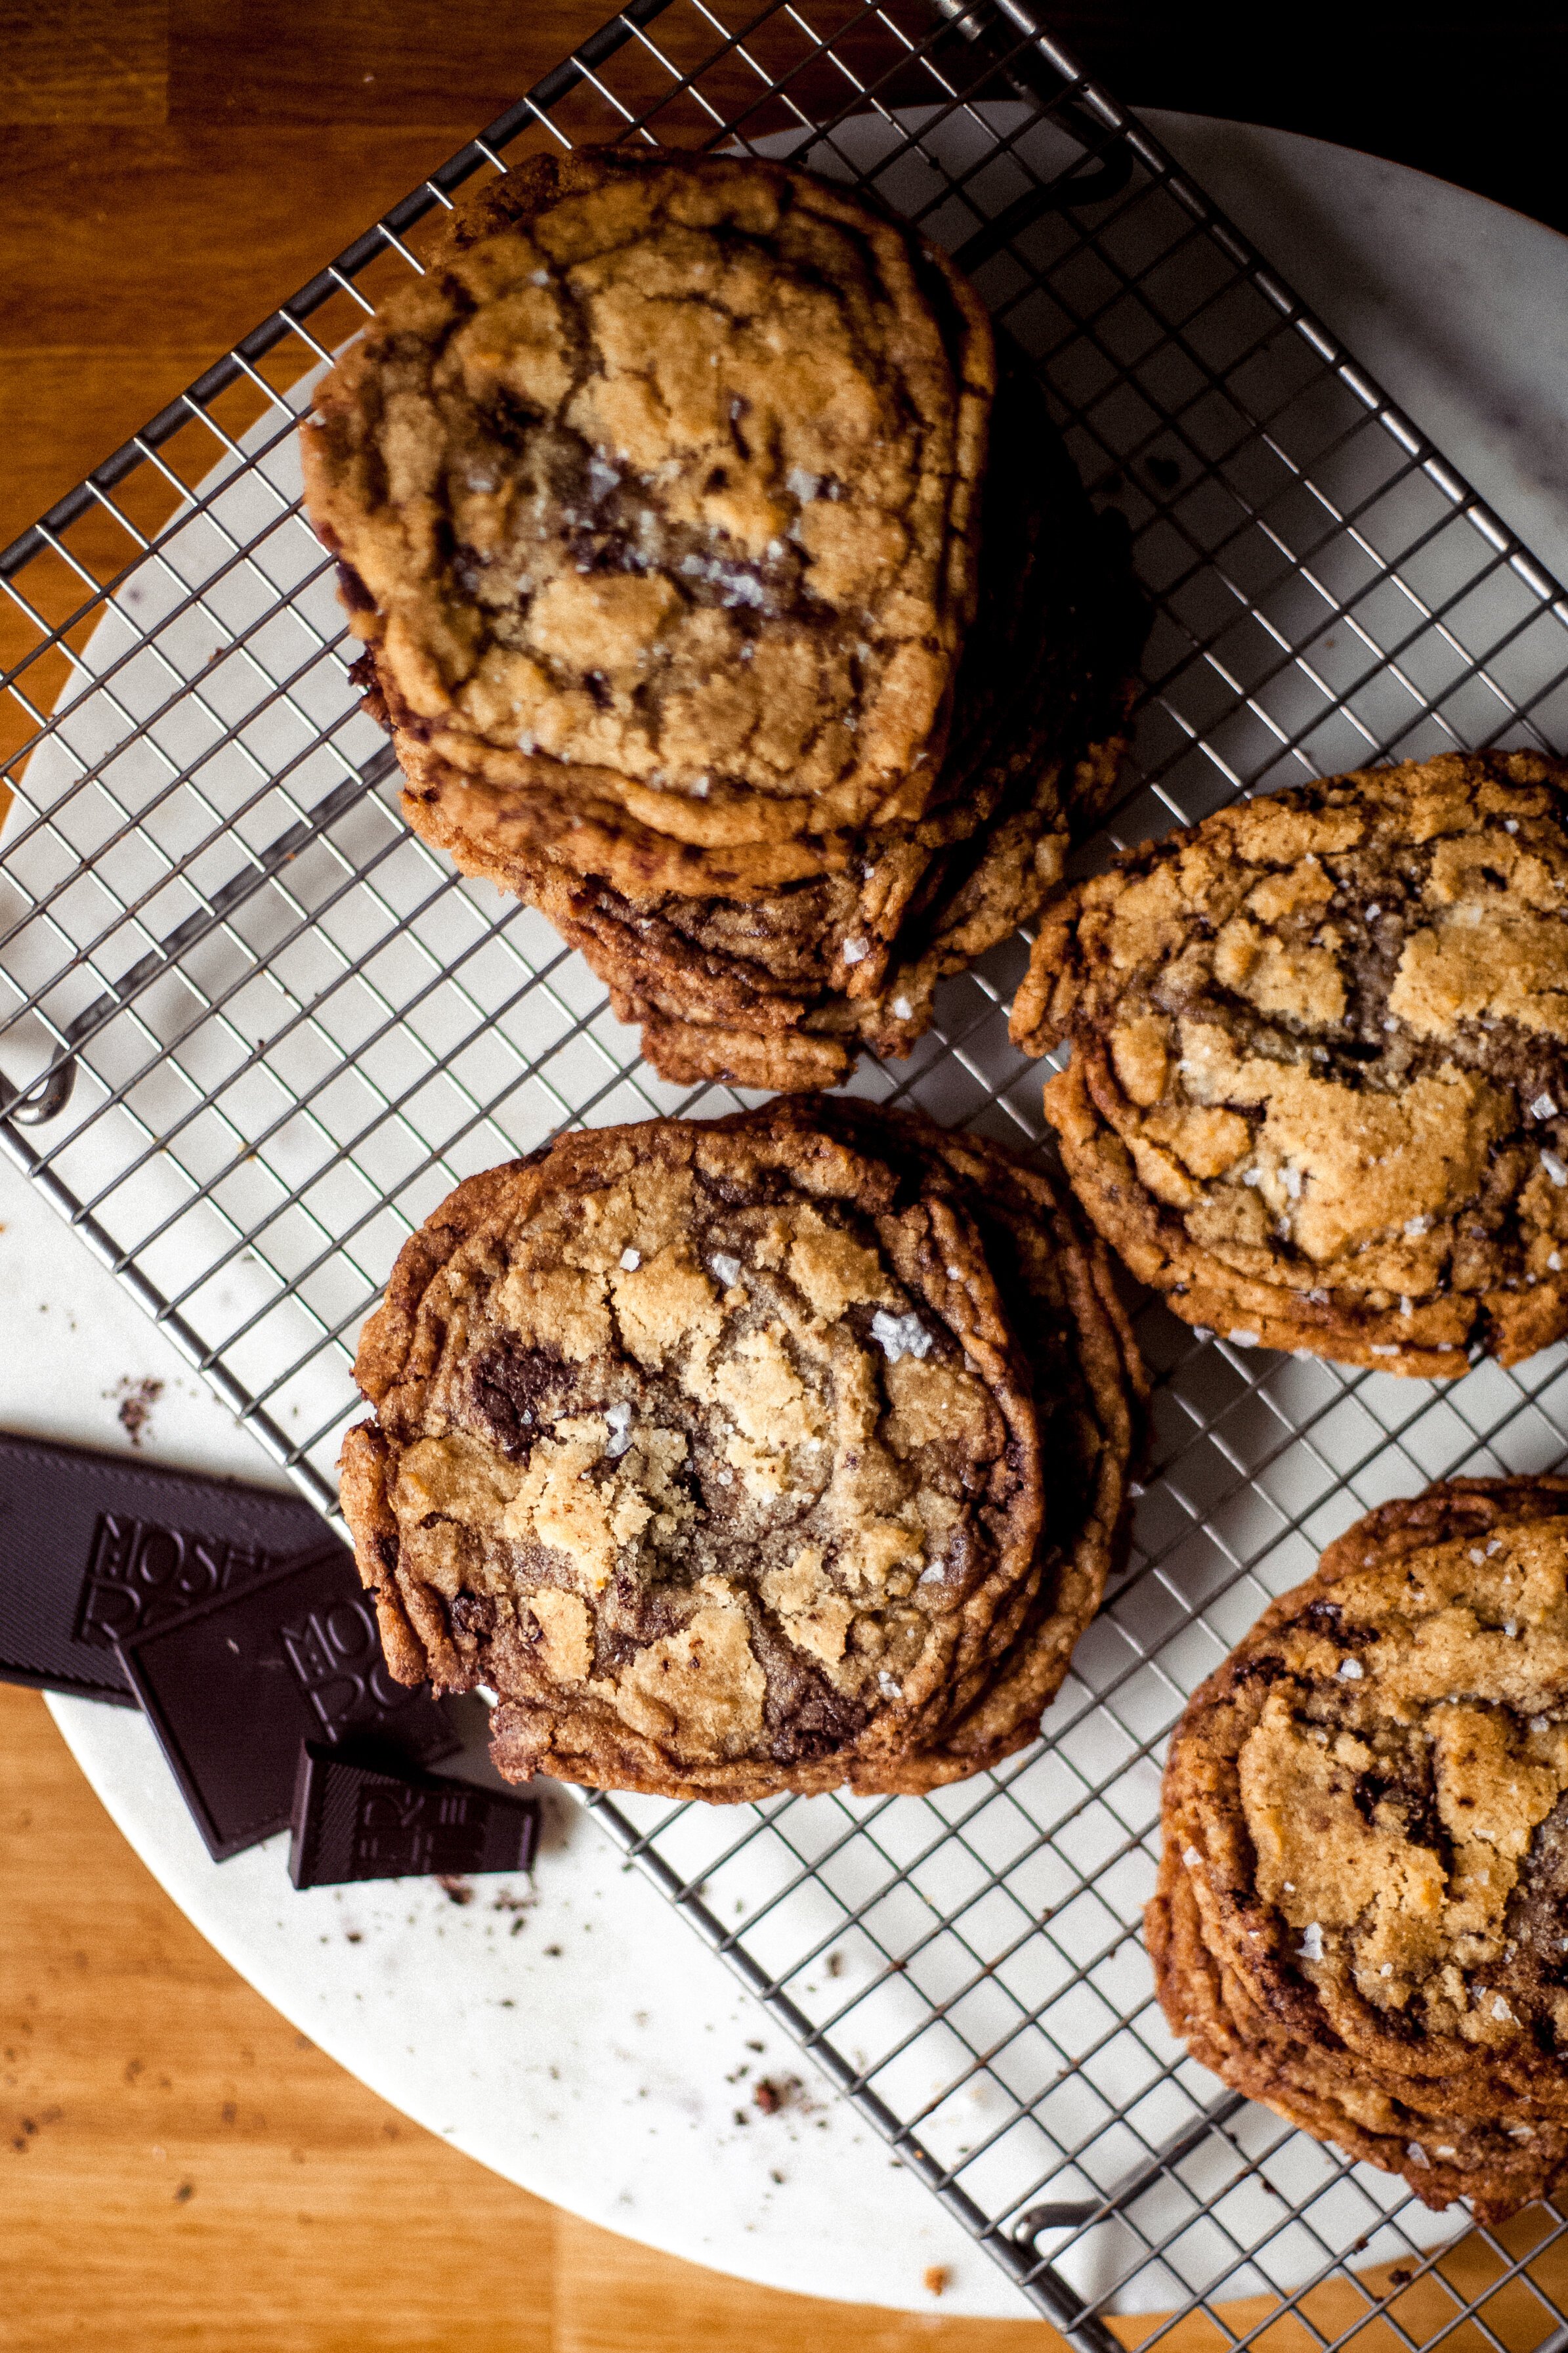
  2. Use high-quality bar chocolate. Pools of delicious bittersweet chocolate top the cookie by chopping a bar of chocolate instead of using chips. Sarah has a great section of baking notes on the recipe posting, and she explains chocolate chips do not spread as well as chopped chocolate. Also important to note that using bittersweet or semisweet chocolate ensures the cookies remain dairy-free. This is because these types of chocolate contain cocoa butter, which despite the name, is a butter derived from the cocoa bean and has nothing to do with dairy. I found this great resource on brands and types of chocolate that are dairy-free and outlines which brands are gluten, nut, or soy-free.

  3. Freezing the dough.After you scoop out the dough, you’ll place it in the freezer for 15 minutes. This ensures that the centers have a chance to stay gooey instead of completely baking flat in the pan.

  4. Notes on a successful egg, dairy, or gluten-free variation.Dairy: the main dairy concern here is butter (see note about chocolate above). This is super easy when we use any vegan butter of choice. I really have grown to like Miyoko's European style butter, but my old standby has always been Earth Balance Vegan Unsalted Butter. In the pictures below, I used Earth Balance.

  5. Eggs: an egg’s role in cookie dough is to give lift and moisture to bring dry ingredients together. This recipe only calls for one egg. I use my favorite egg replacement: 1.5 tbsp water + 1.5 tbsp oil (I like coconut oil but have used vegetable…whatever you have!) + 1 tsp baking powder combined together and added as you would an egg. You’ll notice when you add the baking powder there is some fun fizzing going on - giving us, ta-da! - air bubbles which will give us lift!

  6. Flour: I think this is the biggest gamble in swapping in and out sometimes. Flour’s role in baking is to bind ingredients together with the strength of gluten strands created during the mixing process. This recipe doesn’t call for a lot of flour, to begin with, because we want the dough to have the freedom to spread out, not stick together in a ball. With gluten-free flours, we typically need to add additional components to ensure strength is achieved to hold everything together. The great part here is we don’t need much lifting power from the flour because these cookies are naturally flat. I have learned a lot from this series of infographics to understand what ratios of ingredients are needed to ensure the result you need from a gluten-free blend. This is why I typically prefer to blend my own flour for gluten-free baking; it gives you a finer edge of control.

  7. The cookies I photographed for this recipe are gluten-free, dairy-free, and egg-free. BELIEVE YOUR EYES, FRIENDS. When I am testing a recipe, I start with the most complex version to see what happens. Using gluten-free flour does produce a slightly flatter cookie than those with all-purpose flour, but we get that same crunchy cookie we’re going for. Remember, gluten-free baked goods sometimes don’t brown as well, need longer to cook, and absolutely need longer to cool. So, patience is required if you’re attempting gluten-free!

And with that, here is our maiden voyage of the Bakeover series! What questions do you have?

Use the comments, and I’ll get you an answer in a jiffy! Your questions will make these recipes better going forward, I promise!


EBCo. Chocolate Chip Ripple Cookies

Inspired by Sarah Kieffer’s Vanilla Bean Blog: Pan Banging Chocolate Chip Cookies

jump to your ingredients of choice:

TRADITIONAL | GLUTEN-FREE | VEGAN | GLUTEN & DAIRY FREE


💯gluten & dairy free

GF Flour Blend:

  • 84g White Rice Flour

  • 84g Brown Rice Flour

  • 42g Potato Starch

  • 42g Tapioca Starch

  • 14g Potato Flour

  • 8g Xanthan Gum

  • 8g Pectin

12g baking soda (1 tsp)

5g kosher salt (1 tsp)

225g unsalted vegan butter, at room temperature (2 sticks) 

300g granulated sugar

50g light brown sugar

Equivalent of 1 egg:

  • mix 1.5 tbsp water + 1.5 tbsp oil + 1 tsp baking powderer

2 tablespoons water

170g bittersweet chocolate (I prefer Guittard, chopping into bite-sized pieces ranging +/- ½ inch (6 oz)

🥐traditional

284g All Purpose Flour (2 cups)

½ teaspoon baking soda

¾ teaspoon salt

227 g unsalted butter, room temperature (½ pound or 2 sticks)

300 g granulated sugar (1½ cups)

50 g packed brown sugar (¼ cup)

1 large egg

1½ teaspoons Pure Vanilla Extract

2 tablespoons water

170g bittersweet chocolate (I prefer Guittard, chopping into bite-sized pieces ranging +/- ½ inch (6 oz)

🌈gluten free

GF Flour Blend:

  • 84g White Rice Flour

  • 84g Brown Rice Flour

  • 42g Potato Starch

  • 42g Tapioca Starch

  • 14g Potato Flour

  • 8g Xanthan Gum

  • 8g Pectin

12g baking soda (1 tsp)

5g kosher salt (1 tsp)

225g unsalted butter, at room temperature (2 sticks) 

300g granulated sugar

50g light brown sugar

1 egg

2 tablespoons water

170g bittersweet chocolate (I prefer Guittard, chopping into bite-sized pieces ranging +/- ½ inch (6 oz)

✨vegan

284g All Purpose Flour (2 cups)

½ teaspoon baking soda

¾ teaspoon salt

227 g unsalted vegan butter, room temperature (½ pound or 2 sticks)

300 g granulated sugar (1½ cups)

50 g packed brown sugar (¼ cup)

Equivalent of 1 egg:

  • mix 1.5 tbsp water + 1.5 tbsp oil + 1 tsp baking powder

1½ teaspoons Pure Vanilla Extract

2 tablespoons water

170g bittersweet chocolate (I prefer Guittard, chopping into bite-sized pieces ranging +/- ½ inch (6 oz)


Materials

Stand mixer

Kitchen scale

Small and medium bowls

Cutting Board

Knife

Spatula

2 3/4 oz cookie scoop or 1/3 cup measure

Foil

Sheet pan


Instructions

  1. Preheat the oven to 350F, and place the rack in the middle of the oven.

  2. Line your baking sheet with aluminum foil, making sure to keep the dull side facing up.

  3. In a small bowl, weigh your dry ingredients of flour(s), baking soda, and salt - set aside.

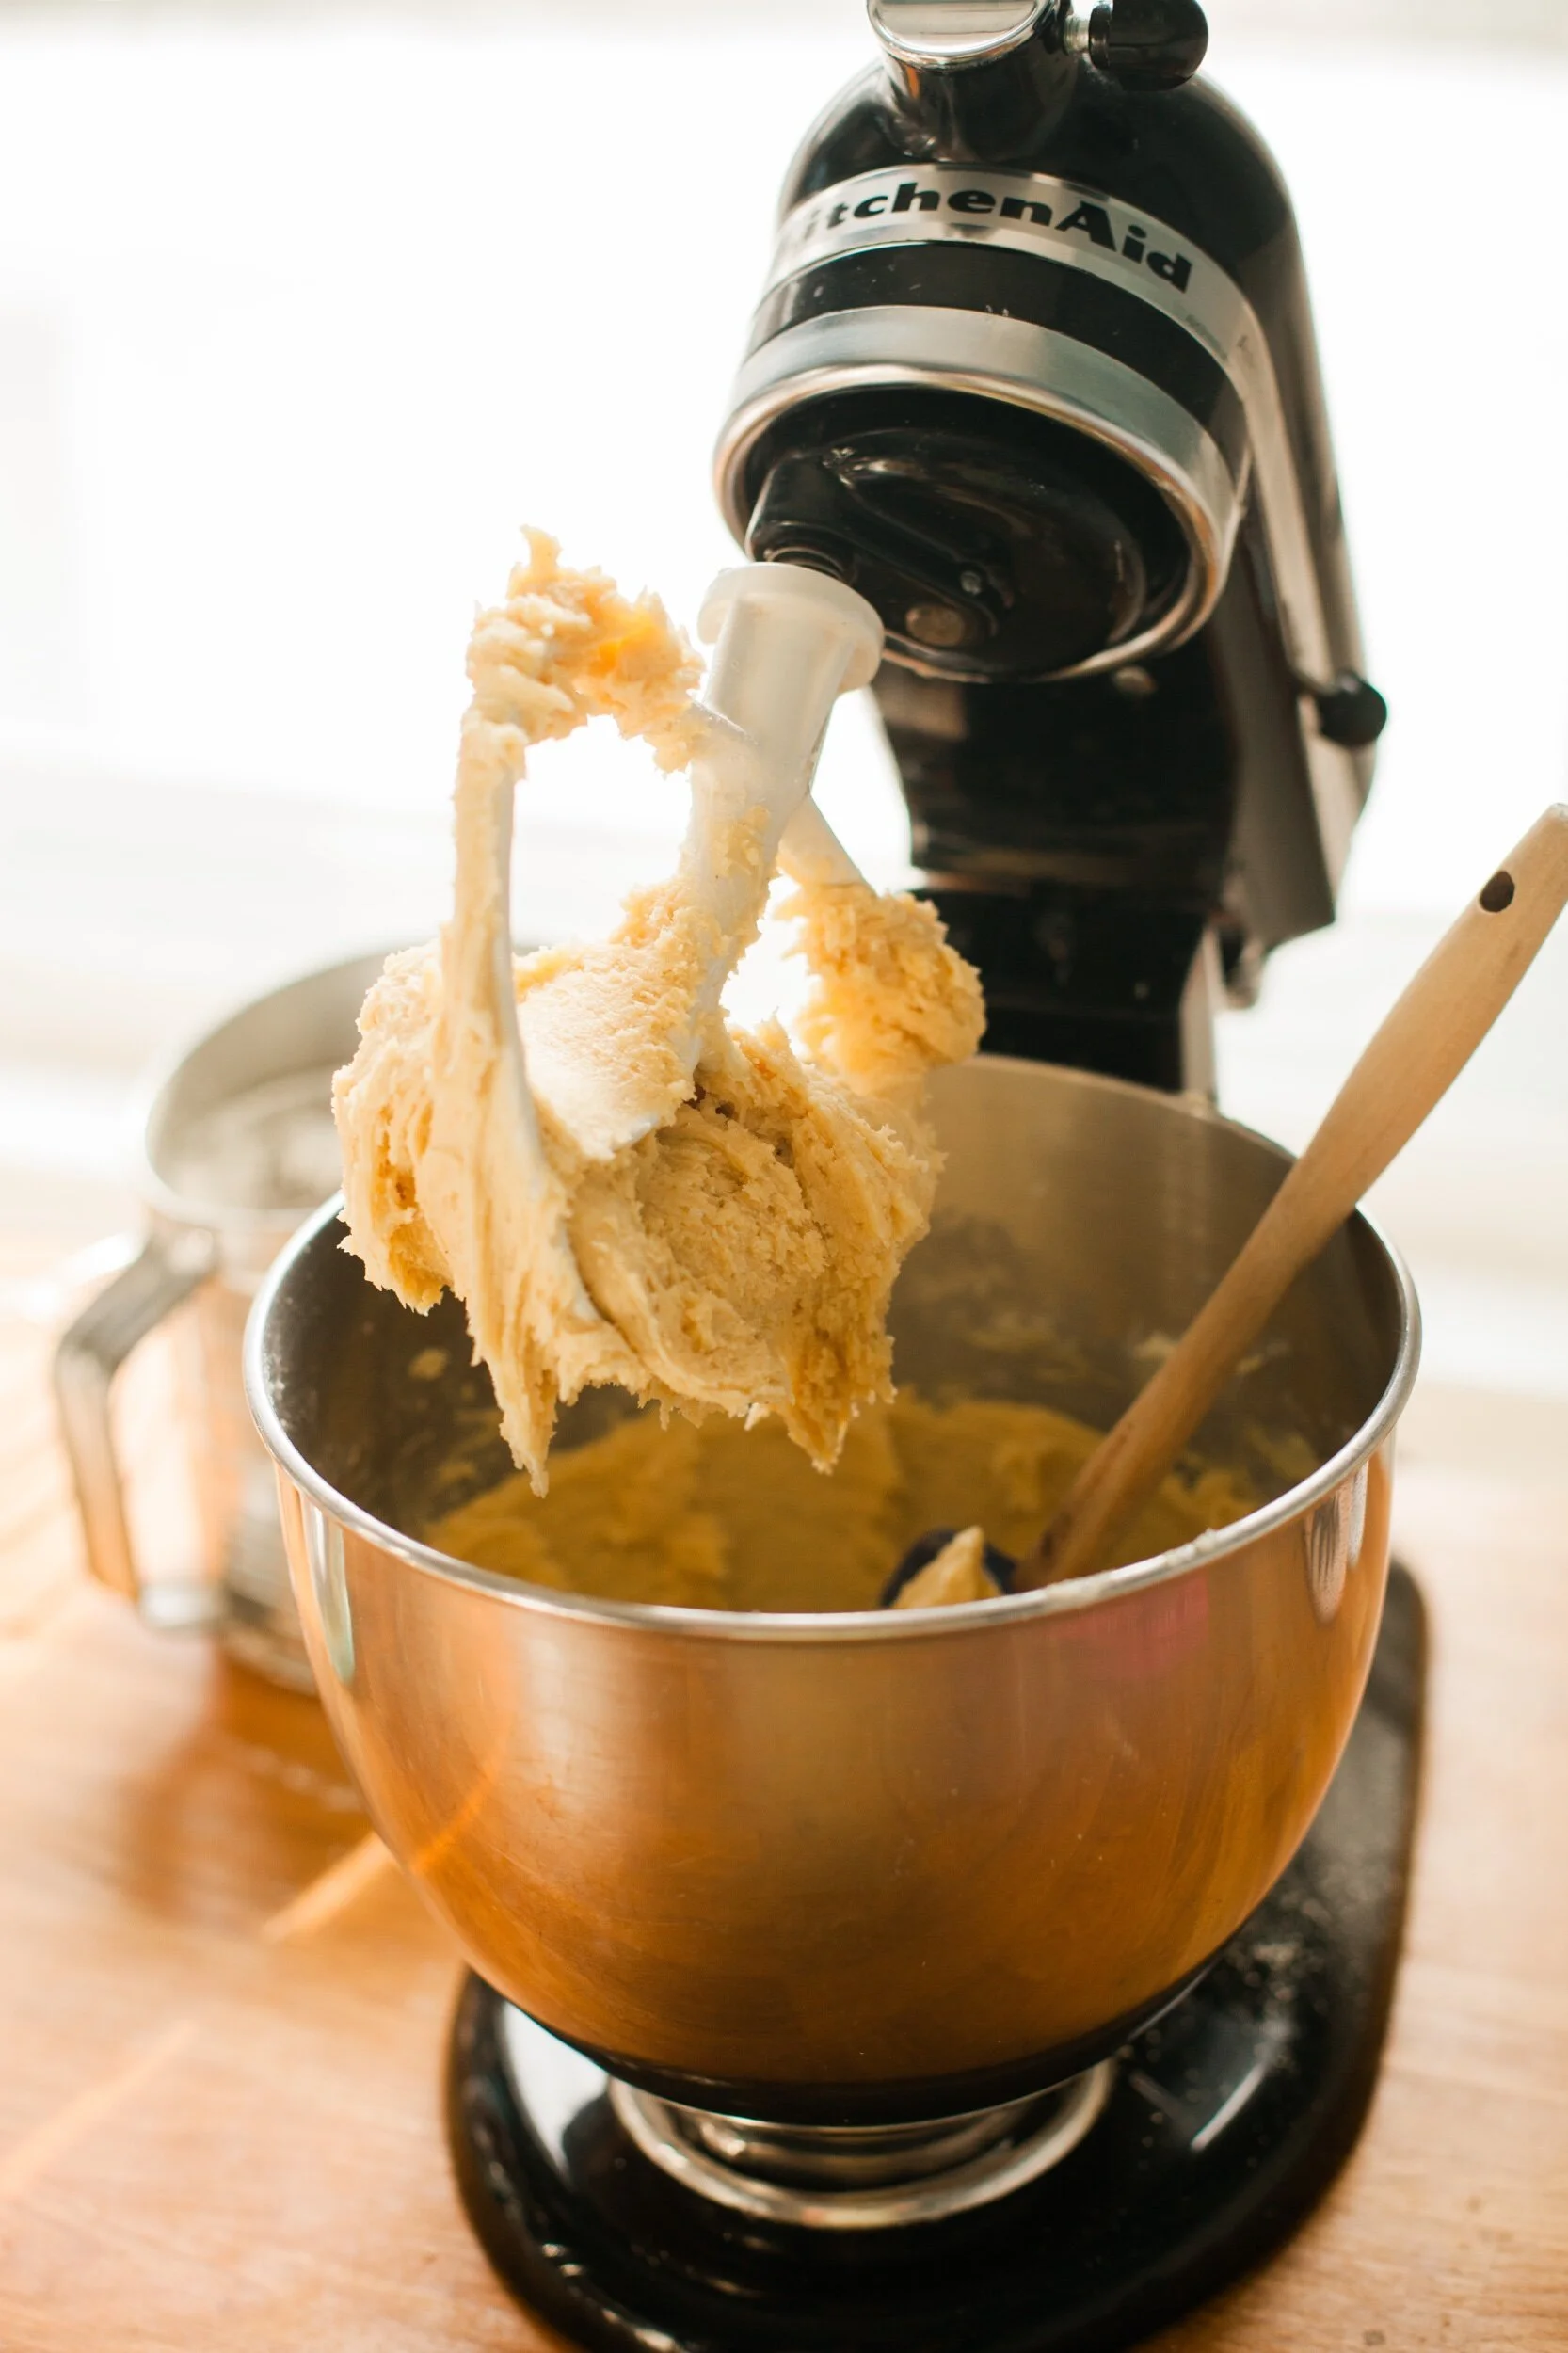
  4. In your stand mixer bowl, beat butter on medium speed until creamy using the paddle attachment. Then add your white and brown sugar, and continue to beat on medium until light and fluffy - about 2-3 minutes.

  5. Scrape down the sides of your bowl and your paddle, then add your egg (or egg replacement), vanilla, and water. Turn mixer on low to combine.

  6. Scrape your bowl down again, then add your dry ingredients - mix on low until combined.

  7. Add your chopped chocolate, and mix on low to incorporate.

  8. Either scoop your dough (using your cookie scoop or 1/3 cup measure) - or, my favorite, weigh out 100g balls of dough. Place four balls on the prepared pan equal distance apart; they will spread, so give them room.

  9. Place the sheet pan in the freezer for 15 minutes. Scoop or weigh out the remaining dough onto a pan to place in the freezer while the others are baking.

  10. Place the baking sheet with the four cookies in the oven and bake for 10 minutes; the center of the cookies will be puffed slightly in the center.

  11. Open the oven, and lift the side of the baking sheet about 4 inches, and gently drop it onto the baking rack. Sarah Kieffer says this will feel so wrong - but trust this genius!

  12. Repeat the pan banging again in 2 minutes, the centers will be slightly puffed again. Repeat a few more times until the cookies have baked for 16-18 minutes. They will be soft, spread out, and golden brown - the centers will be lighter and not fully cooked.

  13. Transfer the baking sheet to a wire rack; let cool completely before removing the cookies from the pan.

  14. *NOTE: with gluten-free flour-based cookies, please transfer the whole piece of foil with the cookies from the pan to the wire rack to not disturb the structural integrity as they cool; they are a little bit more delicate than those made with all-purpose flour.

One little spark.
 

I've always subconsciously been in pursuit of that one thing that 'lights me up.' 

"What am I suppose to do with my life? What is my spark?" The minute I'd find something and think I found it, the sizzle would wear off, and I'd be back to square one. I sometimes feel like 22 from the movie Soul - thinking I’d never find my spark.

When we lived in Chicago and Andrew was in Seminary, I would scroll The Kendall College Culinary Arts curriculum pages. Over and over again, I would read through what each class in the curriculum would teach, what I could learn. I figured I missed my chance to do this new something that might hold my spark. I had just gotten a college degree in Art and Graphic Design, but it was the recession, and I felt stuck in my safe and secure job with benefits. This was not a time to find a new career when you hadn't even gotten a chance to start one you just finished the education for.

Enter internet learning. I've been in coaching groups and online courses, masterminds, and masterclasses—all still searching for perfecting the art of 'doing more of what lights me up.' Through my photography business and blogging endeavors, I've always had fun but was I lit up? I was scared to find out if the answer was no.

A few years ago, I met up for dinner and drinks in Chicago with my friend Cathy. I had taken a few of her courses back in the day and kept in touch via Instagram - I considered her an internet friend, and we even got to meet face to face at a conference. After dinner, we decided to do ice cream, and she said something to me that took me off guard.

"You're someone who just loves to learn."


Wow, I had never thought about myself that way. Was it really that simple - that I loved to learn? I figured I was just a course junkie. Seeing myself in this new light, I realized it was true. I love indulging my curiosity in the pursuit of understanding how something works. I love that the journey sparks the idea of creating something new.

The funny thing is, my dad was the exact same way - a natural-born hands-on learner who always could figure out how something worked. He'd take something apart just to put it back together. He restored a 1959 Ford, built our family home, even piecemealed a Harley Davidson by researching how to do it and ordering each piece on eBay. He had made a career out of being curious - immerse himself into each project sometimes for years - and it was the process of learning and doing that 'lit him up.'

Thursday, I'm debuting a new Everybody Baking Company recipe series called Bakeovers. We'll take a well-known recipe, starting with the internet-famous Pan Banging Chocolate Chip Cookie - and tear it apart to understand how it works. Then we'll put it back together and make sure it's Everybody Approved™. Because the recipe uses traditional ingredients, we'll make it vegan, make it gluten-free, and even see if we can make it both.

Tell me in the comments below - what is that spark that lights you up? Do you know, or are you still waiting to find out?

Five things I don't do in the kitchen
 

Over my decades of baking, I’ve picked up a few tips and tricks here and there to make the process easier. Never did I imagine that I’d stop doing things instead of starting! Here’s a quick list of things I don’t do that help save time when baking!

1. I don't buy premixed gluten-free flour.
I weigh out my gluten-free flour custom for each recipe to have more control over my results.

2. I don't ever assume someone I'm baking for doesn't have a food allergy/intolerance.
It takes no effort to ask if someone has any food preferences or allergies, and if they don't - great! If they do, now I know and can be an even more graceful host when I surprise them with an option they can indulge in, and everyone else can enjoy just as much as an original! Inclusive baking for the win!

3. I don't find recipes on Pinterest.
I will do a quick search to see if I can find what I'm looking for, but if I don't within the first 5 minutes - I crack open a cookbook from a chef or baker I trust. My go-to's are: @inagarten, @gesinebp, @erinmckennasbakery, @cybelepascal, @carlaphall

4. I don't expect one store to have everything I need.
I have a few places in town that I get my ingredients. Check your local health food store, Amazon, grocery store, Aldi, heck, even Walgreens!

5. I don't use measuring cups.
I have abandoned using measuring cups almost all together now that I have switched to weighing my dry ingredients in grams. It creates less dirty dishes (use a spoon or small measuring cup to scoop everything out!) and is extremely accurate (see my first tip, I measure out all my gluten free flours in grams per recipe!)

Have any other ideas of things I should STOP doing in the kitchen? Comment below!

 
LearnComment
Buttered Saltine Crunch Cookie

I sat on the cream linoleum floor, curled up next to the cast iron wood stove to warm my frozen toes fresh from my sopping wet boots. I had just come in from an afternoon in the snow, exploring the woods at my grandma's house in northern Michigan. The afternoon of this memory isn't one snowy day in particular. It's an entire season filled with memories of American Girl books, Anne of Avonlea rentals, and this flavor memory I hold so dearly.

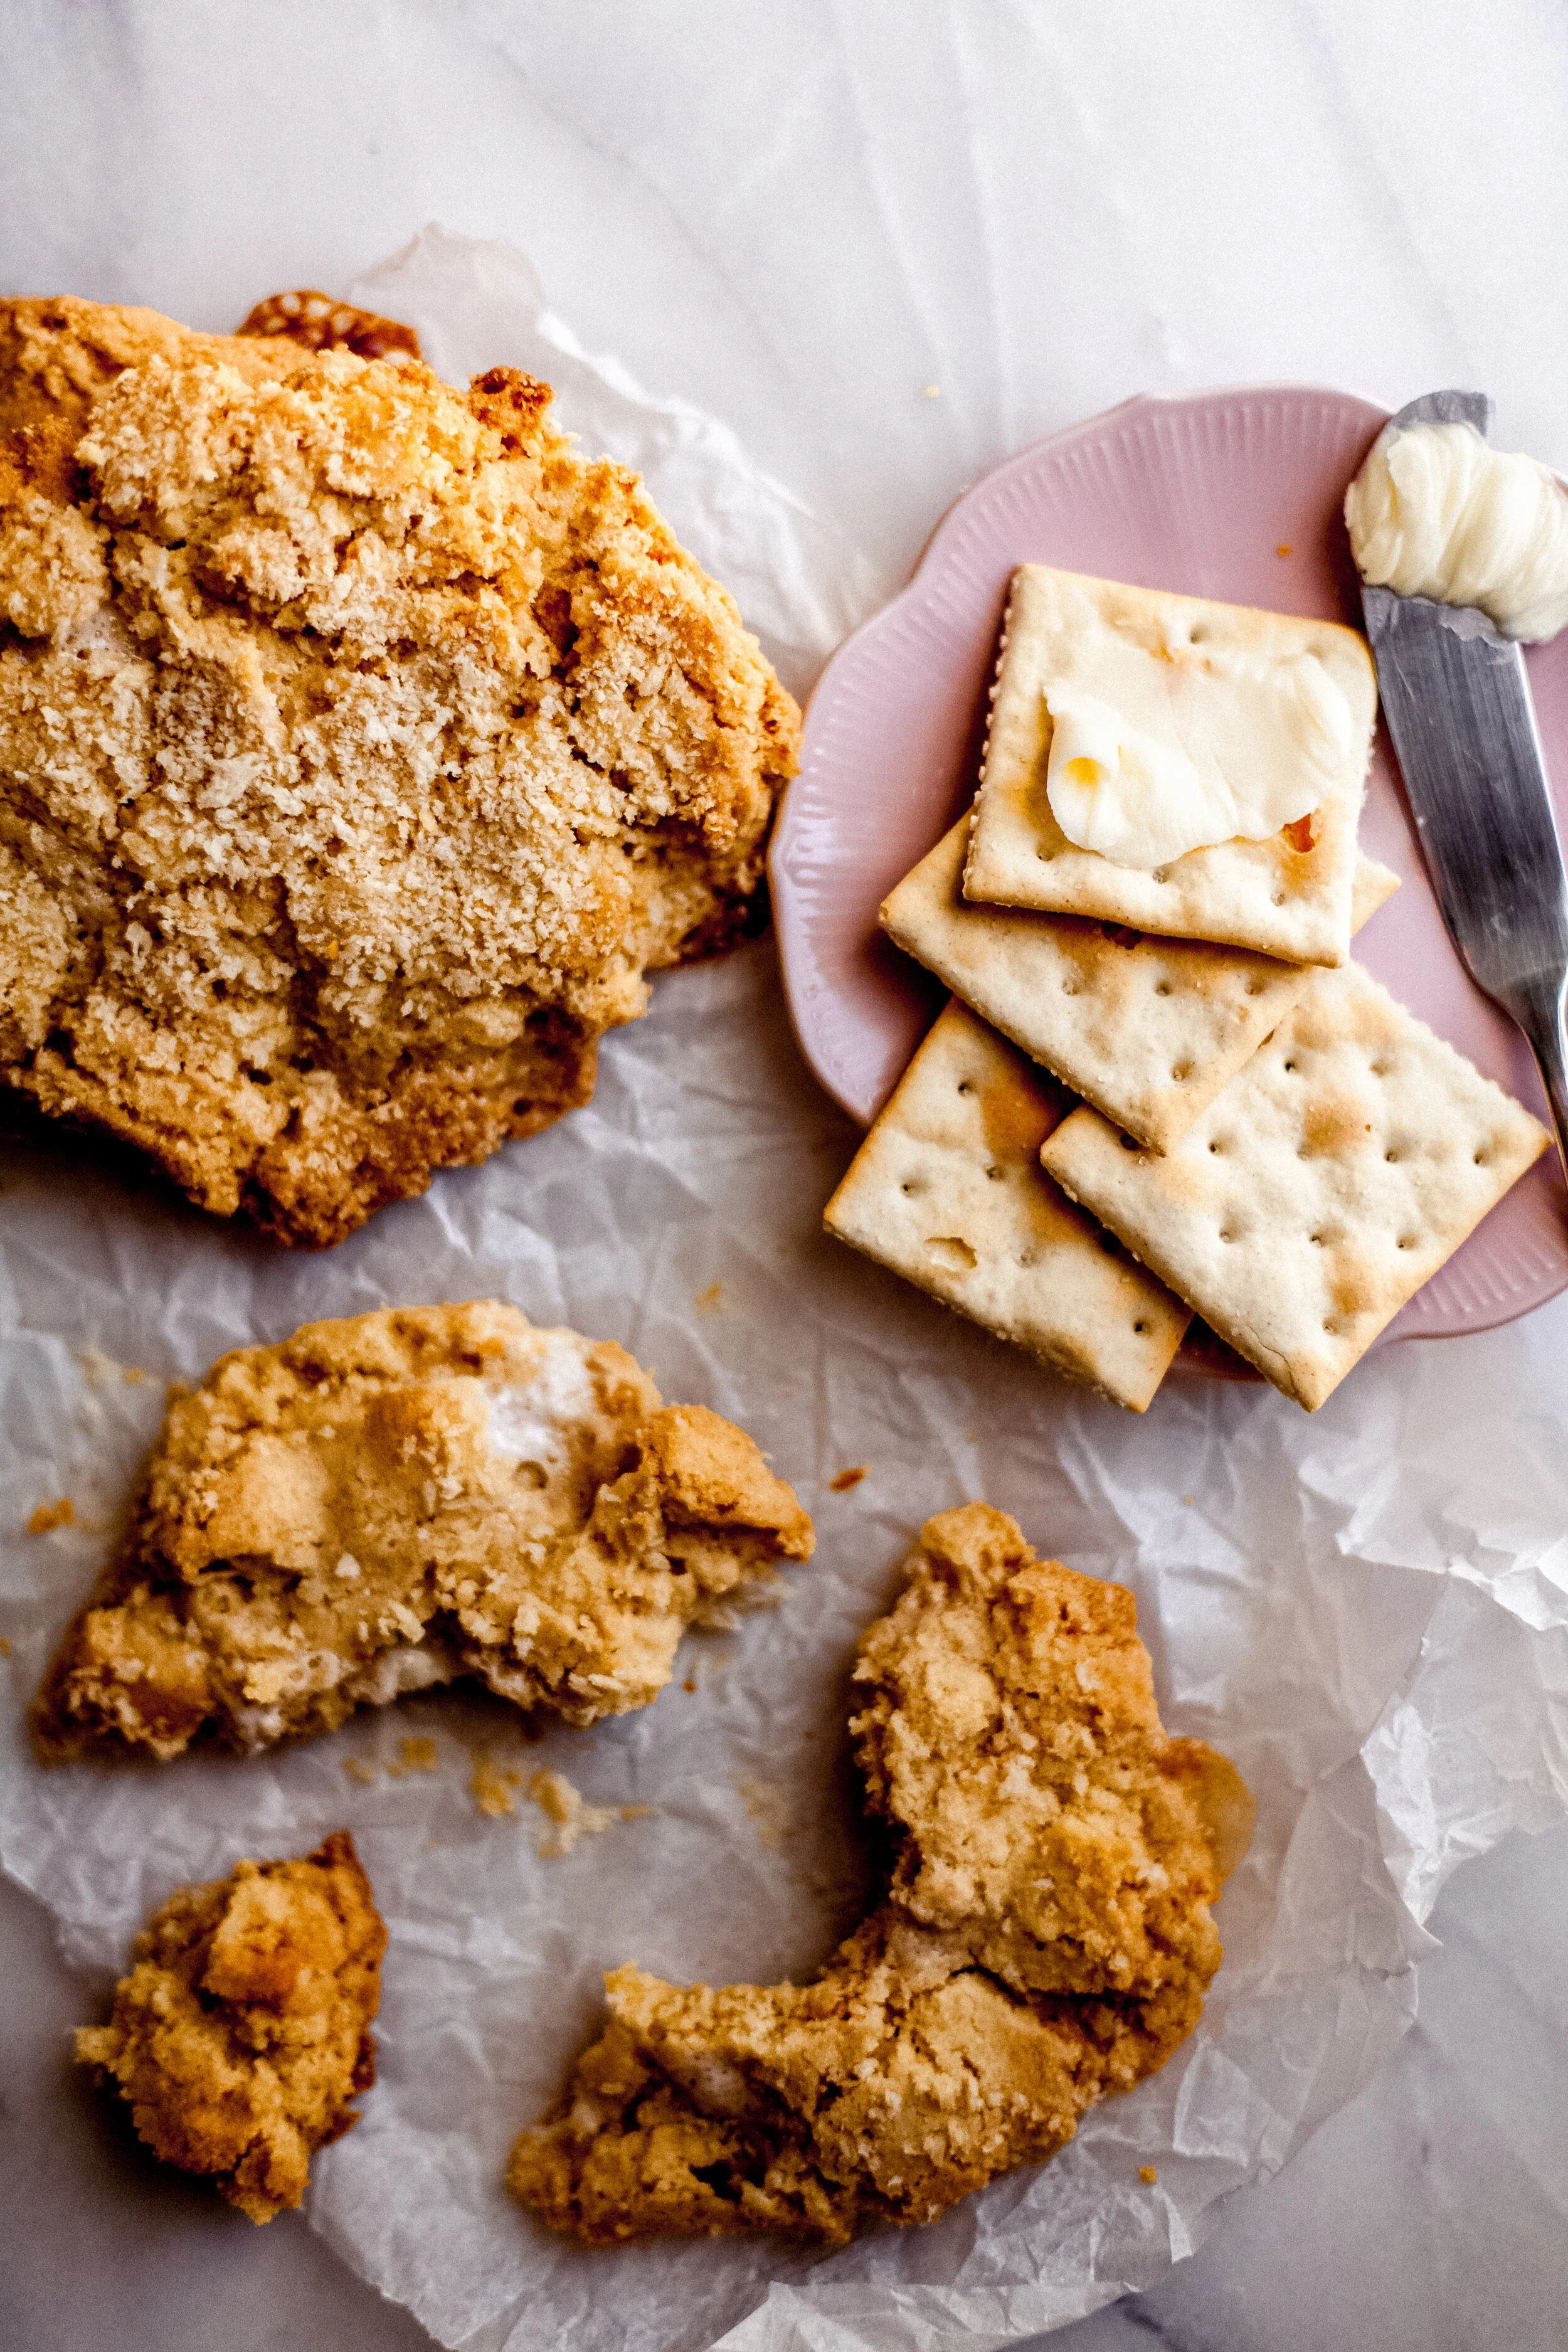
Buttered saltine crackers in my grandma's kitchen.

This spring, I enrolled in Christina Tosi's Monthly course on creative baking. I wanted to flex my culinary education muscles and get inspired by someone I admire while creating a collection of baking courses due out over the next year. The goal of the course is to learn Christina’s recipes and then be inspired to write your own. Honestly, the only recipe I’ve ever taken 100% credit for writing from scratch is the Martian Mallow sundae at Scoops, the ice cream shop I worked at in high school. Other than that, my recipes have been minor riffs on other recipes I've known and loved.

While this recipe starts with a riff on a recipe from the class, it digs deep into my own flavor story centered around this memory. Entire sleeves of Saltines, being devoured along with a sidecar of Fleishman's. My cookie goals were as follows. 

1. To mimic the crunchy familiar feeling of the crackers.

2. To fill the flour with the powdery saltiness that is signature to Saltines.

3. Nail the gooeyness of room temperature butter slathered on those perfect little bites.

This recipe, of course, is Everybody approved with variations from traditional to gluten and dairy free. Choose your ingredient list below and get baking!

Please note, I'm going to be writing recipes using grams instead of cups measurements for dry ingredients from now on. I highly recommend you purchase a kitchen scale. I've had this scale for over a decade, bought on a whim from the clearance section at Sur La Table - it has not disappointed!


Buttered Saltine Crunch Cookie

jump to your ingredients of choice: TRADITIONAL | GLUTEN-FREE | VEGAN | GLUTEN & DAIRY FREE

🥐traditional

Ingredients for the Brown Butter Saltine Crunch

  • 65 g Saltines

  • 15 g non-fat milk powder (1/3 cup + 1 Tbsp) 

  • 2 g kosher salt (3/4 tsp)

  • 50 g browned butter

Ingredients for the Buttered Saltine Crunch Cookie

  • 225 g unsalted butter, at room temperature (2 sticks) 

  • 300 g granulated sugar

  • 100 g light brown sugar

  • 1 egg

  • 130g All-purpose flour

  • 130g ground saltine crackers

  • 3 g baking soda (1/4 tsp)

  • 5 g kosher salt (1 1/2 tsp)

  • 65 g mini marshmallows

  • 60g panko bread crumbs (about a ½ cup)

🌈gluten free

Ingredients for the Brown Butter Saltine Crunch

  • 65 g Schär Gluten-Free Table Crackers

  • 15 g non-fat milk powder (1/3 cup + 1 Tbsp) 

  • 2 g kosher salt (3/4 tsp)

  • 50 g browned butter

Ingredients for the Buttered Saltine Crunch Cookie

  • 225 g unsalted butter, at room temperature (2 sticks) 

  • 300 g granulated sugar

  • 100 g light brown sugar

  • 1 egg

GF Flour Blend:

  • 40g White Rice Flour

  • 24g Cornstarch

  • 22g Brown Rice Flour

  • 20g Tapioca Starch

  • 18g Non-Fat Dry Milk

  • 4g Potato Starch

  • 3g Xanthan Gum

130g ground Schär Gluten-Free Table Crackers

3 g baking soda (1/4 tsp)

5 g kosher salt (1 1/2 tsp)

65 g mini marshmallows

60g gluten-free panko bread crumbs (like Kikkoman brand)

✨vegan

Ingredients for the Brown Butter Saltine Crunch

  • 65 g Saltines

  • 15 g soy milk or coconut milk powder (1/3 cup + 1 Tbsp) 

  • 2 g kosher salt (3/4 tsp)

  • 50 g browned butter (Use Miyoko's European-style vegan butter - it's the only one that will brown due to nut-based proteins)

Ingredients for the Buttered Saltine Crunch Cookie

  • 225 g unsalted vegan butter, at room temperature (2 sticks) 

  • 300 g granulated sugar

  • 100 g light brown sugar

Equivalent of 1 egg

  • Mix 1.5 tablespoons water + 1.5 tablespoons coconut oil + 1 tsp baking powder

130g All-purpose flour

130g ground saltine crackers

3 g baking soda (1/4 tsp)

5 g kosher salt (1 1/2 tsp)

65 g mini marshmallows

60g panko bread crumbs (about a ½ cup)

💯gluten & dairy free

Ingredients for the Brown Butter Saltine Crunch

65 g Schär Gluten-Free Table Crackers

15 g soy milk or coconut milk powder (1/3 cup + 1 Tbsp) 

2 g kosher salt (3/4 tsp)

50 g browned vegan butter (Use Miyoko's European-style vegan butter - it's the only one that will brown due to nut-based proteins)

Ingredients for the Buttered Saltine Crunch Cookie

225 g unsalted vegan butter, at room temperature (2 sticks) 

300 g granulated sugar

100 g light brown sugar

Equivalent of 1 egg

  • Mix 1.5 tablespoons water + 1.5 tablespoons coconut oil + 1 tsp baking powder

GF Flour Blend:

  • 40g White Rice Flour

  • 24g Cornstarch

  • 22g Brown Rice Flour

  • 20g Tapioca Starch

  • 18g Non-Fat Dry Milk

  • 4g Potato Starch

  • 3g Xanthan Gum

130g ground Schär Gluten-Free Table Crackers

3 g baking soda (1/4 tsp)

5 g kosher salt (1 1/2 tsp)

65 g mini marshmallows

60g gluten-free panko bread crumbs (like Kikkoman brand)


Materials

Stand mixer

Kitchen scale

Small and medium bowls and containers

Spatula

2 3/4 oz cookie scoop or 1/3 cup measure

Parchment paper

Sheet pan


Instructions

Make the Brown Butter Saltine Crunch

  1. Preheat your oven to 275° F

  2. To brown your butter, melt in a saucepan over medium-low heat until the butter becomes nutty golden brown. (For a tutorial, Sallys Baking Addiction has a great one). Set aside until you're ready to use.

  3. Place the crackers in a bowl and crush them with your hands until they are in half-inch or smaller pieces.

  4. Add the milk powder and salt and toss to mix.

  5. Pour butter over crackers and toss to coat, then spread the mixture evenly on a sheet pan lined with parchment.

  6. Bake for 20 minutes and cool before incorporating it into your cookie dough. Pieces should be golden brown and have a soft crunch when cooled.

Make your cookie dough.

  1. Preheat the oven to 375° F.

  2. Weigh out your saltine crackers and place them into a food processor fitted with a steel blade. Process until crackers are fine and powdery.

  3. Add the butter and sugar to your mixer bowl. Cream together at medium to high speed for 3 minutes using the paddle attachment.

  4. Scrape down the sides of the bowl and the paddle, add the egg, and beat on high for 7-8 minutes.

  5. Measure your flour, pulverized cracker crumbs, baking soda, and salt together and sift them together with a fork to distribute everything together.

  6. With the mixer on low, add dry ingredients. Mix for about 1 minute and then scrape down the sides of the bowl to make sure every bit of the butter-sugar mix is incorporated with the flour mix until there is no dry flour bits in the bowl.

  7. Add your Brown Butter Cracker Bits and mini marshmallows on low speed for about one minute until evenly distributed.

  8. Using a 2 3⁄4 oz ice cream scoop (or you can measure each cookie on your scale to be 2.75 oz), scoop one portion of your dough, and roll in a bowl of panko bread crumbs. Place on a sheet pan lined with parchment and push down on the top slightly so the cookie dough balls look like small hockey pucks. These cookies do spread when baked, so be sure to leave about 2 inches between each cookie on the sheet.

  9. Refrigerate for 10 minutes, then bake for 12 minutes or until the top starts to be golden brown. Take the cookies out of the oven but do not remove a cookie from the pan for 10-15 minutes. These cookies are super soft, but hard as they cool. If you try to remove them from the pan too soon, they'll fall apart. However, this is key to the ooey-gooey factor, so it's totally worth it.


buttered-saltine-crunch-cookie-3.jpg


Vulnerability and Shrimp Tacos

Today I asked a few questions in my Instagram stories to plan the year ahead and what I hope to Everybody Baking Co to provide. I asked, "do you want me to bring back cooking videos," and the overwhelming response was YES! 🌮

I started making my cooking videos on my stories about 5 years ago now, mostly when I was home alone making dinner or on Saturday mornings making breakfast with Stella. It reflects more of 'me' than anything I probably have shared online at this point. They're spontaneous, unscripted, full of mistakes. On the fly decisions to fix errors or swap ingredients I don't have. As with most things, I got in my head about it way too much, mainly regarding my own self-doubts.

We're on the heels of the Meghan and Harry/Oprah interview this morning. As I sipped my coffee watching the debrief on the morning shows, Oprah shared something that made me go ‘Whaaaat?’.

via GIPHY

</center

It was a conversation she had with Meghan in 2018 where Meghan had been told it would be best if she could be 50% less than she was.

Wow. I've been told that exact thing not once, not twice, but multiple times in my life.

"If you were less (loud/happy/successful/intimidating/the list goes on depending on the scenario and season of my life I was in)...things would be better for you."

So this morning, I'm making a promise to you. To not hide who I am. To be more vulnerable. To inspire you to do the same. 

Whether it be to encourage you to start your own baking adventure.

Or to share more about yourself if you're feeling pressure to edit who you are.

Or just make a little shrimp taco out of leftovers from your fridge and share it on your Instagram.

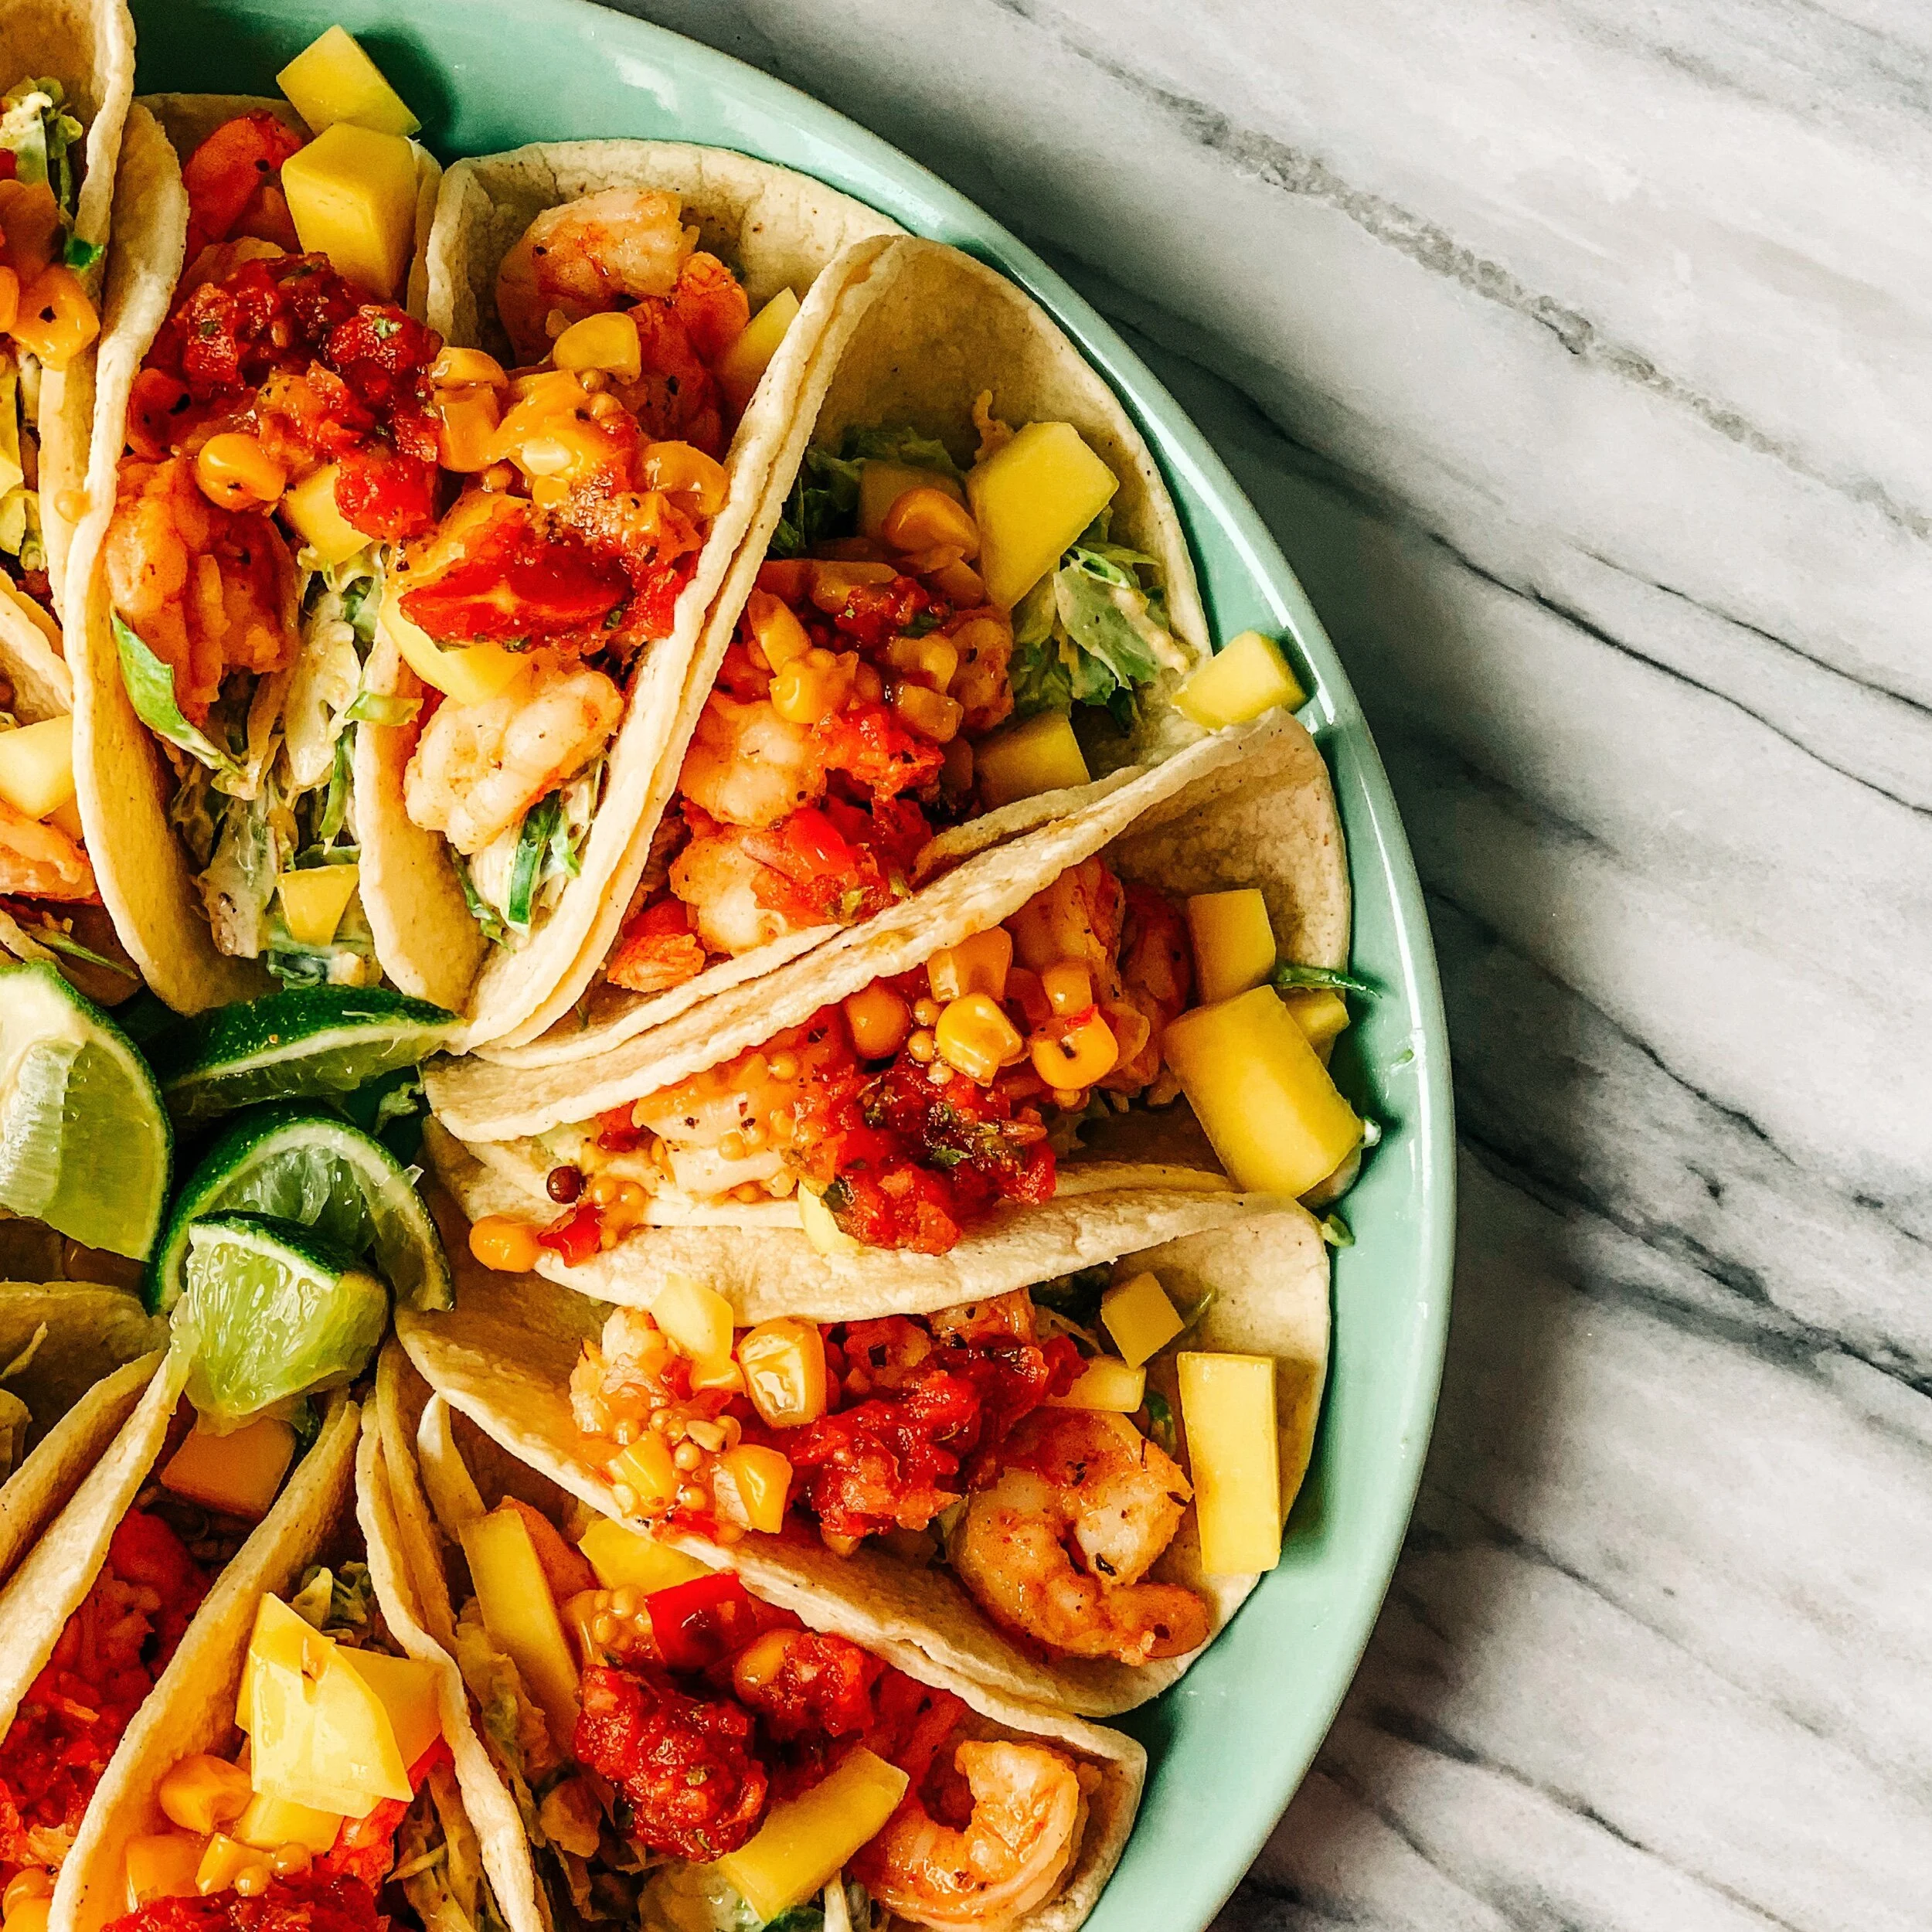
These shrimp tacos are the kind of thing that got me interested in cooking in the first place. I started cooking because I wanted to cook food at home that reminded me of something I'd had at a restaurant. Yesterday, Andrew and I were missing eating at one of our favorite restaurants - Border Grill in Marquette. We were definitely not going to drive an hour to go through the drive-through to get shrimp tacos, so I decided to try and make some for lunch with two goals. Use leftovers and as little effort as possible.

The hardest part about writing this recipe is...it's not a recipe. It's literally leftovers in my fridge, mixed in with one or two things I made on the fly. Hopefully, you can take my bits and bobs and create something of your very own.

54E689D4-E491-4C8F-B93C-F992E3F7A112.jpeg54E689D4-E491-4C8F-B93C-F992E3F7A112.jpeg

Border Grill Shrimp tacos have a cabbage slaw, a white sauce, shrimp, and you can put salsa of your choice on top. What I had in my fridge was:

1️⃣ White corn street tacos size tortillas

2️⃣ A dozen shredded Brussels Sprouts from a salad (shredded with my food processor)

3️⃣ Diced mango (could use canned pineapple!)

4️⃣ Shrimp (I always buy the raw - aka, gray ones - frozen, deveined, with no tails)

5️⃣ Not even a full tablespoon of Trader Joe's corn salsa (again, this was clean out the fridge time) and homemade salsa I also had in the fridge for chips.

All I had to do was make shrimp and crema, so here is my low effort versions:

  • I did not measure anything to make the crema - I simply emptied out the last of the mayo and sour cream I had. I would imagine something like this: about 1/4 cup mayo, 1/4 cup sour cream, lime juice, hot sauce, cilantro, and spiced to taste with salt, garlic powder, and cumin. Then toss that with the shredded Brussels sprouts (or you could use bagged coleslaw mix).

  • I boiled the shrimp to thaw and cook them in one step, plus reduce the amount of effort it would take to clean that pan vs. sauteeing thawed shrimp. I melted some butter and added spices I already had out from the slaw (cumin, garlic, salt, and then a little oregano).


Instead of a DIY assembly, I put each taco together on a giant dinner plate. That way, we got to focus on chowing down instead of stopping, assembling, eating, and then doing it all over again.

If you make something similar, would you share it in your Instagram stories and tag me at @everybodybakingco? I'd LOVE to see the ripple effect a simple 'non-recipe' post could have in inspiring you to cook 'on the fly.'

Not DessertComment
Heirloom Scottish Shortbread Cutouts
_MG_9885.jpeg_MG_9885.jpeg
_MG_9893.jpeg_MG_9893.jpeg

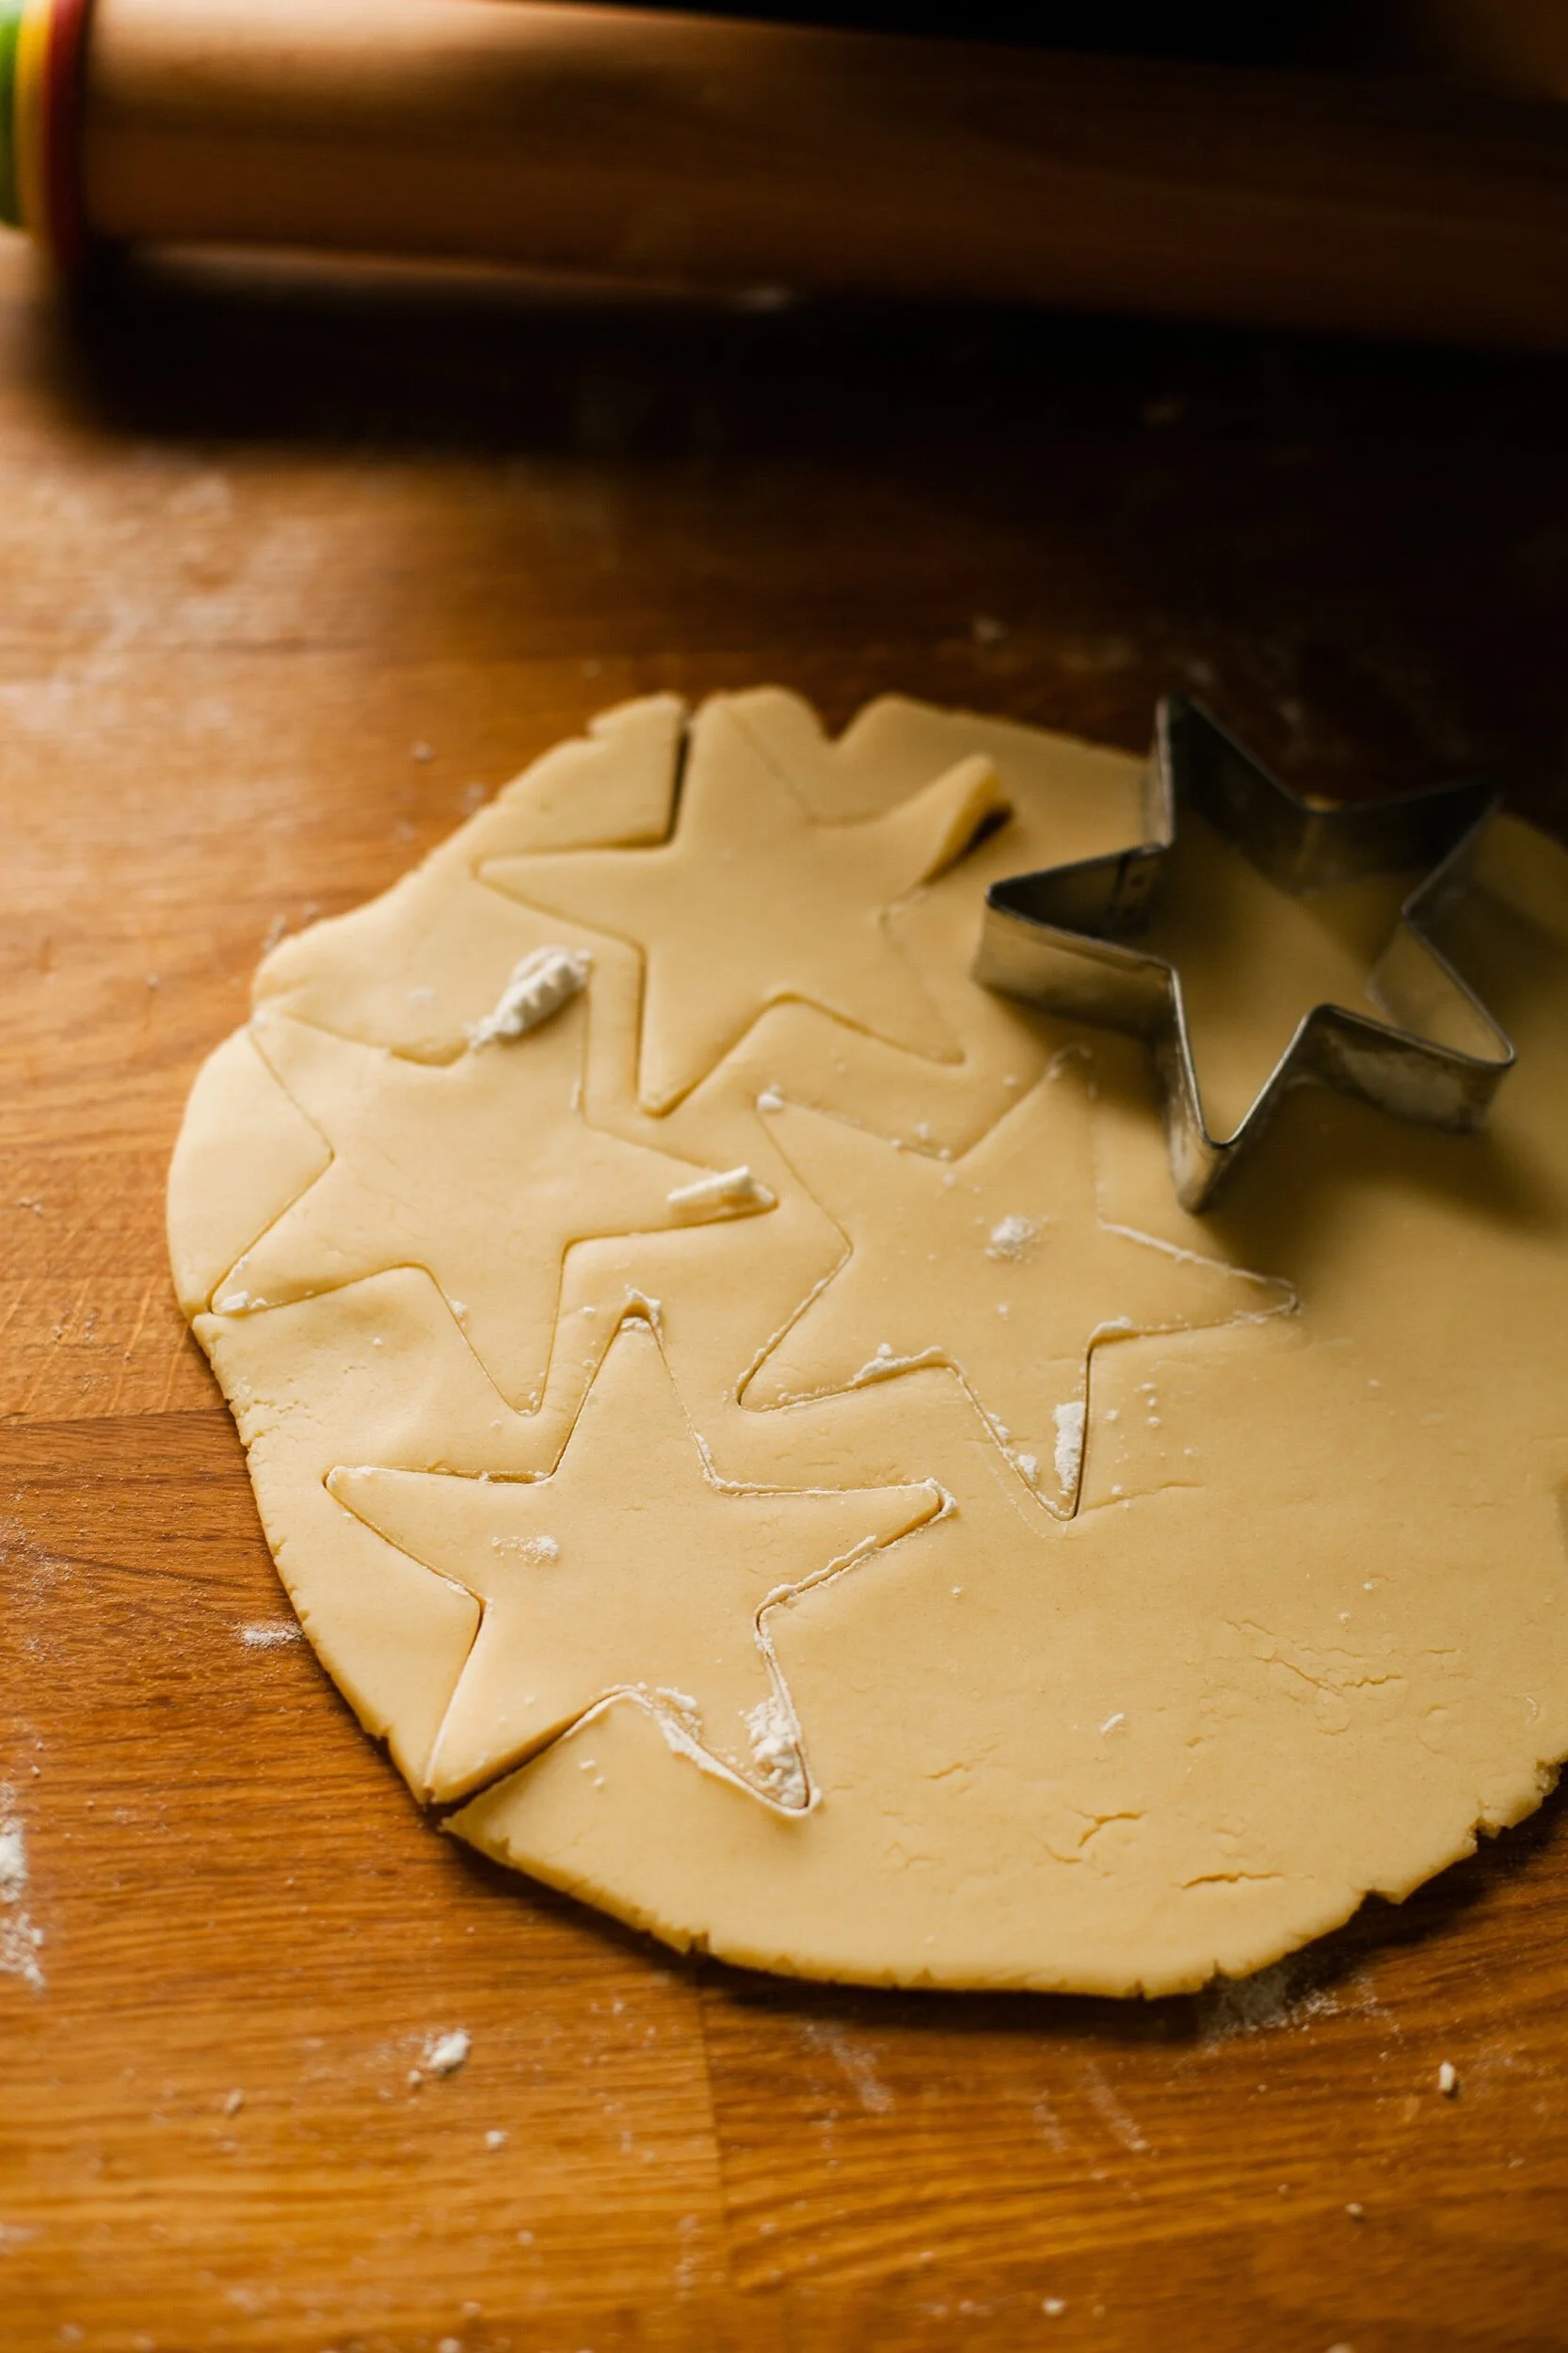
I started baking at Christmas for gift giving

long ago, as an easy way to find something to do over Christmas break in college but also avoid the dreaded "What do I get for so and so at Christmas that that's NOT lotion?"

I tried my hand at icing and piping cookies a few years ago and realized the gear and patience in learning is only a small investment that pays off much from year to year.

I hope you enjoy making these cookies every year as much as I do!


  • 2 sticks unsalted butter, softened at room temp

  • 1 tbsp shortening

  • 1/2 tsp salt

  • 1 large egg

  • 1/2 cup sugar

  • 3 cups All-Purpose Flour

  • 1 tsp vanilla extract

  • 1/2 tsp almond extract

  1. In a bowl or stand mixer, mix butter, the shortening with the egg. Add sugar and extracts; cream until just smooth, about 1 minute.

  2. Slowly add in flour and salt, continuously scraping down the bowl's sides and beating until everything is just incorporated. If you're using a hand mixer, you may need to knead in the last cup of flour, so the beaters don't get clogged.

  3. Working in three batches, roll out each batch of dough between two parchment paper sheets until dough is about 1/4" thick.

  4. Cut your shapes and refrigerate for at least 30 minutes.

  5. Preheat the oven to 350 degrees Fahrenheit. When you're ready to bake, turn the oven down to 325 and bake for 12-17 minutes, depending on the size of your cutouts.

  6. Cool on baking sheet for 5 minutes, then transfer to a baking rack to continue cooling completely before decorating.

_MG_9909.jpeg_MG_9909.jpeg

window.fd('form', {formId: '5f865663bf43d85f23bfb7a9',containerEl: '#fd-form-5f865663bf43d85f23bfb7a9'});

CookiesComment
Vanilla Bean Scone Challenge
smile-and-eat-a-scone-everybody-baking-co.jpgsmile-and-eat-a-scone-everybody-baking-co.jpg
traditional-vegan-allergy-free-gluten-free-vanilla-bean-scone.jpgtraditional-vegan-allergy-free-gluten-free-vanilla-bean-scone.jpg

If you’re new to Everybody Baking Co…

you might have noticed that we strive to celebrate Equal Opportunity Treats for All. That anyone with any type of food preference, intolerance, or skill level could come and find something incredible to bake.

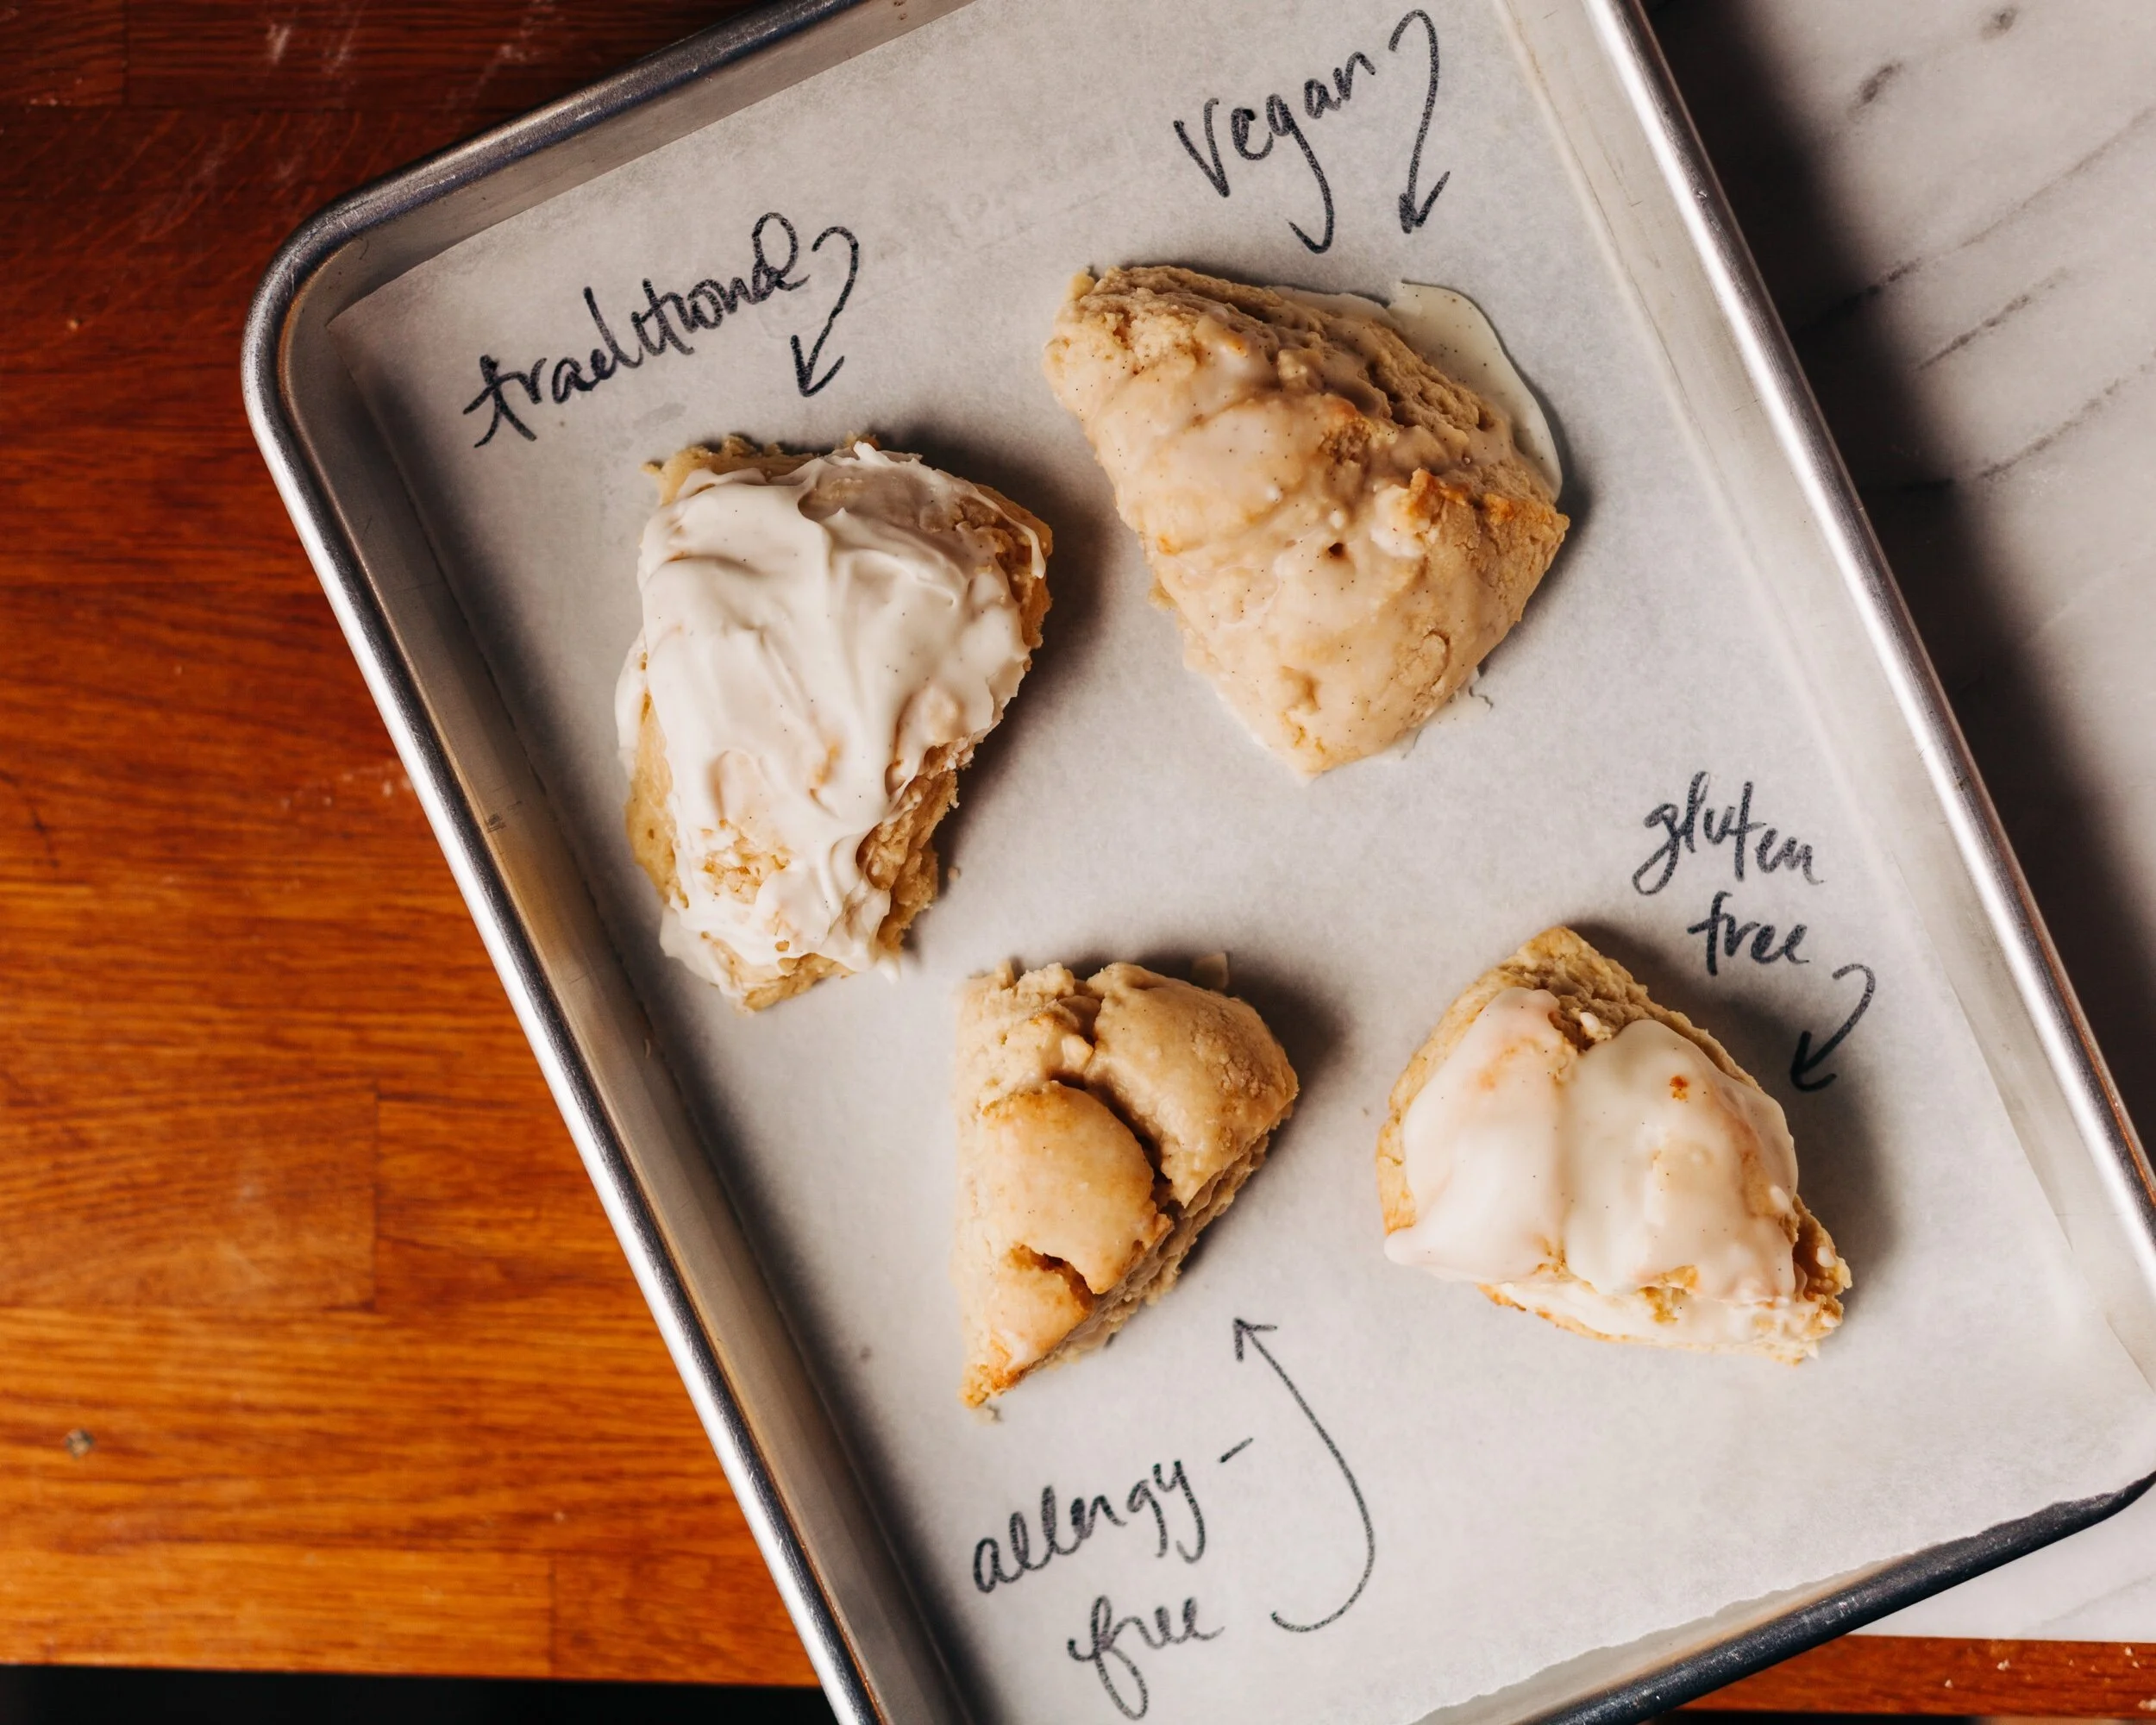
For months I’ve been wrestling with this question “What does Equal Opportunity really mean?” - and the picture above is a manifestation of my processing. One recipe, four ways to get to that result.

Just to remind you, we have:

🥐traditional (flour eggs milk butter - all fair game)

✨vegan (flour is cool but you avoid butter eggs and milk)

🌈gluten free (avoiding flour but embracing milk butter and eggs)

💯allergy free (using alternatives to flour, milk, eggs and butter in all circumstance)

And just to note, they all taste incredible (my family got the full sheet pan of 32 scones and everyone agreed that while all of them were tasty, the Gluten Free were the BEST in show).

So I give you the first in this series - and I’d love to hear what you think. Here’s your homework if you’re up for the challenge:


scone Homework!

  1. Choose a recipe that fits your baking style (🥐Traditional, ✨Vegan, 🌈Gluten Free or 💯Allergy Free).

  2. Bake it til’ you make it! Enjoy the process and the results of your scone of choice.

  3. Post your Scone on Instagram and use the hashtag #everybodybakescones so we can celebrate our community bakes!


jump to your recipe of choice: TRADITIONAL | GLUTEN FREE | VEGAN | ALLERGY-FREE

🥐traditional

Dough:

  • 1 egg

  • ¾ cup cream

  • 1 tbsp apple cider vinegar

  • 2 tsp vanilla extract

  • 3 cups All-Purpose Flour

  • ½ cup sugar

  • 2 tbsp baking powder

  • ¼ tsp salt

  • 200g Fat

    • 1 stick butter (about ~110 g)

    • 1 stick shortening (about ~90g)

Glaze:

  • 1 cup powdered sugar

  • ¼ cup cream

  • ½ tsp vanilla bean paste or extract


Method

Dough!

  1. Preheat the oven to 350 degrees F.

  2. Stir together cream, apple cider vinegar, and vanilla extract in a measuring cup until it’s one mixture. Set aside for 10 minutes.

  3. Measure and whisk together the flour, sugar, baking powder, and salt. Cut the butter and shortening into cubes - add to the flour mixture and use a pastry cutter or your fingers to break up the fat into the flour (I like to think of this as I’m squishing flour into the fat pieces). Continue until the flour looks like coarse sand.

  4. Add the egg to the cream mixture and mix until egg is incorporated. Add to flour mixture and mix with your hands, prioritizing pulling the flour at the bowl’s bottom into the mix. Keep mixing until a rough dough forms; it’s okay if it’s still a little crumbly - that’s what we’re going for!

  5. Flour your counter or board, and dump the dough out and lightly press it all together in one big round. With a rolling pin, roll it out until it’s anywhere from ½ to 1 inch thick (I prefer a thicker scone, so I’m always more on the 1-inch side)

  6. Cut into eight wedges with a sharp knife and place on a baking sheet lined with parchment to bake for 18 minutes or until they’re golden brown. Cool for 15 minutes on the cookie sheet, and then lift the parchment over to a cooling rack for the next step (makes cleanup for the next part super easy).

Glaze!

  1. Measure out the cream in a measuring cup and add the vanilla bean paste (this gives it those beautiful bean bits! But you can use extract). Add powdered sugar and whisk with a fork until the mixture is smooth.

    It shouldn’t be thick like frosting (see my frosting example in my photo…it’s too thick), but it should not be water - it should coat the smooth part of the back of the fork. Adjust powdered sugar or milk quantities to get the consistency right.

  2. With a spoon, take a level spoonful of glaze and glaze each scone.

  3. Allow the glaze to set, about an hour.


🌈gluten free

Dough:

  • 1 egg

  • ¾ cup cream

  • 1 tbsp apple cider vinegar

  • 2 tsp vanilla extract

  • 3 cups 1:1 or Cup for Cup Gluten Free Flour that contains xantham or guar gum (Rice Flour based blend preferred)

  • ½ cup sugar

  • 2 tbsp baking powder

  • ¼ tsp salt

  • 200g Fat

    • 1 stick butter (about ~110 g)

    • 1 stick shortening (about ~90g)

Glaze:

  • 1 cup powdered sugar

  • ¼ cup cream

  • ½ tsp vanilla bean paste or extract


Method

Dough!

  1. Preheat the oven to 350 degrees F.

  2. Stir together cream, apple cider vinegar, and vanilla extract in a measuring cup until it’s one mixture. Set aside for 10 minutes.

  3. Measure and whisk together the flour, sugar, baking powder, and salt. Cut the butter and shortening into cubes - add to the flour mixture and use a pastry cutter or your fingers to break up the fat into the flour (I like to think of this as I’m squishing flour into the fat pieces). Continue until the flour looks like coarse sand.

  4. Add the egg to the cream mixture and mix until egg is incorporated. Add to flour mixture and mix with your hands, prioritizing pulling the flour at the bowl’s bottom into the mix. Keep mixing until a rough dough forms; it’s okay if it’s still a little crumbly - that’s what we’re going for!

  5. Flour your counter or board, and dump the dough out and lightly press it all together in one big round. With a rolling pin, roll it out until it’s anywhere from ½ to 1 inch thick (I prefer a thicker scone, so I’m always more on the 1-inch side)

  6. Cut into eight wedges with a sharp knife and place on a baking sheet lined with parchment to bake for 18 minutes or until they’re golden brown. Cool for 15 minutes on the cookie sheet, and then lift the parchment over to a cooling rack for the next step (makes cleanup for the next part super easy).

Glaze!

  1. Measure out the cream in a measuring cup and add the vanilla bean paste (this gives it those beautiful bean bits! But you can use extract). Add powdered sugar and whisk with a fork until the mixture is smooth.

    It shouldn’t be thick like frosting, but it should not be water - it should coat the smooth part of the back of the fork. Adjust powdered sugar or milk quantities to get the consistency right.

  2. With a spoon, take a level spoonful of glaze and glaze each scone.

  3. Allow the glaze to set, about an hour.


✨vegan

Dough:

  • 1/4 cup dairy free yogurt

  • 3/4 cup dairy free milk

  • 1 tbs apple cider vinegar

  • 2 tsp vanilla extract

  • 3 cups All-Purpose Flour

  • ½ cup sugar

  • 2 tbsp baking powder

  • ¼ tsp salt

  • 200g Fat

    • 1 stick earth balance Unsalted baking stick (about ~110 g)

    • 1 stick shortening (about ~90g)

Glaze:

  • 1 cup powdered sugar

  • 1 tbsp dairy free milk

  • ½ tsp vanilla bean paste or extract

Method

Dough!

  1. Preheat the oven to 400 degrees F.

  2. Stir together yogurt, milk, apple cider vinegar, and vanilla extract in a measuring cup until it’s one mixture. Set aside for 10 minutes.

  3. Measure and whisk together the flour, sugar, baking powder, and salt. Cut the butter and shortening into cubes - add to the flour mixture and use a pastry cutter or your fingers to break up the fat into the flour (I like to think of this as I’m squishing flour into the fat pieces). Continue until the flour looks like coarse sand.

  4. Add the yogurt mixture to flour mixture and mix with your hands, prioritizing pulling the flour at the bowl’s bottom into the mix. Keep mixing until a rough dough forms; it’s okay if it’s still a little crumbly - that’s what we’re going for!

  5. Flour your counter or board, and dump the dough out and lightly press it all together in one big round. With a rolling pin, roll it out until it’s anywhere from ½ to 1 inch thick (I prefer a thicker scone, so I’m always more on the 1-inch side)

  6. Cut into eight wedges with a sharp knife and place on a baking sheet lined with parchment to bake for 13 minutes or until they’re golden brown. Cool for 15 minutes on the cookie sheet, and then lift the parchment over to a cooling rack for the next step (makes cleanup for the next part super easy).

Glaze!

  1. Measure out the dairy free milk in a measuring cup and add the vanilla bean paste (this gives it those beautiful bean bits! But you can use extract). Add powdered sugar and whisk with a fork until the mixture is smooth.

    This tends to be a little runny, but you can play with the recipe to adjust powdered sugar or milk quantities to get the consistency right.

  2. With a spoon, take a level spoonful of glaze and glaze each scone.

  3. Allow the glaze to set, about an hour.


💯allergy free

Dough:

  • 1/4 cup dairy free yogurt

  • 3/4 cup dairy free milk

  • 1 tbs apple cider vinegar

  • 2 tsp vanilla extract

  • 3 cups 1:1 or Cup for Cup Gluten Free Flour that contains xantha or guar gum (Rice Flour based blend preferred)

  • ½ cup sugar

  • 2 tbsp baking powder

  • ¼ tsp salt

  • 200g Fat

    • 1 stick Earth Balance Unsalted baking stick (about ~110 g)

    • 1 stick shortening (about ~90g)

Glaze:

  • 1 cup powdered sugar

  • 1 tbsp dairy free milk

  • ½ tsp vanilla bean paste or extract

Method

Dough!

  1. Preheat the oven to 400 degrees F.

  2. Stir together yogurt, milk, apple cider vinegar, and vanilla extract in a measuring cup until it’s one mixture. Set aside for 10 minutes.

  3. Measure and whisk together the flour, sugar, baking powder, and salt. Cut the butter and shortening into cubes - add to the flour mixture and use a pastry cutter or your fingers to break up the fat into the flour (I like to think of this as I’m squishing flour into the fat pieces). Continue until the flour looks like coarse sand.

  4. Add the yogurt mixture to flour mixture and mix with your hands, prioritizing pulling the flour at the bowl’s bottom into the mix. Keep mixing until a rough dough forms; it’s okay if it’s still a little crumbly - that’s what we’re going for!

  5. Flour your counter or board, and dump the dough out and lightly press it all together in one big round. With a rolling pin, roll it out until it’s anywhere from ½ to 1 inch thick (I prefer a thicker scone, so I’m always more on the 1-inch side)

  6. Cut into eight wedges with a sharp knife and place on a baking sheet lined with parchment to bake for 13 minutes or until they’re golden brown. Cool for 15 minutes on the cookie sheet, and then lift the parchment over to a cooling rack for the next step (makes cleanup for the next part super easy).

Glaze!

  1. Measure out the dairy free milk in a measuring cup and add the vanilla bean paste (this gives it those beautiful bean bits! But you can use extract). Add powdered sugar and whisk with a fork until the mixture is smooth.

    This tends to be a little runny, but you can play with the recipe to adjust powdered sugar or milk quantities to get the consistency right.

  2. With a spoon, take a level spoonful of glaze and glaze each scone.

  3. Allow the glaze to set, about an hour.


window.fd('form', {formId: '5f865663bf43d85f23bfb7a9',containerEl: '#fd-form-5f865663bf43d85f23bfb7a9'});

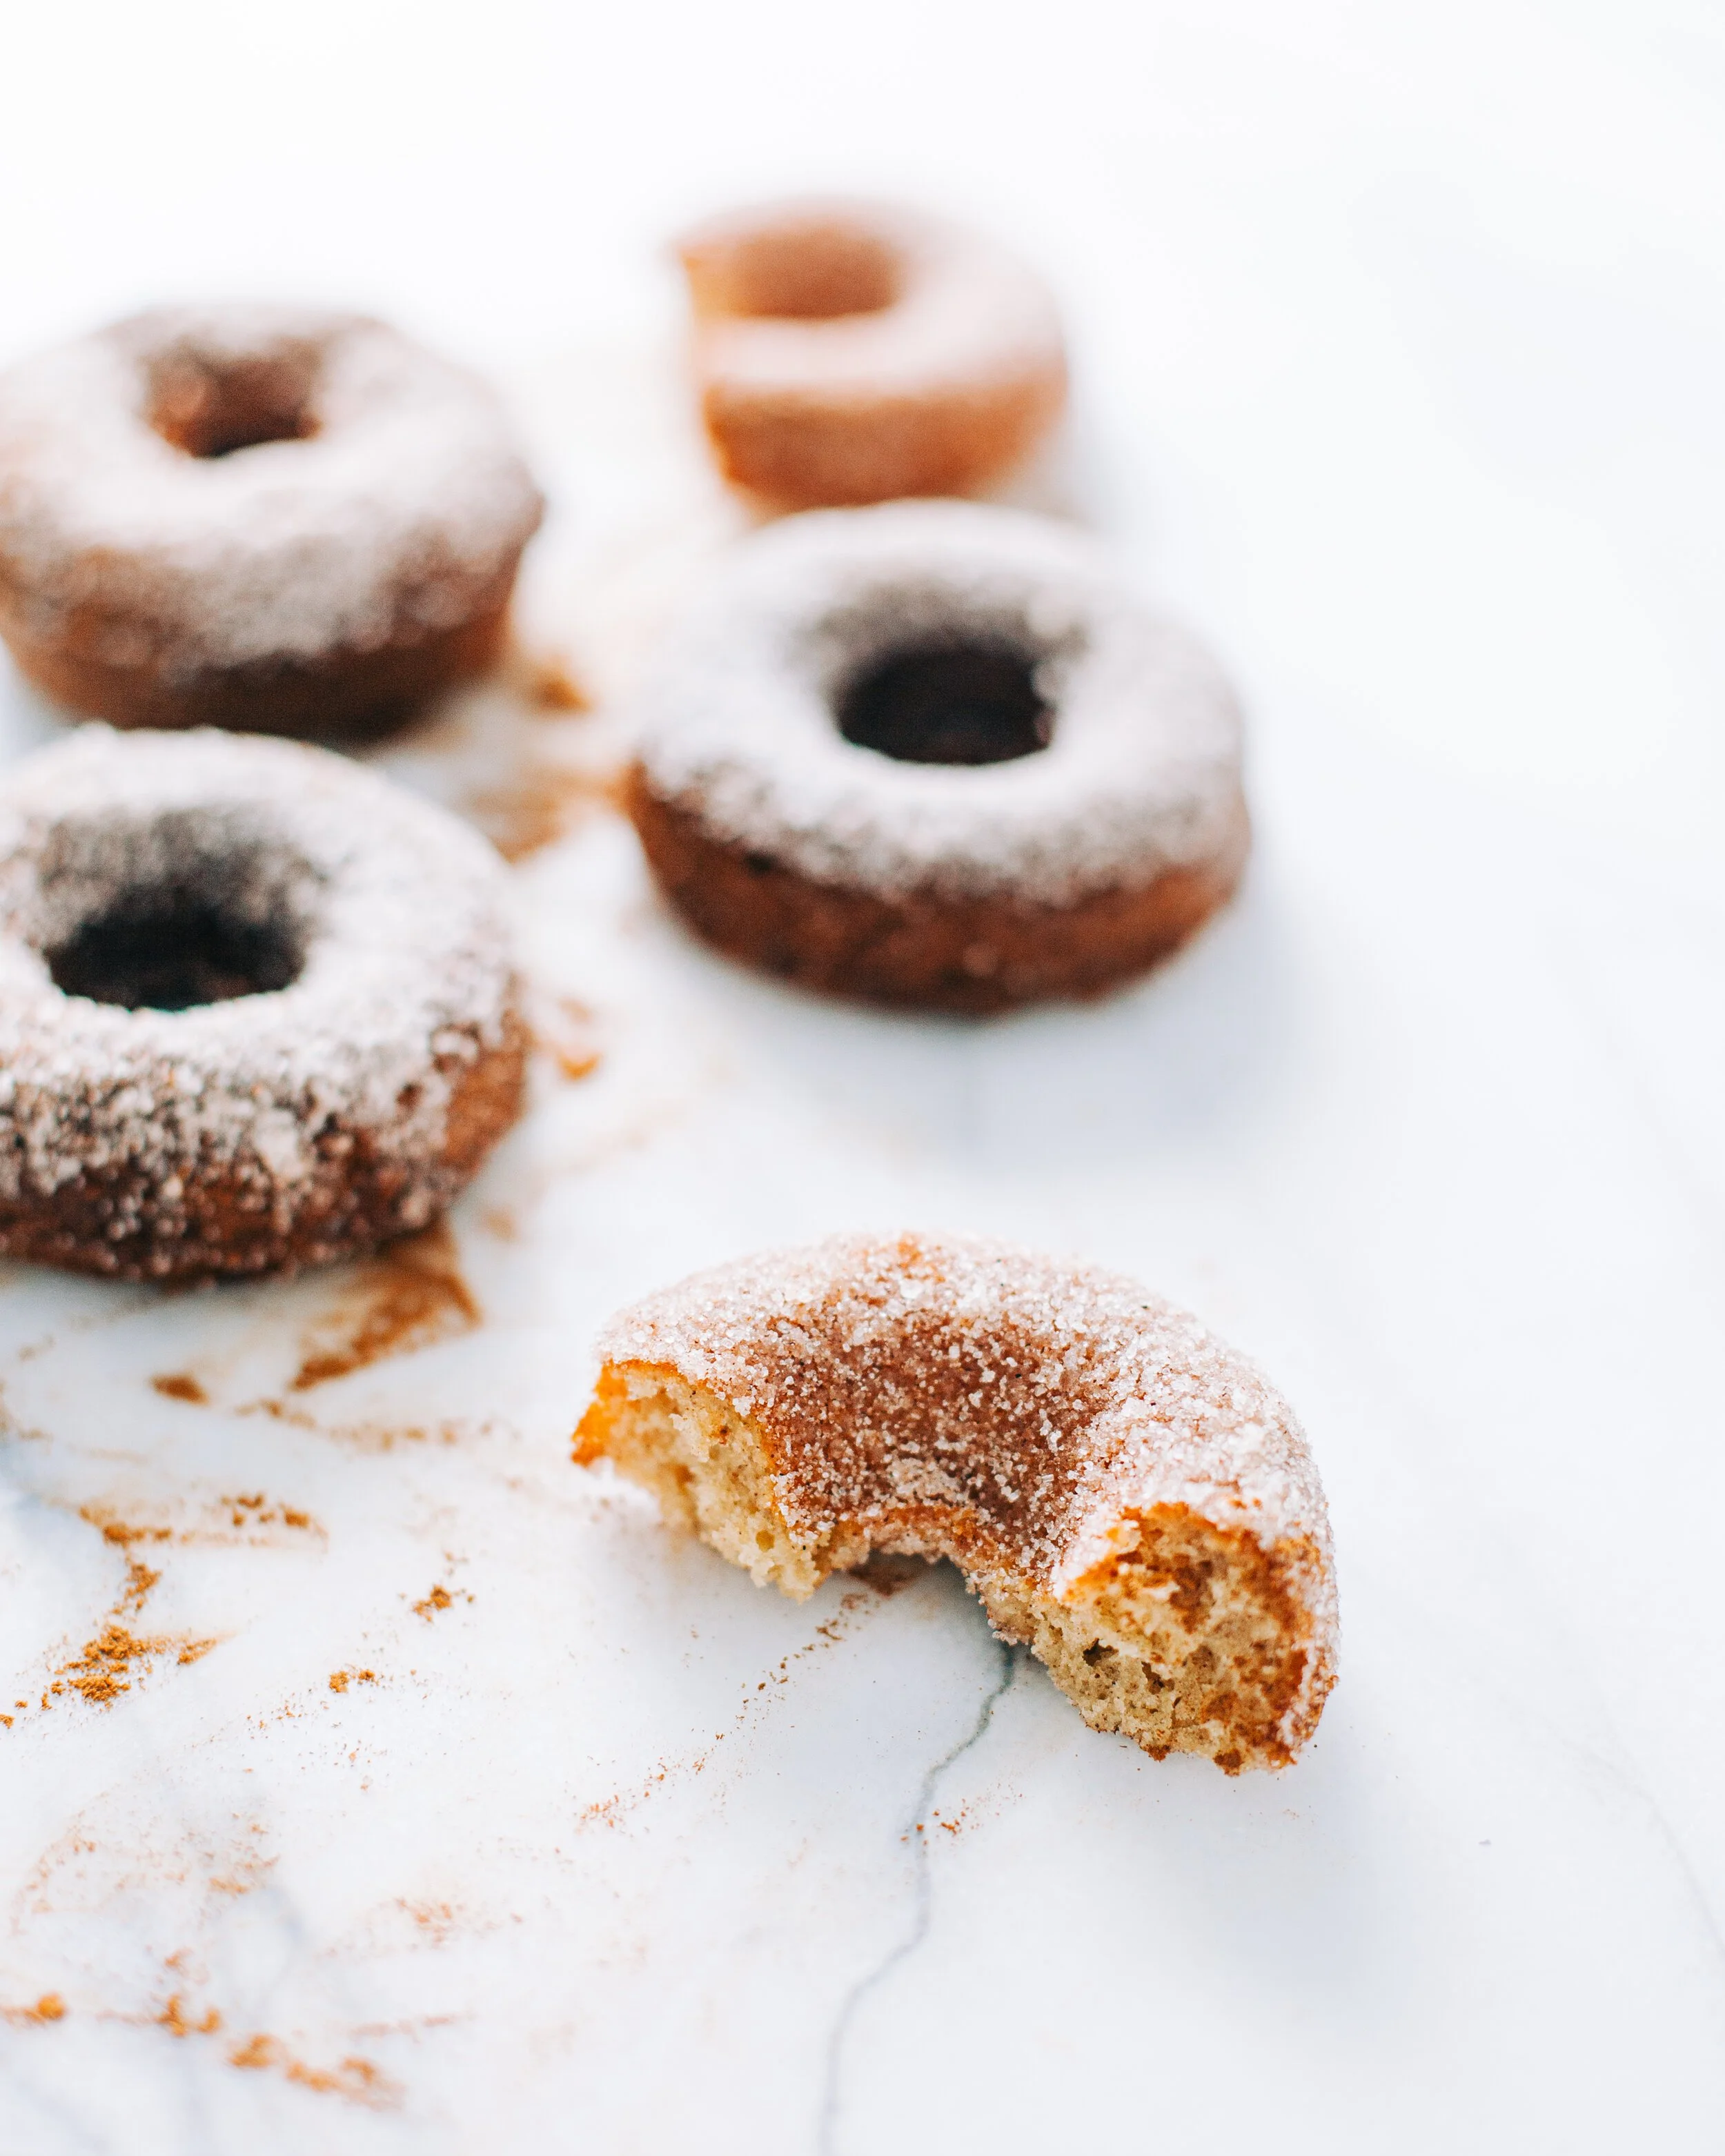
Quintessentially Fall Cider Donuts

#block-yui_3_17_2_1_1602636122411_40302 .sqs-gallery-block-grid .sqs-gallery-design-grid { margin-right: -20px; }#block-yui_3_17_2_1_1602636122411_40302 .sqs-gallery-block-grid .sqs-gallery-design-grid-slide .margin-wrapper { margin-right: 20px; margin-bottom: 20px; }

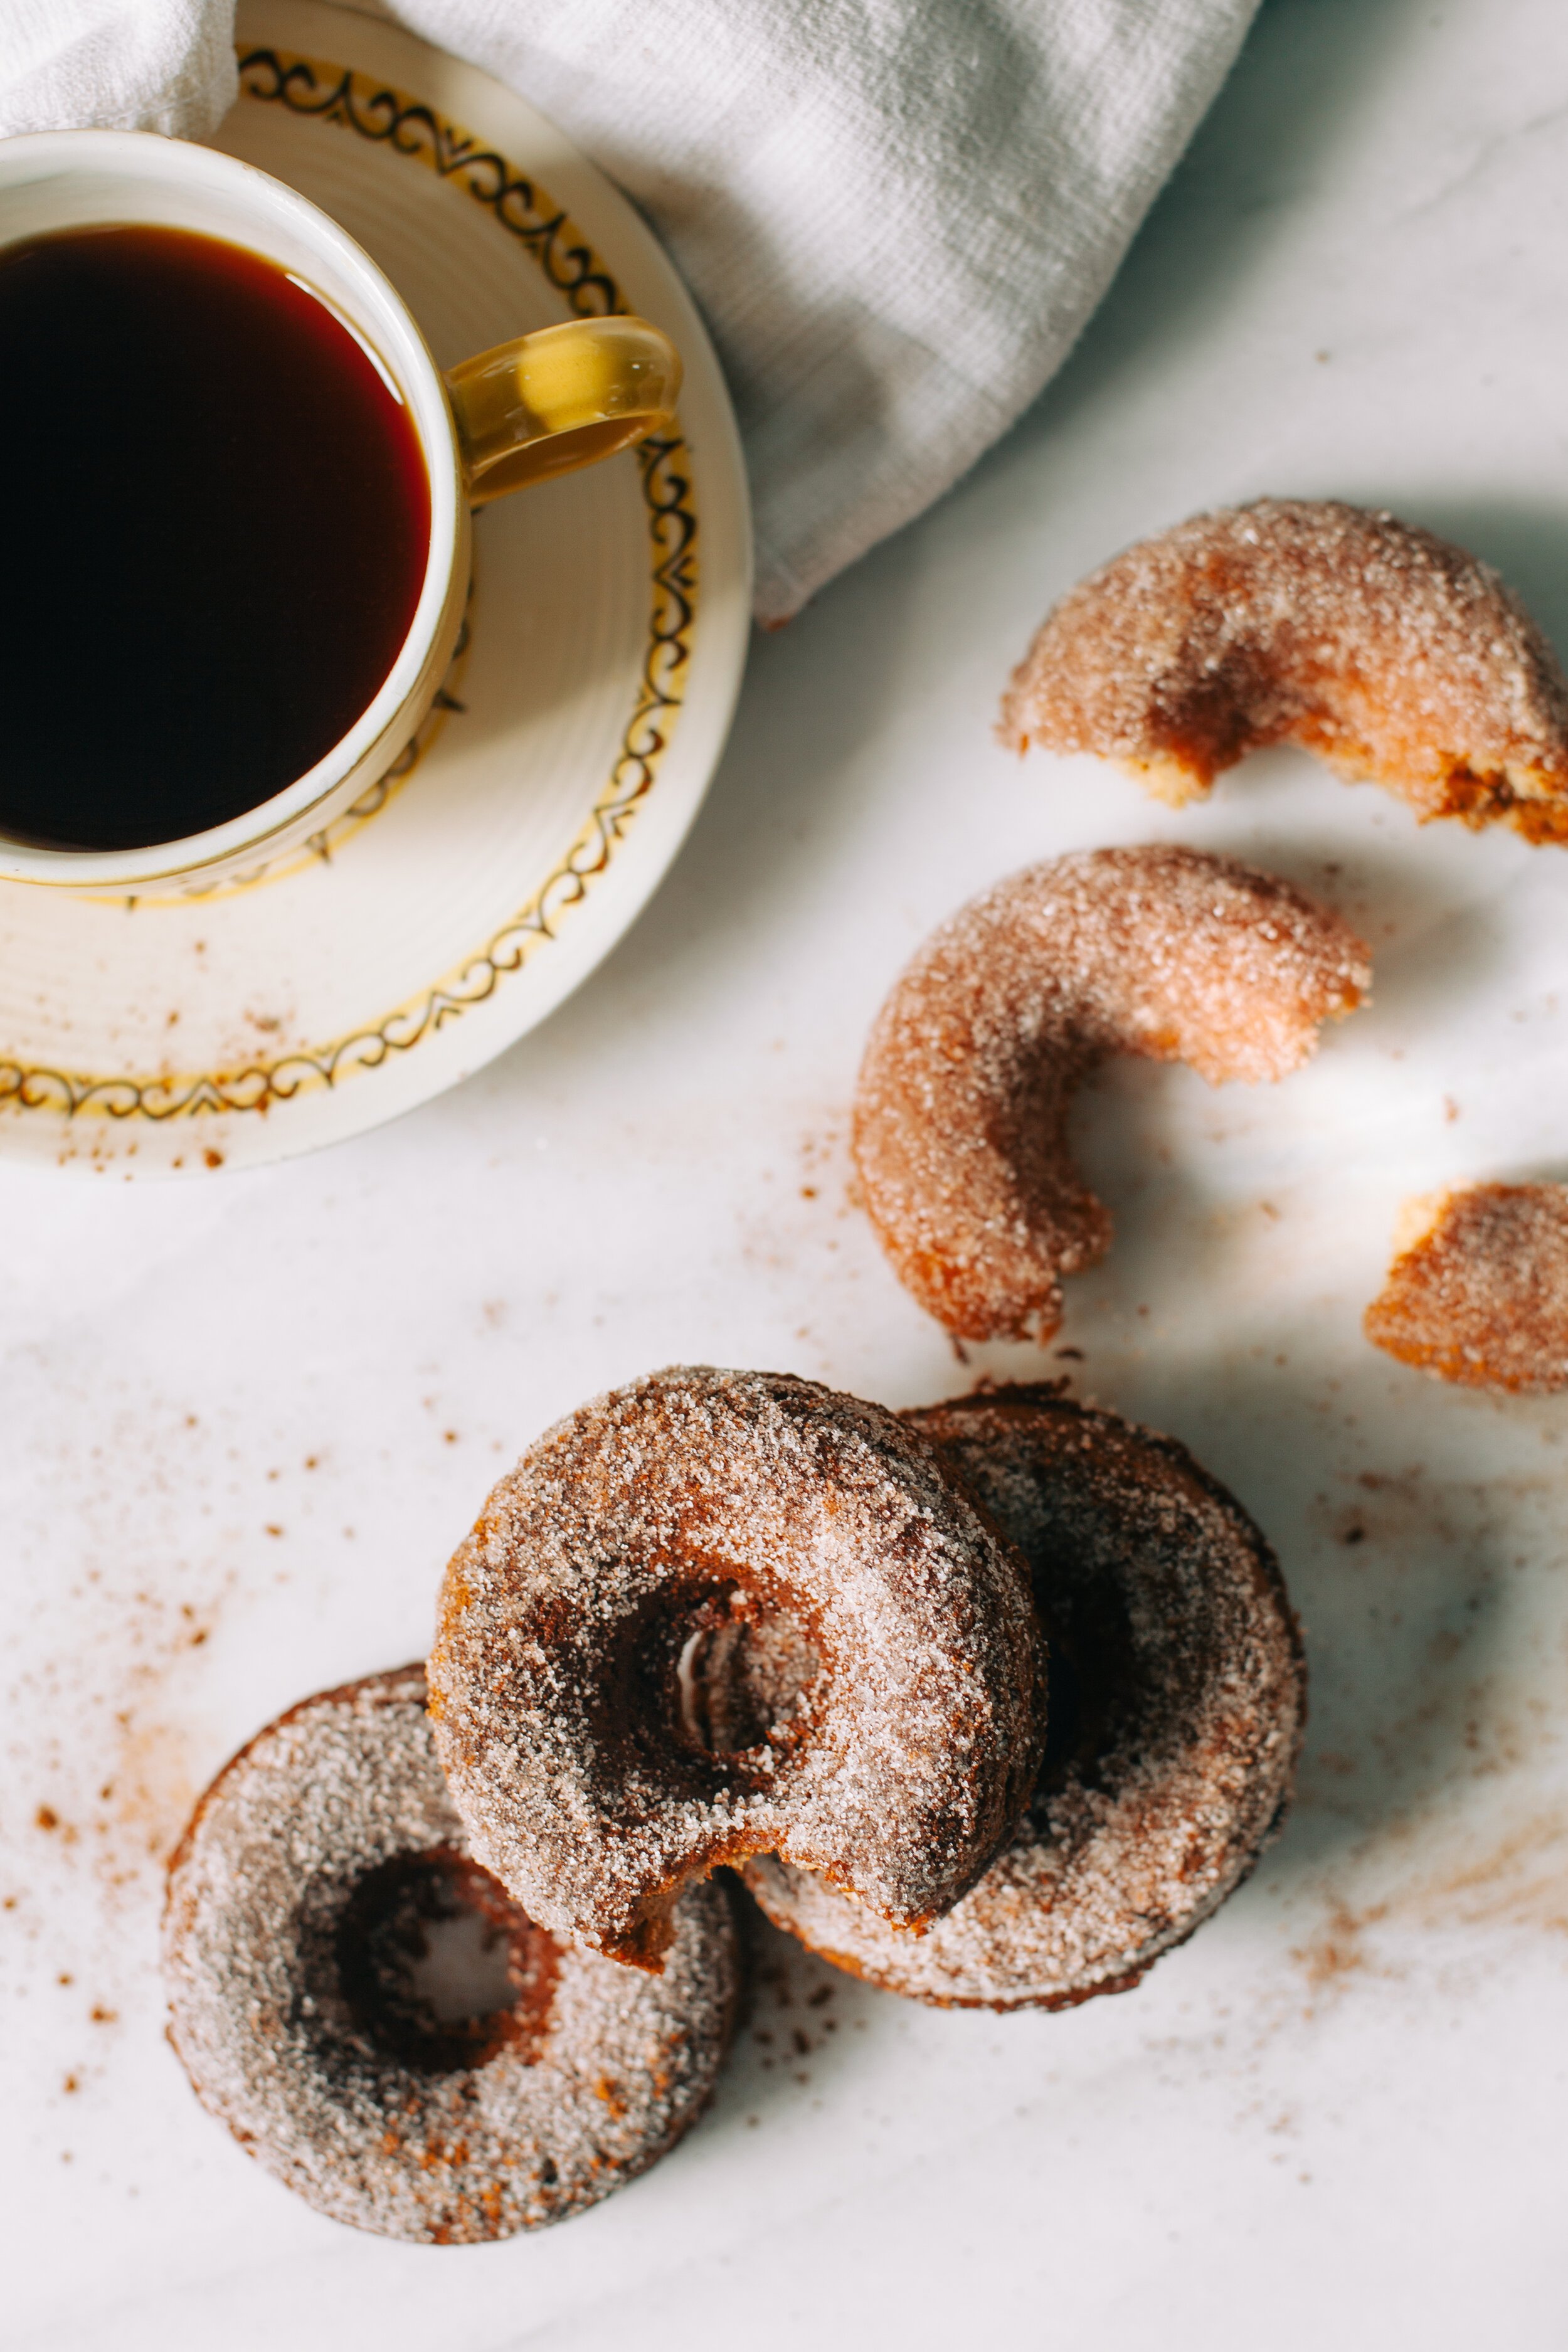
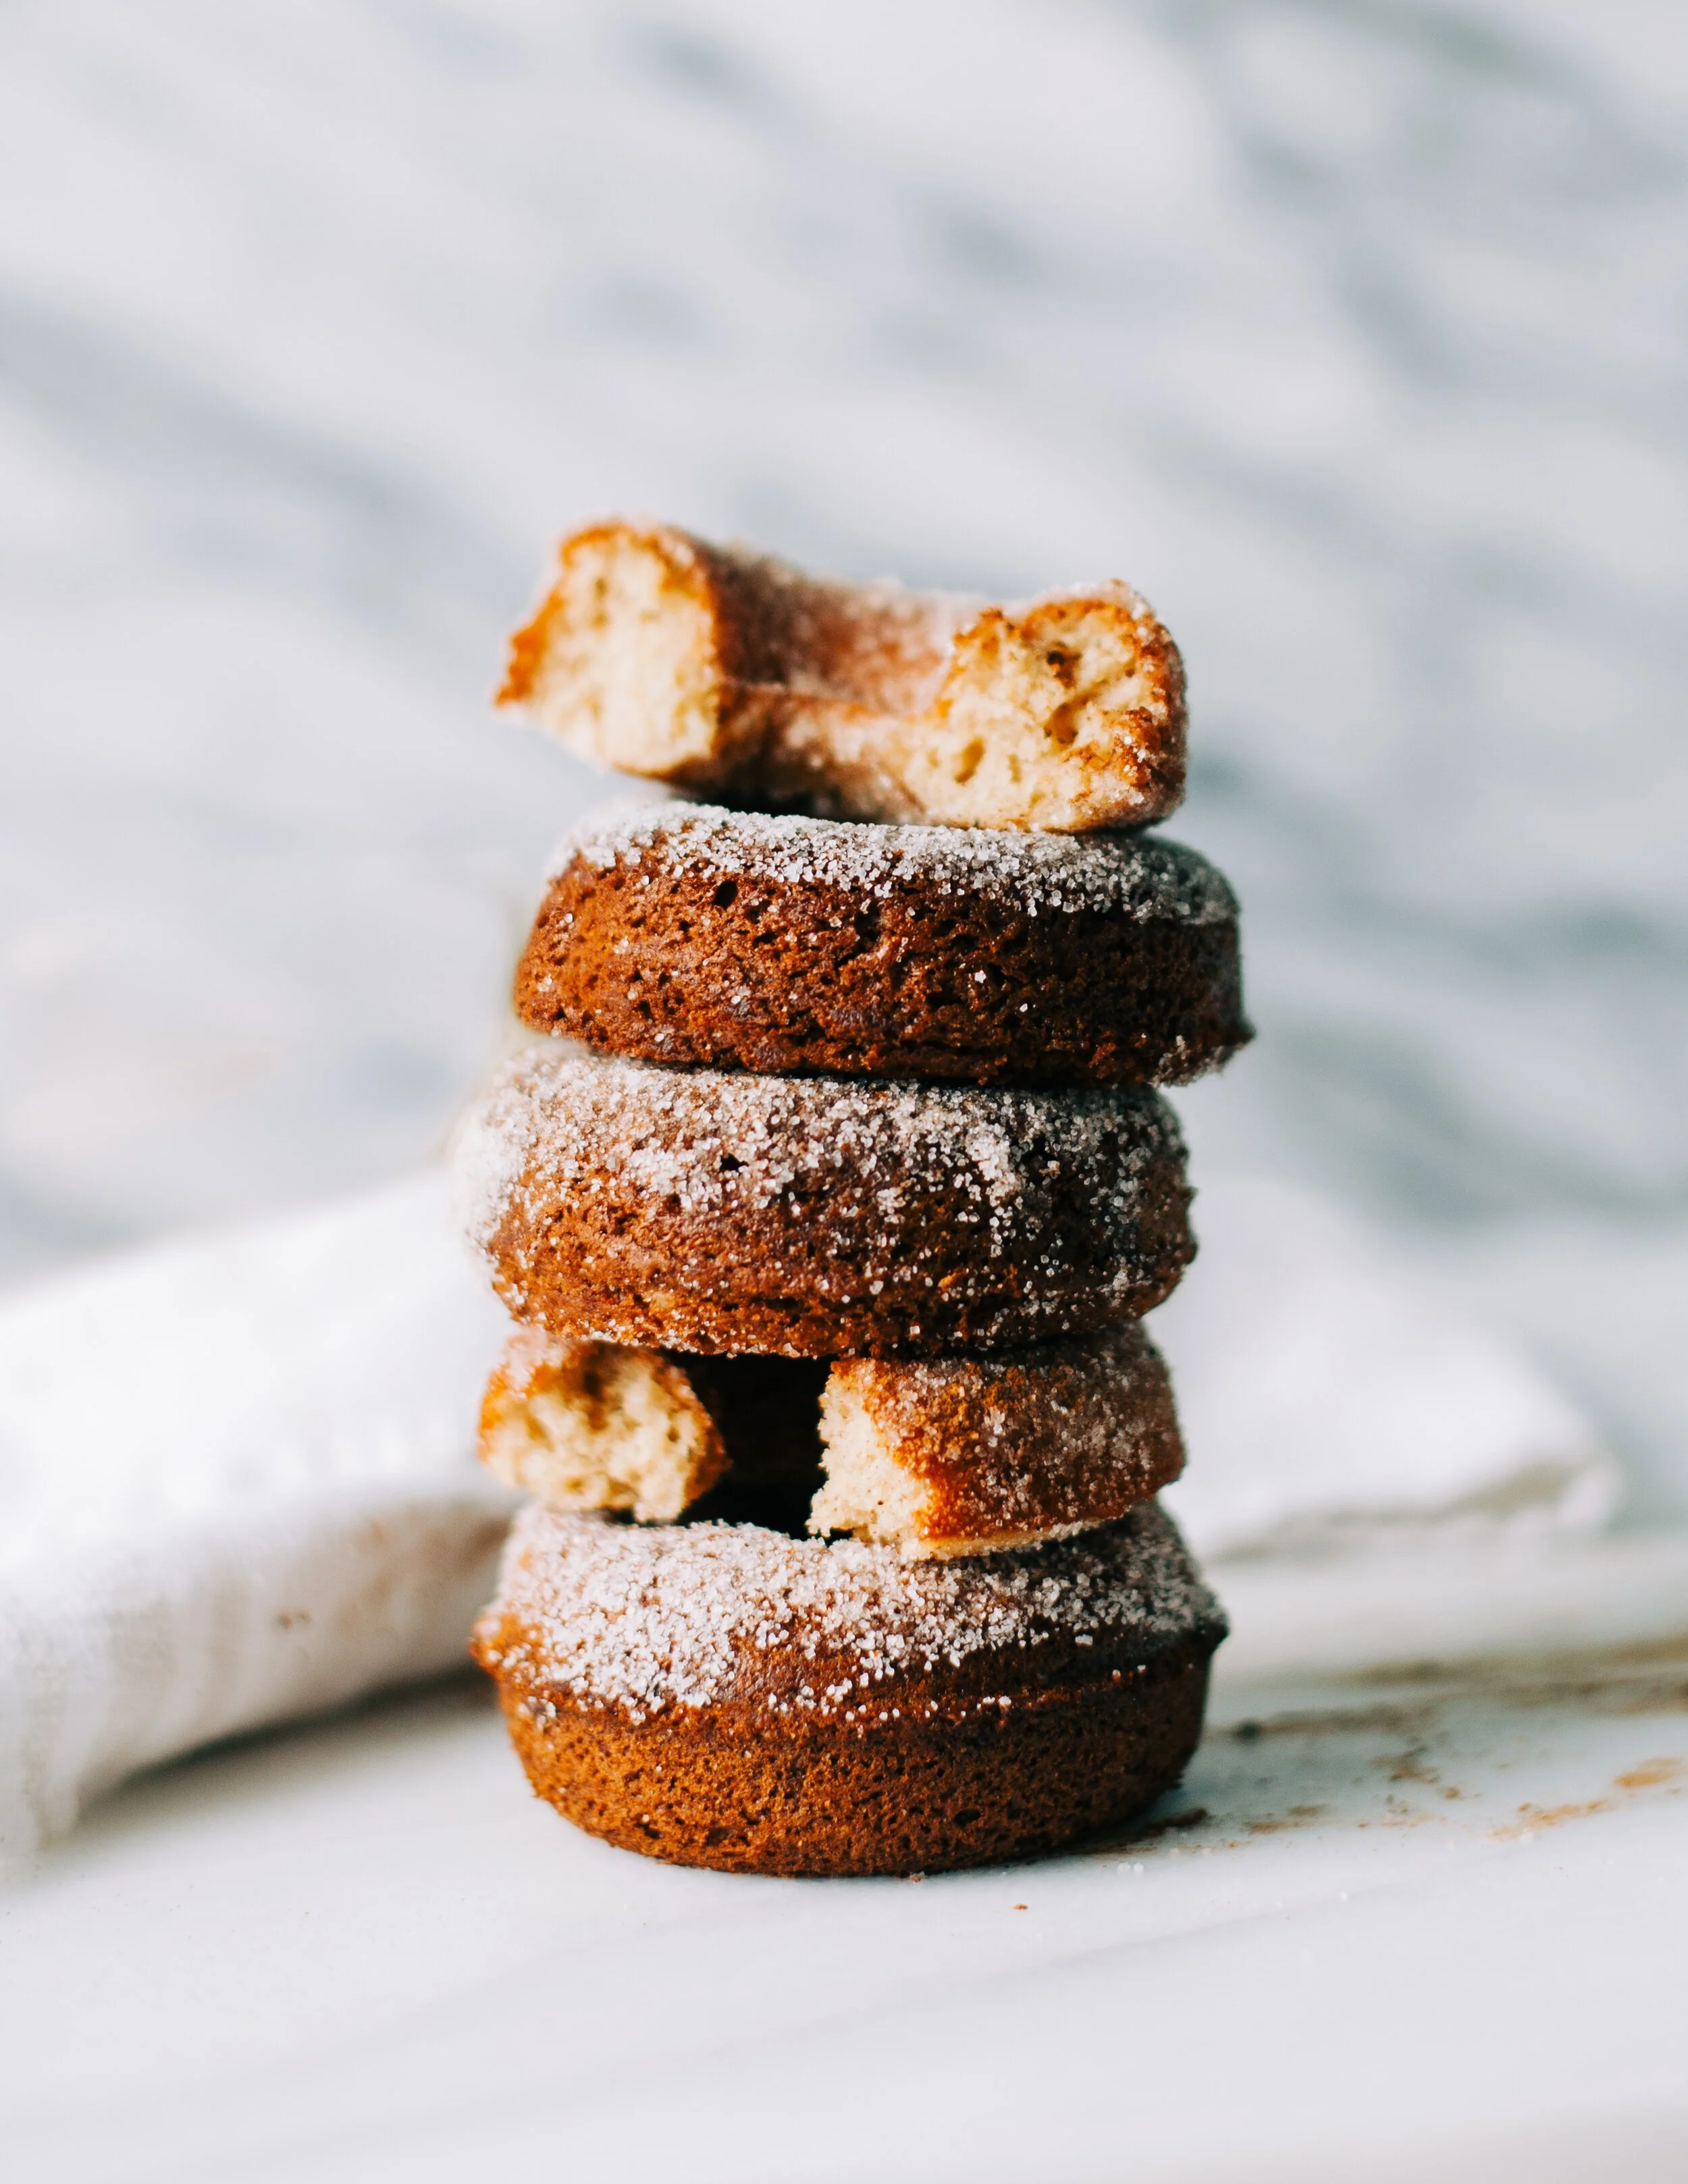
Truth: I wanted to avoid the whole predictable ‘cider donut’ recipe this fall, but a couple weeks back, I had been gifted a bag full of apples, and I could NOT help myself. So one rainy afternoon, I was coming up with recipes featuring cinnamon, and I decided to dive deep into this autumnal staple - the cider donut.

The best part? They’re BAKED

Plus, you don’t even need an orchard at your disposal - as Ina says - store-bought cider is always fine! There is a secret tip to the super apple-y flavor too: you’re going to boil that cider down to a syrup. Not only will it completely infuse your donuts with that fall feeling, but it will add a little spring in your dough that you can thank me for later.

You might ask - Alicia, how do you make boiled apple cider? In a saucepan, measure 1 cup apple cider to boil on medium-high until it reduces down to a syrup. Heck, double it! You’ll want to make another batch of donuts next weekend and this stuff keeps in the fridge.

Keep in mind…🍂

  • This might take up to a half-hour depending on how quickly you boil it.

  • It’s going to be hard to see how much is remaining as it boils. My pro tip is when it’s thick enough to coat the back of a spoon and hold a line when you draw your finger through it, it’s ready.


Quintessentially Fall Cider Donuts

Gluten Free / Dairy Free / Egg Free

Looking for a traditional version of this recipe? Check out Gesine Prado’s Apple Cider (Baked) Donuts.

Ingredients

For Batter

  • 2 cups All-Purpose Gluten-Free Flour (Bob’s Red Mill Baking AP Flour, the Red Bag!)

  • 1 tsp Xantham gum

  • 1 tsp baking powder

  • 1 tsp baking soda

  • 1 tsp cinnamon

  • ¼ tsp nutmeg

  • 1 tsp salt

  • 1 tablespoon Egg Replacer (again, Bob’s Red Mill is great!) mixed with 2 oz boiled apple cider

  • 1 cup vanilla vegan yogurt

  • 1 tsp apple cider vinegar

  • ½ cup room temp shortening (Spectrum or Crisco - you’re choice)

  • 1/2 cup brown sugar

  • 1/2 cup white sugar

  • 1 tsp vanilla

For Coating

  • 4 oz melted coconut oil or shortening

  • 1 cup white sugar mixed with 1 tsp cinnamon


Method

  1. Preheat oven to 350 degrees Fahrenheit.

  2. In a small glass pyrex measuring cup, mix Egg Replacer with your boiled apple cider, set aside to let thicken.

  3. Whisk flour, xanthan, baking powder, baking soda, cinnamon, nutmeg, and salt in a bowl and set aside.

  4. In mixer place shortening, sugars, egg replacer, and vanilla. Beat for 2 mins with paddle attachment until light and fluffy. 

  5. While that’s mixing, take your now empty pyrex measuring cup and combine the yogurt and cider vinegar.

  6. Add 1/3 of the flour and then 1/3 the yogurt alternating ending with the flour last until just combined. Don’t over mix!

  7. Pour the batter into a large Ziplock bag or a piping bag. Snip a corner opening and pipe into the donut pan up to the rim of each donut cavity.

  8. Take a second donut pan, and invert the pan so it creates a top and bottom mold. Use metal clips to secure the sides (do not use plastic, it will melt).

  9. Bake at 325 for 25 mins or until the cake springs back.

  10. Let cool for 10 mins in pan. As you remove each from the pan, brush with coconut oil and dip in cinnamon sugar.


Do you have our baking resource guide? It has everything you need to stock your pantry with ingredients, your kitchen with baking equipment (it would actually make an AMAZING registry guide, FYI 💍), and your book shelf with my favorite EBCo. approved baking books.

window.fd('form', {formId: '5f865663bf43d85f23bfb7a9',containerEl: '#fd-form-5f865663bf43d85f23bfb7a9'});

BreadGluten Free, VeganComment
The First Step in Baking for Everybody
Everybody-is-equal.JPGEverybody-is-equal.JPG

I hear from a lot of people every day asking me, I want to start baking more...but where do I start? Deciding why you want to start is the first step. Are you looking for a new hobby for yourself, or for something to do with your roommate, child, or spouse during quarantine?  Are you gluten intolerant, have a food allergy to something like eggs or dairy, or even if you’re vegan - it can seem SO overwhelming if you’re wanting to learn more about allergy-free baking. Or all of the above.

I have found many reasons I love baking, and it keeps the passion lit for me. But one in particular was something that happened about 10 years ago. I started baking as a hobby on weekends and late nights after work, but also in this time frame, many of my friends were uncovering food allergies - barring themselves from cookies or treats at friend gatherings or the local bakery. On top of that, my very own doctor advised me to start avoiding dairy. I picked up a copy of ‘The Allergen Free Baker’s Handbook’ and decided to start learning more about how to bake allergy-free - for myself and for my friends.

Seeing the joy it gave someone when they took their very first bite of a really good cookie in years lit a fire inside of me. Ever since then, I’ve wanted to keep learning more about baking in general, but in particular - allergy-free baking. Every time I can bake for someone and see the delight on their face, without the dread of what will happen in their body later drives me forward.

I’d love to hear from you about your reason for wanting to learn more about allergy-free baking! Please let me know in the comments below.

The second thing you must do is equip yourself with the resources. What equipment and ingredients do you need to get started? It’s also important to remember your reason for starting - if you’re just wanting to learn how to bake dairy-free, there really is no point in also taking on gluten-free baking as well...and vice versa. My goal at EBC is to provide recipes that everyone can adjust to accommodate their own ‘why’ - I’ve heard this called ‘Inclusive Baking’, which I love. If you need a place to start - click the link below to grab my ‘Baking for Everybody’ Pantry Guide.

And finally - the last thing you must do is find the right recipes! How many times have you gone to Pinterest and just typed in ‘gluten-free desserts’ to discover there is… a. Lot. of. Stuff. Out there. And it’s like Pinterest Russian Roulette. If you need a place to start - the Everybody Baking Co. ‘Baking for Everybody’ Resource Guide...I’ve compiled my favorite cookbooks and a list of ingredients and equipment to help you get started!

window.fd('form', {formId: '5f8349d676d8d661cdcf00f8',containerEl: '#fd-form-5f8349d676d8d661cdcf00f8'});


LearnComment
Baby, we were born to bun...
cinnamon-born-to-bun.JPGcinnamon-born-to-bun.JPG

Something new is in the oven at Everybody Baking Co that you guys have been asking for - Born to Bun the eBook.

Consider this your invitation to get in on all the details on the front end, enter your email below, and secure your spot in on the list.

Learn
Twice as Nice Dream Cream Base

I’m very passionate about ice cream.

I love desserts, and cookies, and cakes - but ice cream is where it’s at for me. I worked at an ice cream shop called Scoops for three (four?) years. My sister and I have joked for maybe the last decade or two (perhaps someday we won’t joke about it anymore?) that we want to open up an ice cream shop one day.

The dream faded little when I quit dairy for five years. I had tried so many dairy-free ice creams, and they never live up to the vision I have of the perfect dairy-free ice cream. So I thought my ice cream days were kind of over and I was going to be a popsicle person the rest of my life (which isn’t bad but…).

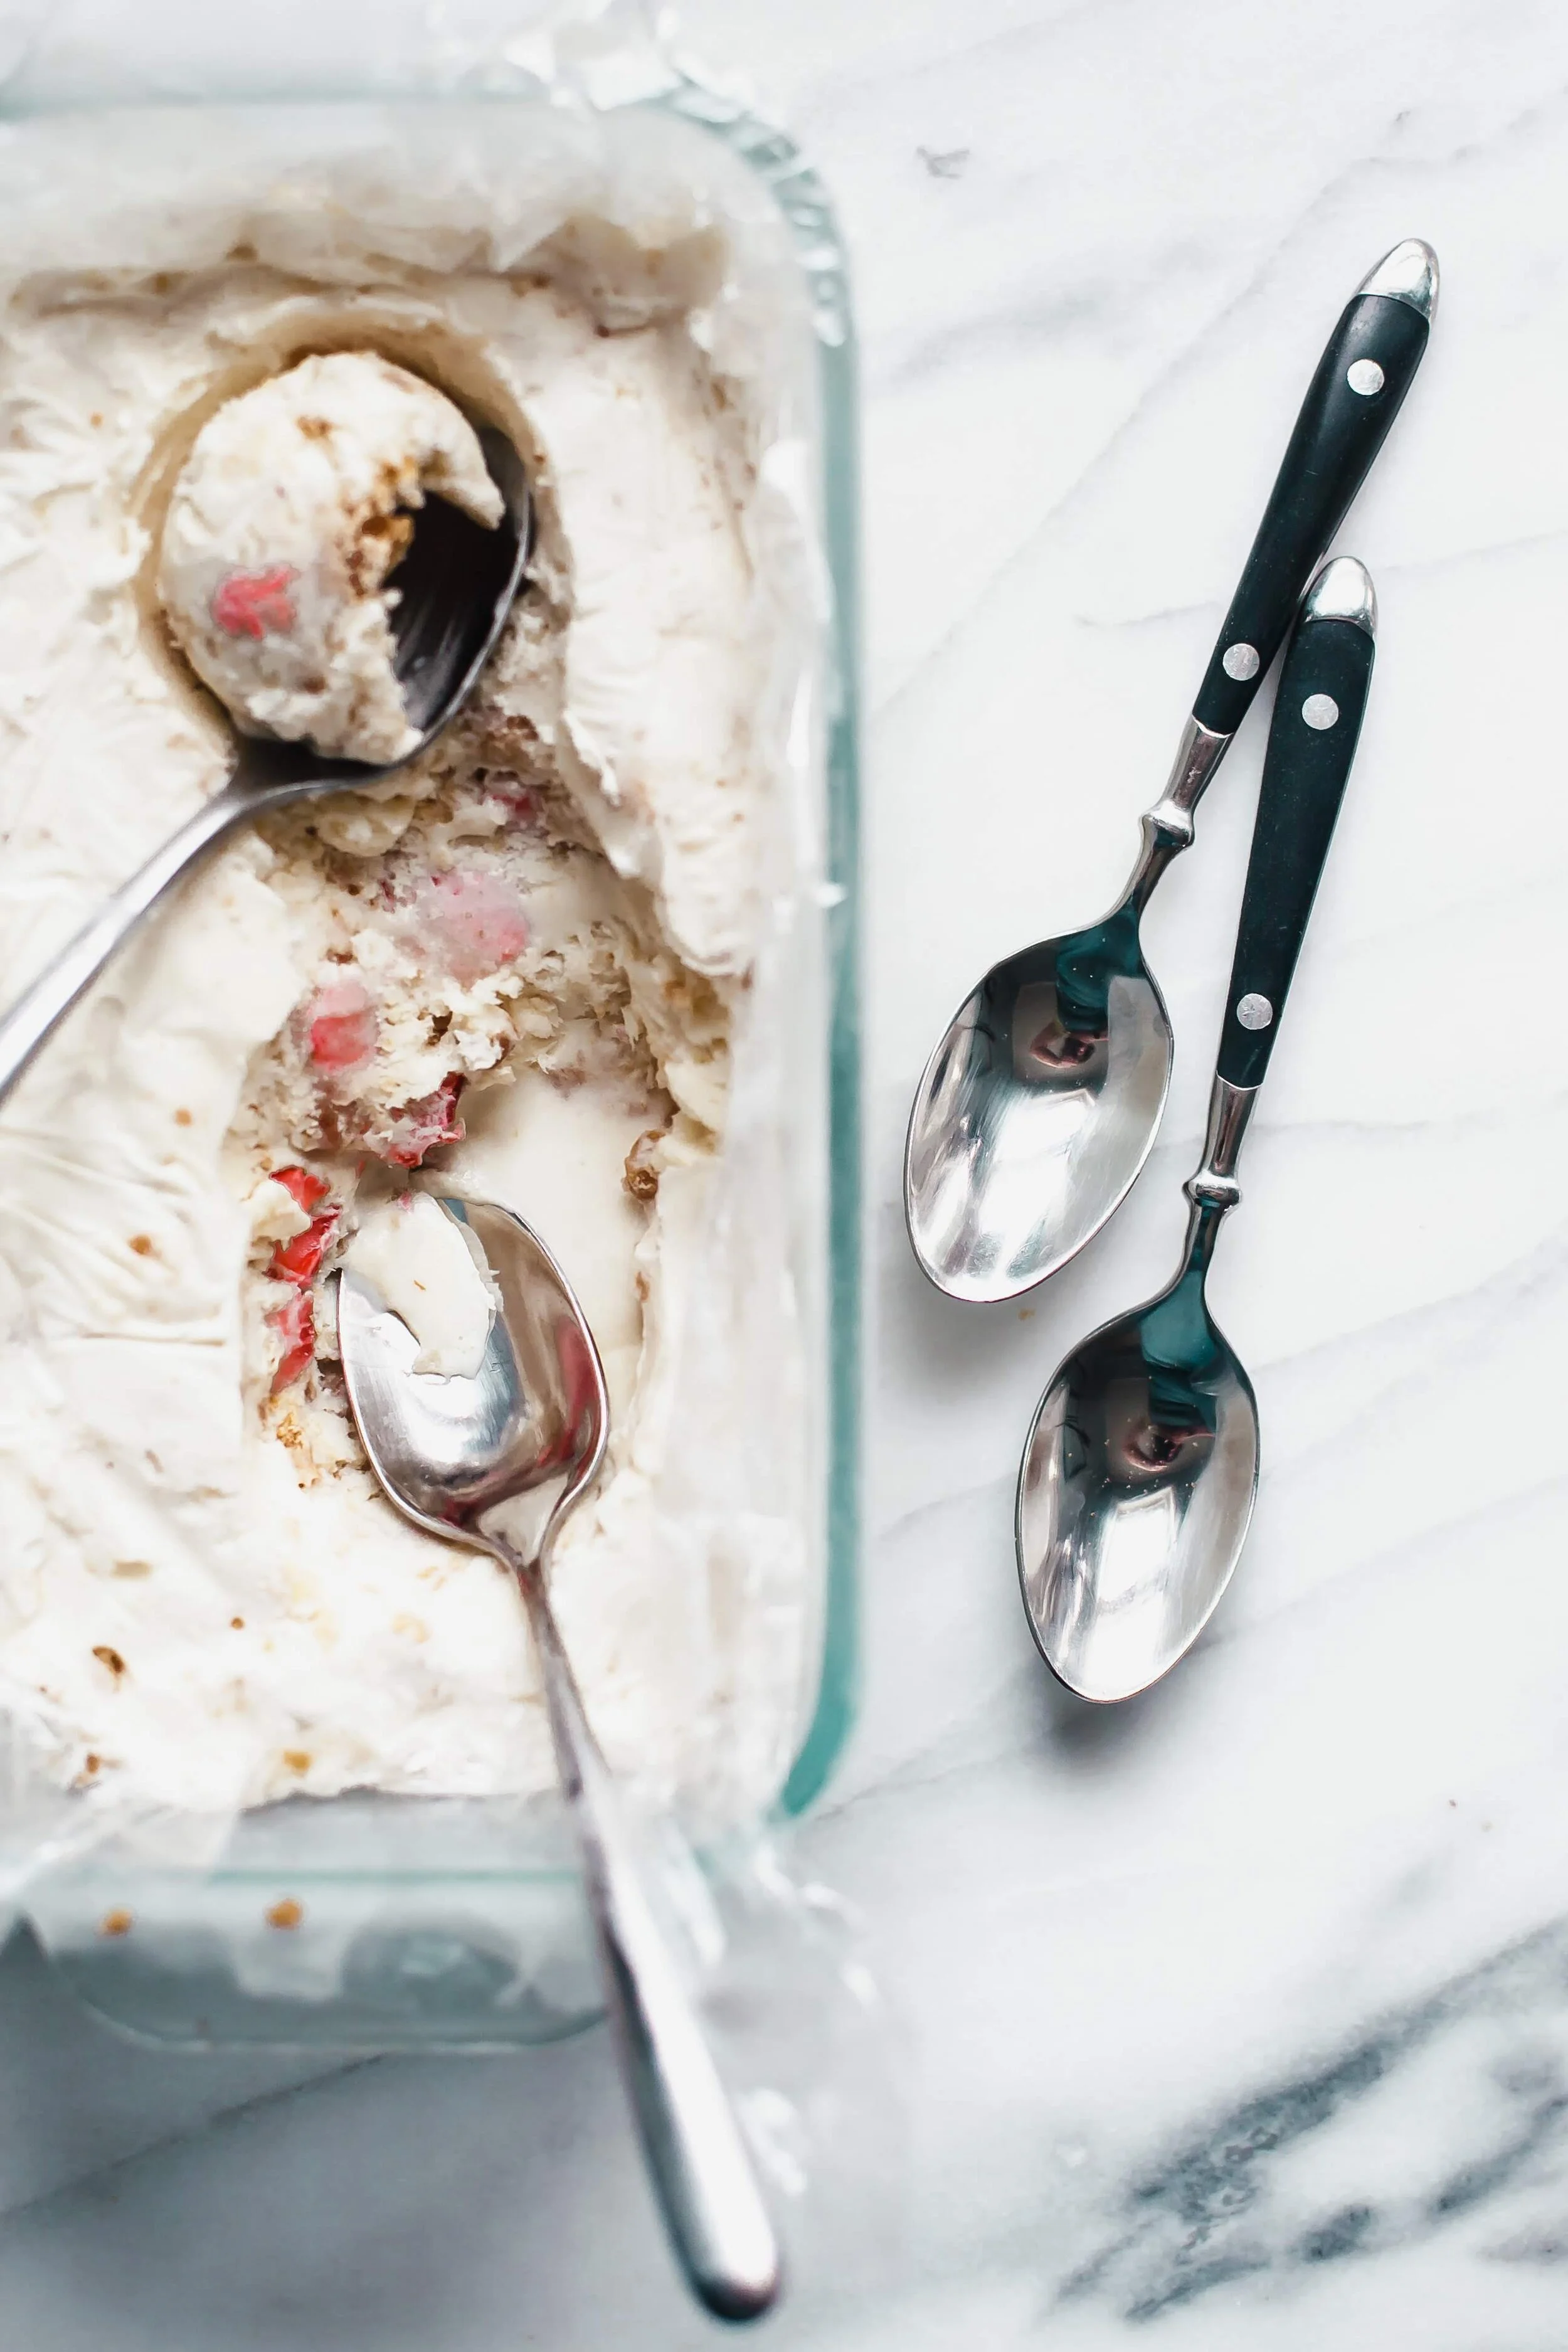
Well - dear friend, I have made a sacrificial offering at the table of the ice cream gods and concocted an ice cream base that is twice as nice. Not only is it dairy-free. It’s egg-free! And simple. And DECADENT.

Three things to note:

  1. This recipe is for a base - this is how all great ice cream starts. I should know, I use to mix the flavor of the day. If you have a great base, you don’t need toppings to make it taste great (which is the case with most non-dairy pints you can find in the store).

  2. Do you want to make this with full-on dairy goodness? Pro tip - just sub in traditional whipping cream + traditional sweetened condensed milk!

  3. This recipe is accessible by everybody. I own an ice cream machine, and it’s currently collecting dust in my basement. All you need for this recipe is a mixer (hand or stand - you pick), a bowl, another bowl, and some kind of loaf pan. Oh, and a scoop because you’re going to get to doll out those nice beautifully round scoops of amazing dream cream.


INGREDIENTS

1 - 13oz can of coconut cream, chilled
1 - 11oz can of sweetened condensed coconut milk 1/2 tsp vanilla extract

Here I mixed in some homemade strawberry pop-tarts I had made, with some fresh strawberries as well - I call it Strawberry Dream.Here I mixed in some homemade strawberry pop-tarts I had made, with some fresh strawberries as well - I call it Strawberry Dream.

Here I mixed in some homemade strawberry pop-tarts I had made, with some fresh strawberries as well - I call it Strawberry Dream.

METHOD

  1. Drain away the liquid from the coconut cream.

  2. Empty the coconut cream into a mixing bowl with a whisk attachment (or use a hand mixer!) and whip the coconut cream until fluffy and smooth.

  3. Turn the mixer down to the low setting, and drizzle the entire can of condensed milk slowly into the 'whipped' cream. Drizzling slowly down the side of the bowl ensures the cream doesn't deflate but sweetens it to perfection.

  4. Line a loaf pan with plastic wrap and pour in the mix. Cover with another layer of plastic wrap and pop in the freezer.

  5. If you are adding mix-ins - do so after allowing the mix to sit in the freezer for at least 30 mins. Remove the ice cream and fold them in to combine. That way, the mix-ins don't sink to the bottom and make for a more joyful scooping experience with bits of goodies in every scoop.

  6. Recover with the plastic wrap and allow to freeze for 4 more hours.

  7. Once firm, scoop, and serve. 🌈

Baking Playlists

The minute I walk into the kitchen, it’s always the same refrain - “Alexa, play chill baking" playlist” or “Alexa, play early 2019 playlist”.

I don’t know about you, but I think music is an important ingredient in baking. There is rhythm to mixing and measuring. I wanted to share my favorite playlists with you here - hopefully this post is ever evolving!


LearnComment
Just like Ann's Cinnamon Buns

#block-yui_3_17_2_1_1588428645848_20636 .sqs-gallery-block-grid .sqs-gallery-design-grid { margin-right: -20px; }#block-yui_3_17_2_1_1588428645848_20636 .sqs-gallery-block-grid .sqs-gallery-design-grid-slide .margin-wrapper { margin-right: 20px; margin-bottom: 20px; }

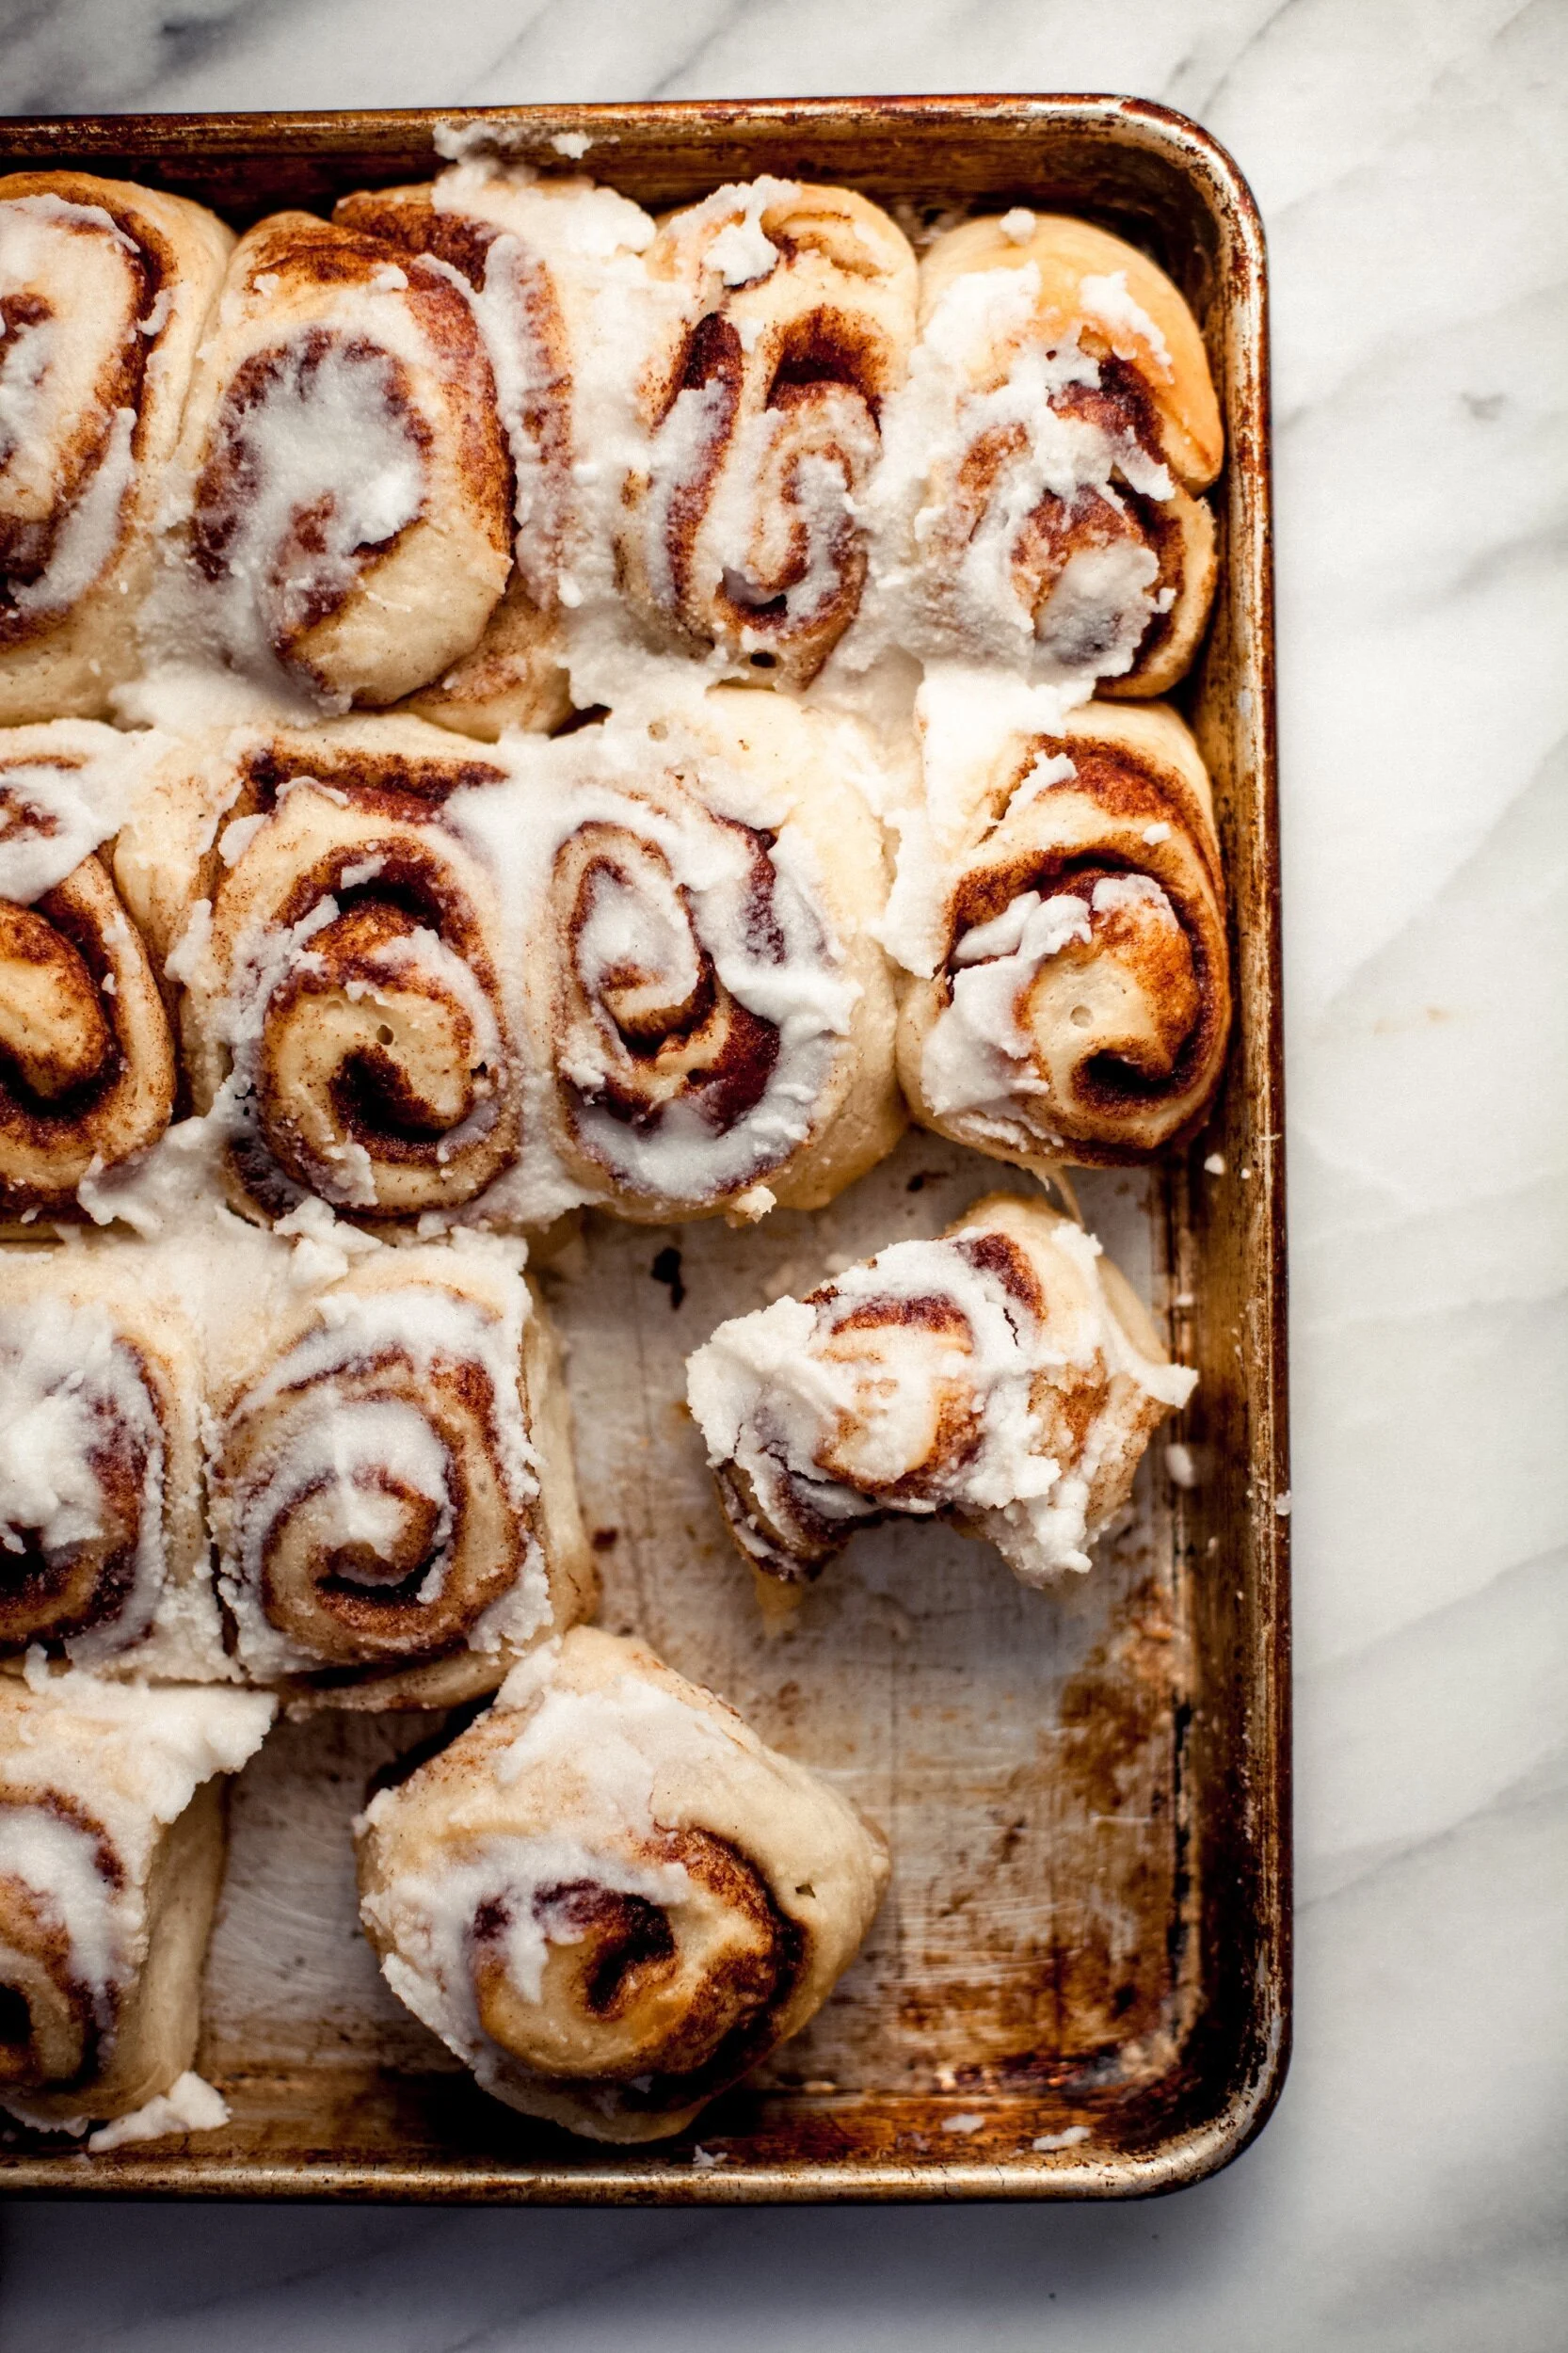
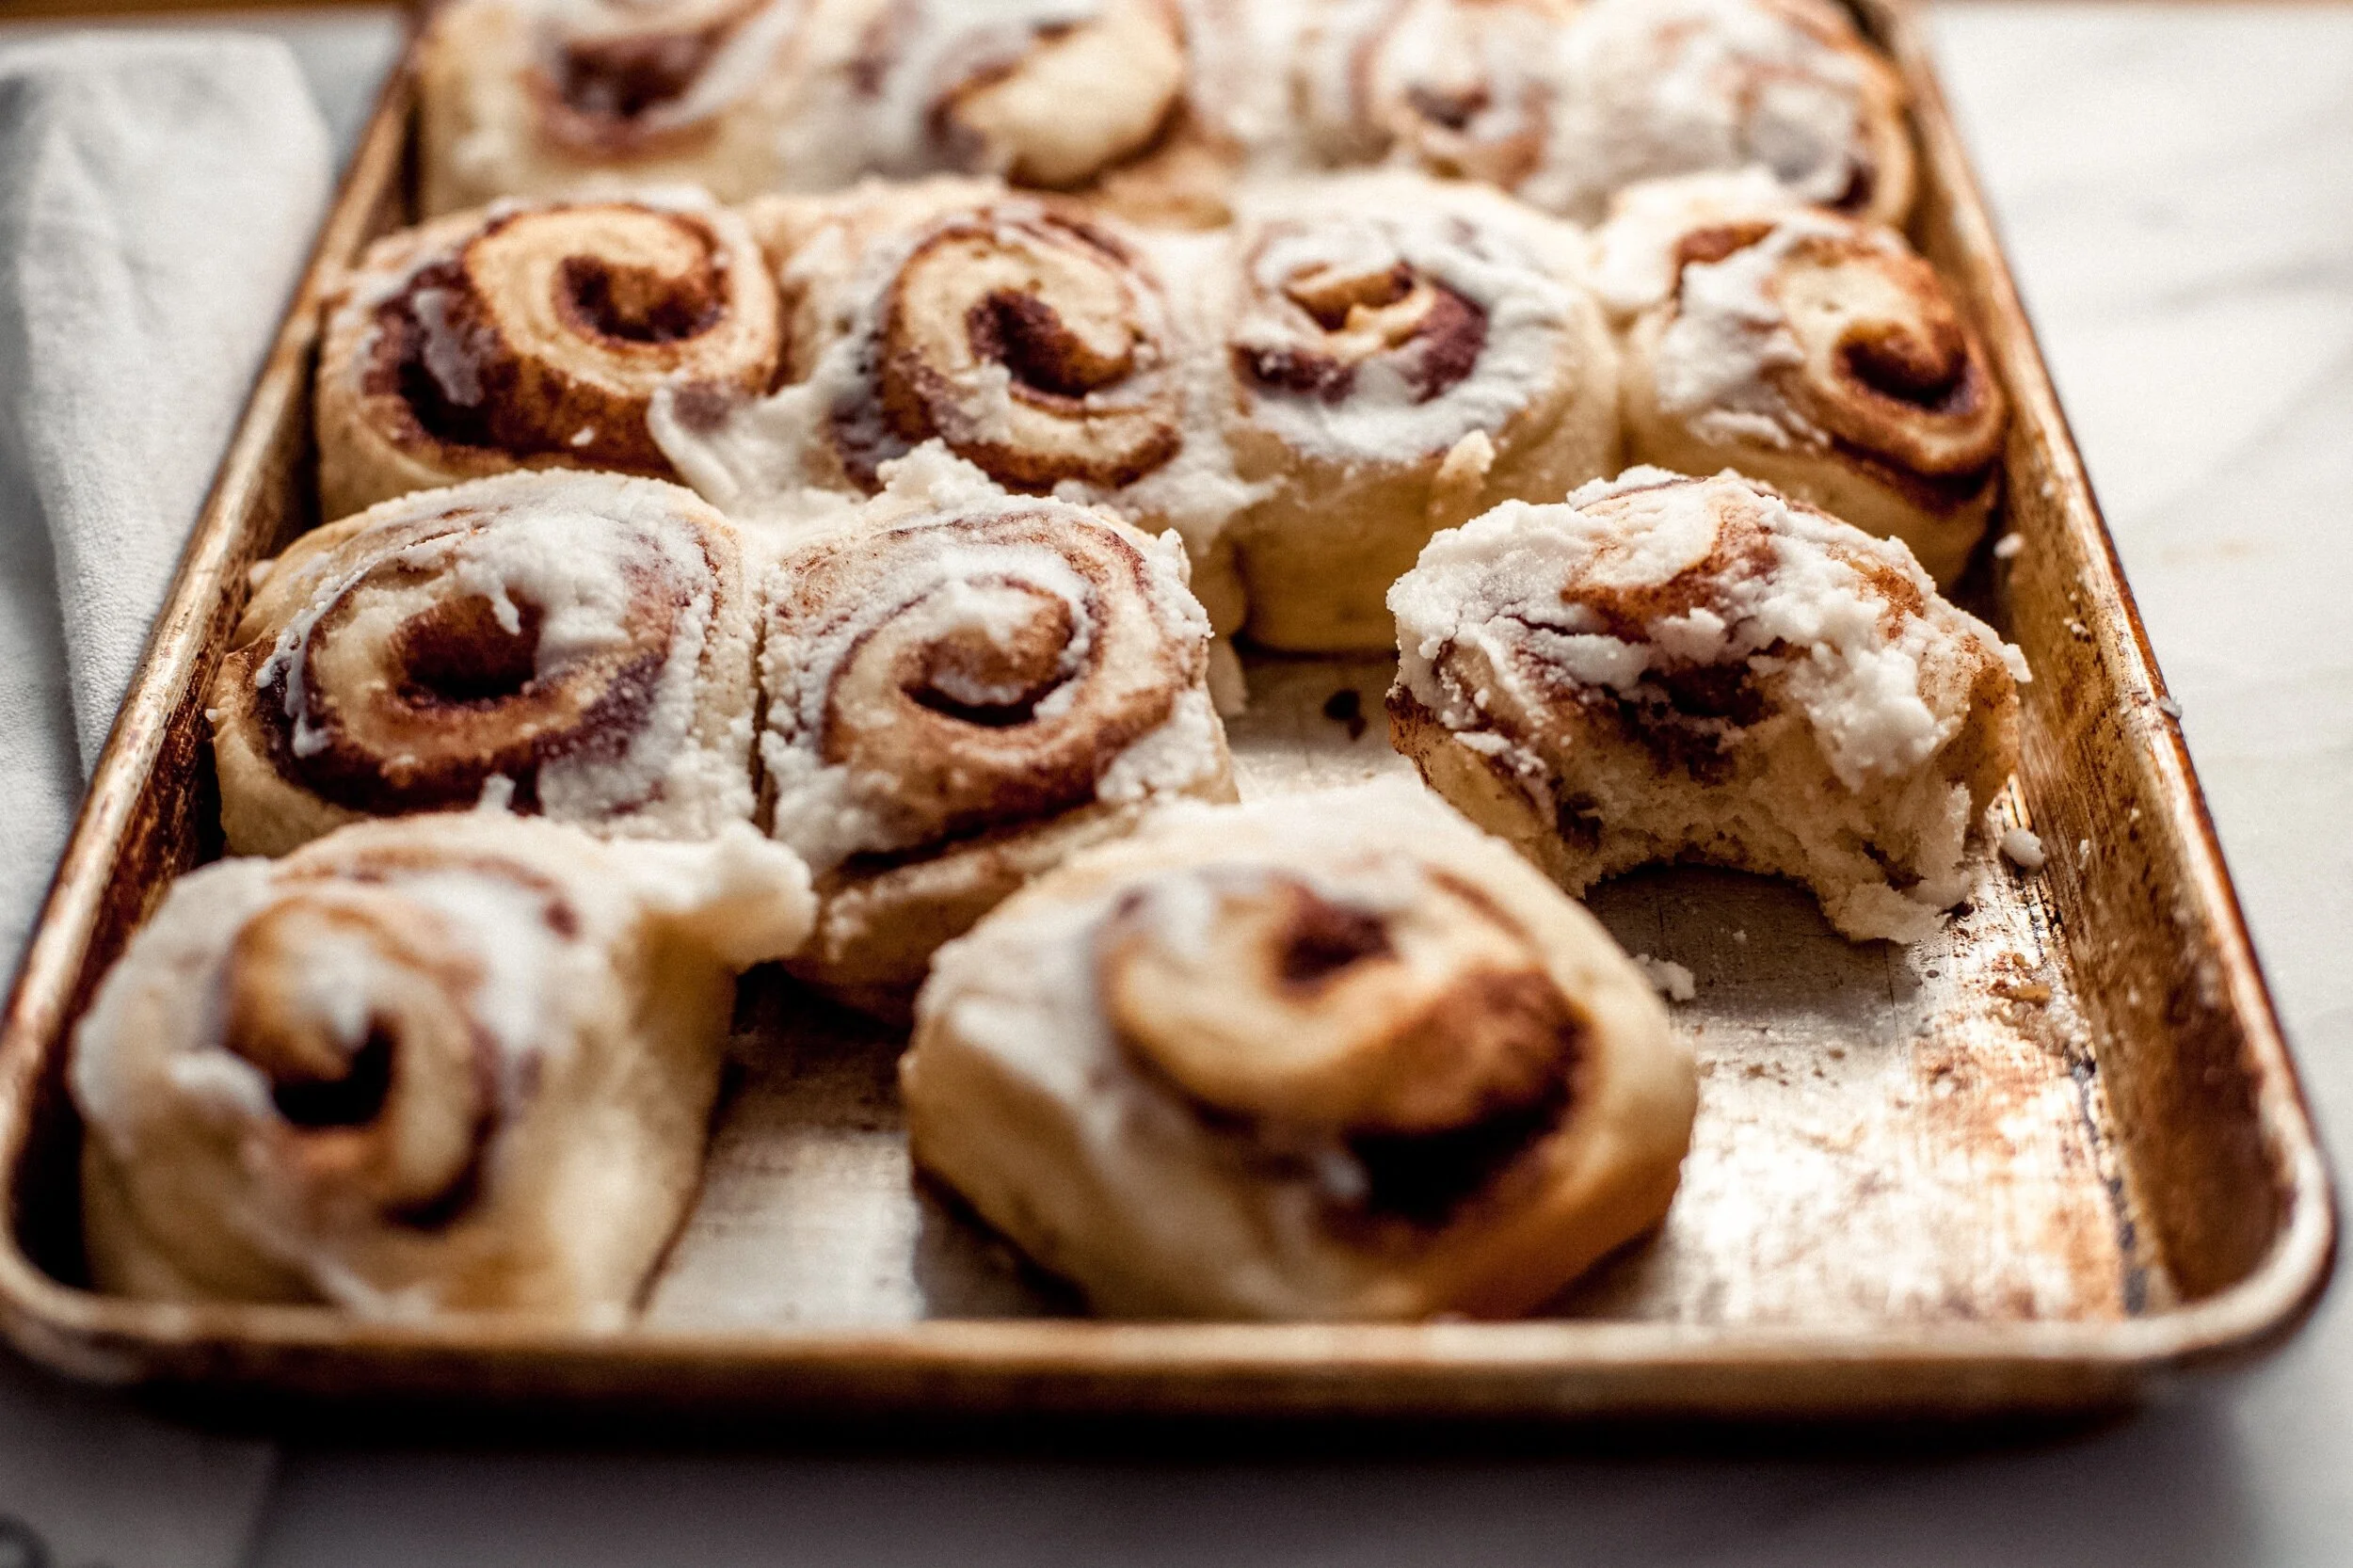
Who’s Ann you might ask? Ann Sather - ever heard of her? While these buns remind me of the Ann Sathers cinnamon buns, they have a secret. They’re vegan. You heard me right - NO DAIRY. NO BUTTER. NO CREAM CHEESE FROSTING. Trust me - you won’t miss it. This dough is so tender, so pillowy soft, that this will be your go-to cinnamon bun recipe.

The frosting is really what draws you in, but the real magic is in the dough. I watch my fair share of food related YouTube (I blame Gourmet Makes as my gateway drug, followed by any sort of ‘eat the menu’ video). I landed on this vegan challah dough recipe somehow and it was the spark that lit a fuse in my brain….vegan cardamom buns, vegan cinnamon rolls…any sort of baked good with yeasted dough. So I want to thank Tasty & Challah Hub for putting together a video that I’ve probably watched 25 times - simply because it’s just so satisfying to watch them make a beautiful vegan dough (also their rainbow loaf is SO on brand for EBCo).

You might have seen these rolls on Instagram in our feed - and now they’re yours! Post your buns (not those ones, the cinnamon ones) with the hashtag #everybodybakingco and tag us in your stories. We wanna see your buns (the cinnamon swirled ones!)


INGREDIENTS
1 cup water
between 100-110° Fahrenheit
2 ¼ teaspoons active dry yeast
Pinch of sugar
2 tablespoons melted coconut oil

(no more than 110° Fahrenheit)

3 tablespoons melted coconut oil
3 tablespoons water
2 teaspoons baking powder

3 cups bread flour
you can use AP flour, but I find bread flour makes for a fluffier finished dough
1/4 cup sugar
1 tsp kosher salt

Filling
1/4 cup coconut oil, melted
1/2 cup brown sugar
1 tablespoon cinnamon

Icing
1 cup powdered sugar
1/2 cup melted coconut oil
1 tsp vanilla
Or vanilla bean paste, if you have it, to get those beautiful bean flecks!

EBCo-VeganCinnamonbuns.jpgEBCo-VeganCinnamonbuns.jpg

METHOD

  1. In a bowl, combine water, yeast, and sugar. Gently swish and let stand for 5-10 minutes until a small raft of puffed yeast forms in the middle of the water. 

  2. While the yeast is proofing, measure out bread flour, sugar, and salt, whisk to combine, and set aside.

  3. Once yeast is proved, add 2 tablespoons of melted coconut oil to the mixture and set aside.

  4. Combine the melted coconut oil, water and baking powder. Stir and add to yeast mixture.

  5. Add the wet ingredients and dry ingredients together and stir with a wooden spoon or in a stand mixer with the dough hook attachment ensuring all the flour is incorporated. If dough is sticky, slowly add an additional half cup of flour until dough begins to clear the sides of the bowl.

  6. Once flour is incorporated, the dough should begin to form a ball, clean the sides of the bowl, and feel smooth (about 2 minutes in a stand mixer). If you are kneading by hand, this will take about 10 minutes on a floured surface.

  7. Cover the dough in the bowl with a dry cloth or plastic wrap and place in a sunny, warm place until it has doubled in size (about 1.5-2 hours)

  8. Divide the raised dough in half, and place the other half back in the bowl.  Lightly flour a surface and your rolling pin. Roll out the dough to a 12” wide by  8" high rectangle, the long side toward you.

  9. Melt half your coconut oil (2 tablespoons) and drizzle over the rolled out dough. With your fingers or a pastry brush, spread it over the entire dough rectangle. Then measure out 1/4 cup of brown sugar and sprinkle all over the dough, followed by 1 1/2 teaspoon of cinnamon. 

  10. Start at the long side farthest from you, and roll the dough towards you, working back and forth from end to end. 

  11. Cut the dough into 2-inch slices and place closely together on a sheet pan with parchment or a greased cake pan. Repeat with the other half of the dough.  

  12. Cover with plastic wrap, and let the dough rise until doubled in size - about 45 minutes. Meanwhile, preheat the oven 350-degree oven 

  13. When the buns have risen, bake for 15-18 minutes until golden brown.

  14. While the buns are in the oven, make the glaze. Combine melted coconut oil, powdered sugar, and vanilla bean (extract or paste). Beat with a fork until creamy. 

  15. Place the sheet pan with the buns on a cooling rack and top with the frosting. The frosting is a double recipe, so there will be a lot but you’ll want the buns to be smothered.


UPDATE 11/19/2020 - Shhhhhhh I have a secret - I just updated this recipe, because the tweaks are hot and fresh from the oven baked goodness that is my new eBook, Born to Bun..available for preorder on Friday, November 27th! Be sure to get on the waitlist below!

BunsVeganComment
Not So Scary Monster Cookies

#block-yui_3_17_2_1_1587611329295_1478 .sqs-gallery-block-grid .sqs-gallery-design-grid { margin-right: -20px; }#block-yui_3_17_2_1_1587611329295_1478 .sqs-gallery-block-grid .sqs-gallery-design-grid-slide .margin-wrapper { margin-right: 20px; margin-bottom: 20px; }

Can I be honest that this is one of my most favorite cookie recipes to throw together on a whim? These cookies are vegan. They're gluten-free. They're the perfect opportunity for peanut butter, and M&M's to be at the same party. They do call for a few ingredients that I've now learned to keep stock on hand in my pantry (and if you want my FULL LIST of pantry items I keep on hand, sign up for it here)


INGREDIENTS

1 cup creamy peanut butter
(use a traditional creamy PB like Jif - don’t use a natural peanut butter, they just don’t turn out the same)
2 tablespoons honey
1/4 cup light brown sugar

1/2 heaping cup of oatmeal
(wanna get crazy? use half traditional oats and half steel cut)
1/8 teaspoon salt
1 teaspoon baking soda
1/2 teaspoon vanilla extract

1 ½ teaspoons Egg Replacer mixed with 2 tablespoons warm water
½ cup dairy free mini chocolate chips
2 packages
Vegan Chocolate Candies

IMG_9293.jpegIMG_9293.jpeg

METHOD

  1. Bring oven to 350 degrees and line a sheet pan with parchment paper.

  2. Make the 'egg replacement' - mix 1 1/2 teaspoons egg replacer powder with 2 tablespoons warm water in a measuring cup (or mug!). Set aside to let it thicken.

  3. Using a stand mixer, measure out the peanut butter and cream with the brown sugar and honey on a lower speed.

  4. Turn down the mixer to 'Stir' (or the lowest speed) and add the egg replacer, vanilla extract, salt, baking soda, and oats. Let everything come together, so there is no dry baking soda or oats floating around.

  5. Lastly, with the mixer still on low - add the mini chocolate chips. Let them distribute evenly and then get ready to scoop.

  6. Using a cookie scoop, scoop the dough into your palm, and smoosh together to form a cohesive ball. 

    1. Personally, I prefer to form these cookies with a small cookie scoop. For me, I prefer to eat many smaller cookies than one giant cookie. If you make the cookies larger, you'll want to let them bake more towards 20 minutes than 15 for the smaller ones.

  7. After you fill the sheet pan with the dough balls, press anywhere from 1-3 chocolate candies into the top of each cookie.

  8. Bake for 12-14 minutes until the cookies become golden. Just be sure to pull them before the bottom is burned.

  9. Let cool on the sheet pan - seriously - they will fall apart if you try to pick them up off the pan fresh out of the oven.

Not vegan, or don't need to make this allergy-free?

The only a few tweaks required are:

1. Just use a regular egg.
2. Use traditional chocolate chips (still, please, I beg you to use mini chips).
3. Use classic M&M's in all their dairy-filled glory.

Cardamom Love Buns

#block-yui_3_17_2_1_1587610457649_3322 .sqs-gallery-block-grid .sqs-gallery-design-grid { margin-right: -20px; }#block-yui_3_17_2_1_1587610457649_3322 .sqs-gallery-block-grid .sqs-gallery-design-grid-slide .margin-wrapper { margin-right: 20px; margin-bottom: 20px; }

I’m going to be honest, I had only ever had one cardamom bun before I made them. After the labor of love (I’m an impatient person - rising dough can be a labor!), they came out of the oven and I couldn’t resist. Crunchy on the outside, soft and fluffy on the inside with flecks of cardamom seeds in the filling, I find these buns so satisfying. If you prefer cinnamon to cardamom, you can sub that in but I encourage you to give this Scandinavian spice a try.

Why are they called love buns? My niece is 18 months old - not an age where cardamom is easy on the pallet unless you’ve got Scandinavian blood. Well, she got a hold of a cardamom bun and had 3. THREE! I want to name this recipe in honor of her - because she loves them, because I love her, and her last name - Lovejoy.


INGREDIENTS
DOUGH
1 cup whole milk
1 tablespoon active dry yeast
1/4 cup warm water (110F)
1/2 cup sugar
1 teaspoon crushed cardamom seeds
1 teaspoon kosher salt
2 large eggs at room temp**
4.5 cups unbleached all purpose flour
1 stick (4 oz) unsalted butter, melted

FILLING
1 cup + 2 tbsp unsalted butter, room temp
1 cup sugar
1 tablespoon ground cardamom (powder)
1 tablespoon crushed cardamom seeds
1/4 teaspoon kosher salt

TOPPING
1 large egg
1 teaspoon cardamom seeds, crushed
2 teaspoons ground cardamom (powder)
3 tablespoons sugar

Pantry-Guide-6.jpgPantry-Guide-6.jpg

Making the Dough

1. Scald the milk in a small saucepan (milk scalds at 181F). Remove pan from heat and cool to anywhere between 105-115*F.

2. While the milk heats, add 1 tablespoon (YEP) dry active yeast to 1/4 cup warm water (about 110F) to your stand mixer bowl. It's ready to go (about 5 mins tops) when the yeast is dissolved and creamy.

3. Whisk the milk, sugar, cardamom (both types, if using), salt, and eggs into the yeast mixture. Put the bowl on stand mixer with the dough hook attachment and add 2 cups of the flour until smooth. Pour in melted butter, and turn the mixer back on until the butter is incorporated. Add in remaining flour, 1/2 cup at a time. Do this until the dough is pulling away from the sides of the bowl.

*If it's still a little sticky, flour your counter lightly and turn the dough out. Knead in up to another 1/2 cup of flour by hand until the dough feels silky and compact.

4. Line a sheet pan with parchment and loosely shape the dough into a flat rectangle. Slash the top lightly with a knife, 3 times about 1/4 inch deep. Cover dough with plastic wrap and place in the fridge to chill for 2 hours.

5. While the dough is in the fridge, make the filling. Using the paddle attachment of a stand mixer, cream the butter, salt, cardamom, and sugar (don't over mix). Set aside (don't refrigerate! you want this to be room temp).

6. Line two-13x18 baking sheets with parchment paper, and set aside.

7. Remove the dough from the fridge at the end of the two hours and let it sit out for a few minutes, so it's easier to roll out. Place dough on a lightly floured surface and roll out to about a 15x18 inch rectangle (about 1/8-inch thick). Lift the dough as you roll out to re-flour the underside of the dough, so it doesn't stick.

8. Divide up the creamed butter filling in little chunks across the whole dough and spread with a spatula or your clean hands across the whole surface of the dough.

9. Face the 15-inch side towards you (so the dough is running north/south from where you stand) and fold the top third over the middle third, and then fold the bottom third up over the middle as well like a letter.

10. Roll the dough vertically to flatten the edges - you can stretch it to size, about a 12x16 rectangle (this time the dough is facing east/west from where you stand). If any filling oozes out, wipe it away with a spatula to prevent a sticky surface.

11. Use a pizza cutter to cut the dough in half. Continue to cut the halves in half until you have 16 strips. Working with one strip at a time, cut it in half with the pizza cutter leaving the two strands connected at the top (about a 1/2 inch).

12. Twist the two strands over one another to form one twisted strand 'braid.' Coil the 'braid' in a circle and tuck the loose end under the bun. Place on your baking sheet and continue until all the strands are braided & coiled. Space the buns out evenly, and leave them to proof at room temp for about 1 hour. Then the dough should rise & become soft.

13. Preheat oven to 450 degrees (425 if you're using convection)

14. When the buns have proofed, make the topping. Whisk the egg together with 1 tablespoon water with a fork until combined.

15. Whisk the sugar and cardamom together until sandy looking. Lightly brush each bun with egg wash and sprinkle the sandy sugar on top (don't be shy, I recommend anywhere from 1/2 to 1 teaspoon per bun). For the finishing touch - sprinkle some Swedish Pearl Sugar on top, but if you can't find it, it's not necessary.

16. Bake for 8 minutes and then lower the temp to 375, rotating the trays (turn the tray 180 degrees and rotate the top and bottom trays to ensure even baking). Lower the temp ensures the buns bake all the way through, but the outside doesn't burn. Bake for an additional 12 minutes.

*(if you're worried about the buns burning, you can cover the trays with a piece of parchment paper towards the end once they've reached the golden brown color.

17. Let the buns cool for 10 minutes before eating, so the melted sugar has a chance to harden. Remove any lacy sugar around the outside before serving. Enjoy!

BunsTraditionalComment
Three Letter Birds
 

The best part of this crazy, amazing, ever changing world of owning a business is the friends you have along side you for the journey.

One part in particular that I love is photographing those friends!

Jenny and I met at our beloved Covenant Point Bible Camp when we were both counselors together summer of 2004. We bonded over trips  into the small town the camp is located in, our love of Target, and a strange affinity for brown Sharpies (HOW that memory sticks out, I don't know!).

Now she owns the whimsical & inspiring Three Letter Birds shop, and recently was the chosen designer of Jen Hatmakers new podcast logo! Last month we worked together to bring her brightly colored and playful goods to life with new product photography, as well as new branded headshots.

What I love about photography is how it infuses life and brings out a voice. I love how these photographs of Jenny speak volumes for the work she does, and the person she is. She is Three Letter Birds...bright, inspiring and whimsical at heart. 

My favorite product of the moment she has? This amazing collection of quotes from her She Persisted collection...head on over to her shop, and treat yourself!

 
alicia sturdyComment
A page of my heart.
 

My grandma with Stella.

Authors note: Mom, this is going to make you cry. Love, me

A shoebox sat on the coffee table under the window in my grandma's living room. I eyed it as I settled into the green brocade rocking chair that my grandpa always used to sit in. Ever since I can remember, my routine when coming to my grandmas was one of a few things. 1. playing outside in the woods, 2. climbing trees in the apple orchard chasing the cats that had climbed them to get away from me and my two sisters, 3. watching movies and sneaking into her big chest freezer to nab her Schwan's Golden Nugget bars or 4. pouring over boxes of old yearbooks & photographs.

This box I had never seen before, which made me happy. Happy doesn't even describe it. I was excited beyond the word, trying not to voraciously dump out the box to start from the bottom.

In the end, two and a half hours later, I got half way through the box. It's contents? Photographs I had never seen before in my life...important ones - like pictures of my mom as an infant, silly snapshots of my grandma in a giant set of pajamas at work with one of her coworkers...one of them in each leg and arm, and portraits of her great grandparents, mounted on thick paper and embossed with the studio and photographers name from back in Glasgow, Scotland.

My grandma has a hard time walking, she usually stays put in her rocker while we visit. But with each picture I inquired about, she almost leaped up out of her chair to get a closer look. She ended up sitting on the coffee table, laughing away her aches and pains as she diligently told me stories from beyond the frame. "This is me with my niece in Detroit, and just beyond the frame to the left is the steel mill in our town..." her voice trailed off as I realized this is where I inherited my photographic memory for detail (I'm that phone-a-friend for the details that you just can't quite remember).

This feeling in my chest started to rise and I felt myself getting emotional. This is why we take photographs. To sit for hours, pouring over an old shoe box full of photographs that can instantly come to life. Photographs are a key...to a locked door of our stories buried deep within our hearts and minds.

We are trusted with great responsibility - a library of the unwritten stories of our life. How will we get these stories out, into the light where they belong? I keep thinking about our senses...sight, sound, taste, and smell. Each is a road that we can journey to places sometimes forgotten until triggered by our senses. Even that day at my grandma's when I got out of the car, the smell of the wet grass and trees brought back a wave of nostalgia...of hours spent outside at my grandmas. And while I did say "I wish they made a candle that smelled like this!", all I can do is take that moment captive, and tie it to the memory of the afternoon spent with my grandma, that penned the stories of my mother, my grandmother, and beyond on the pages of my heart.


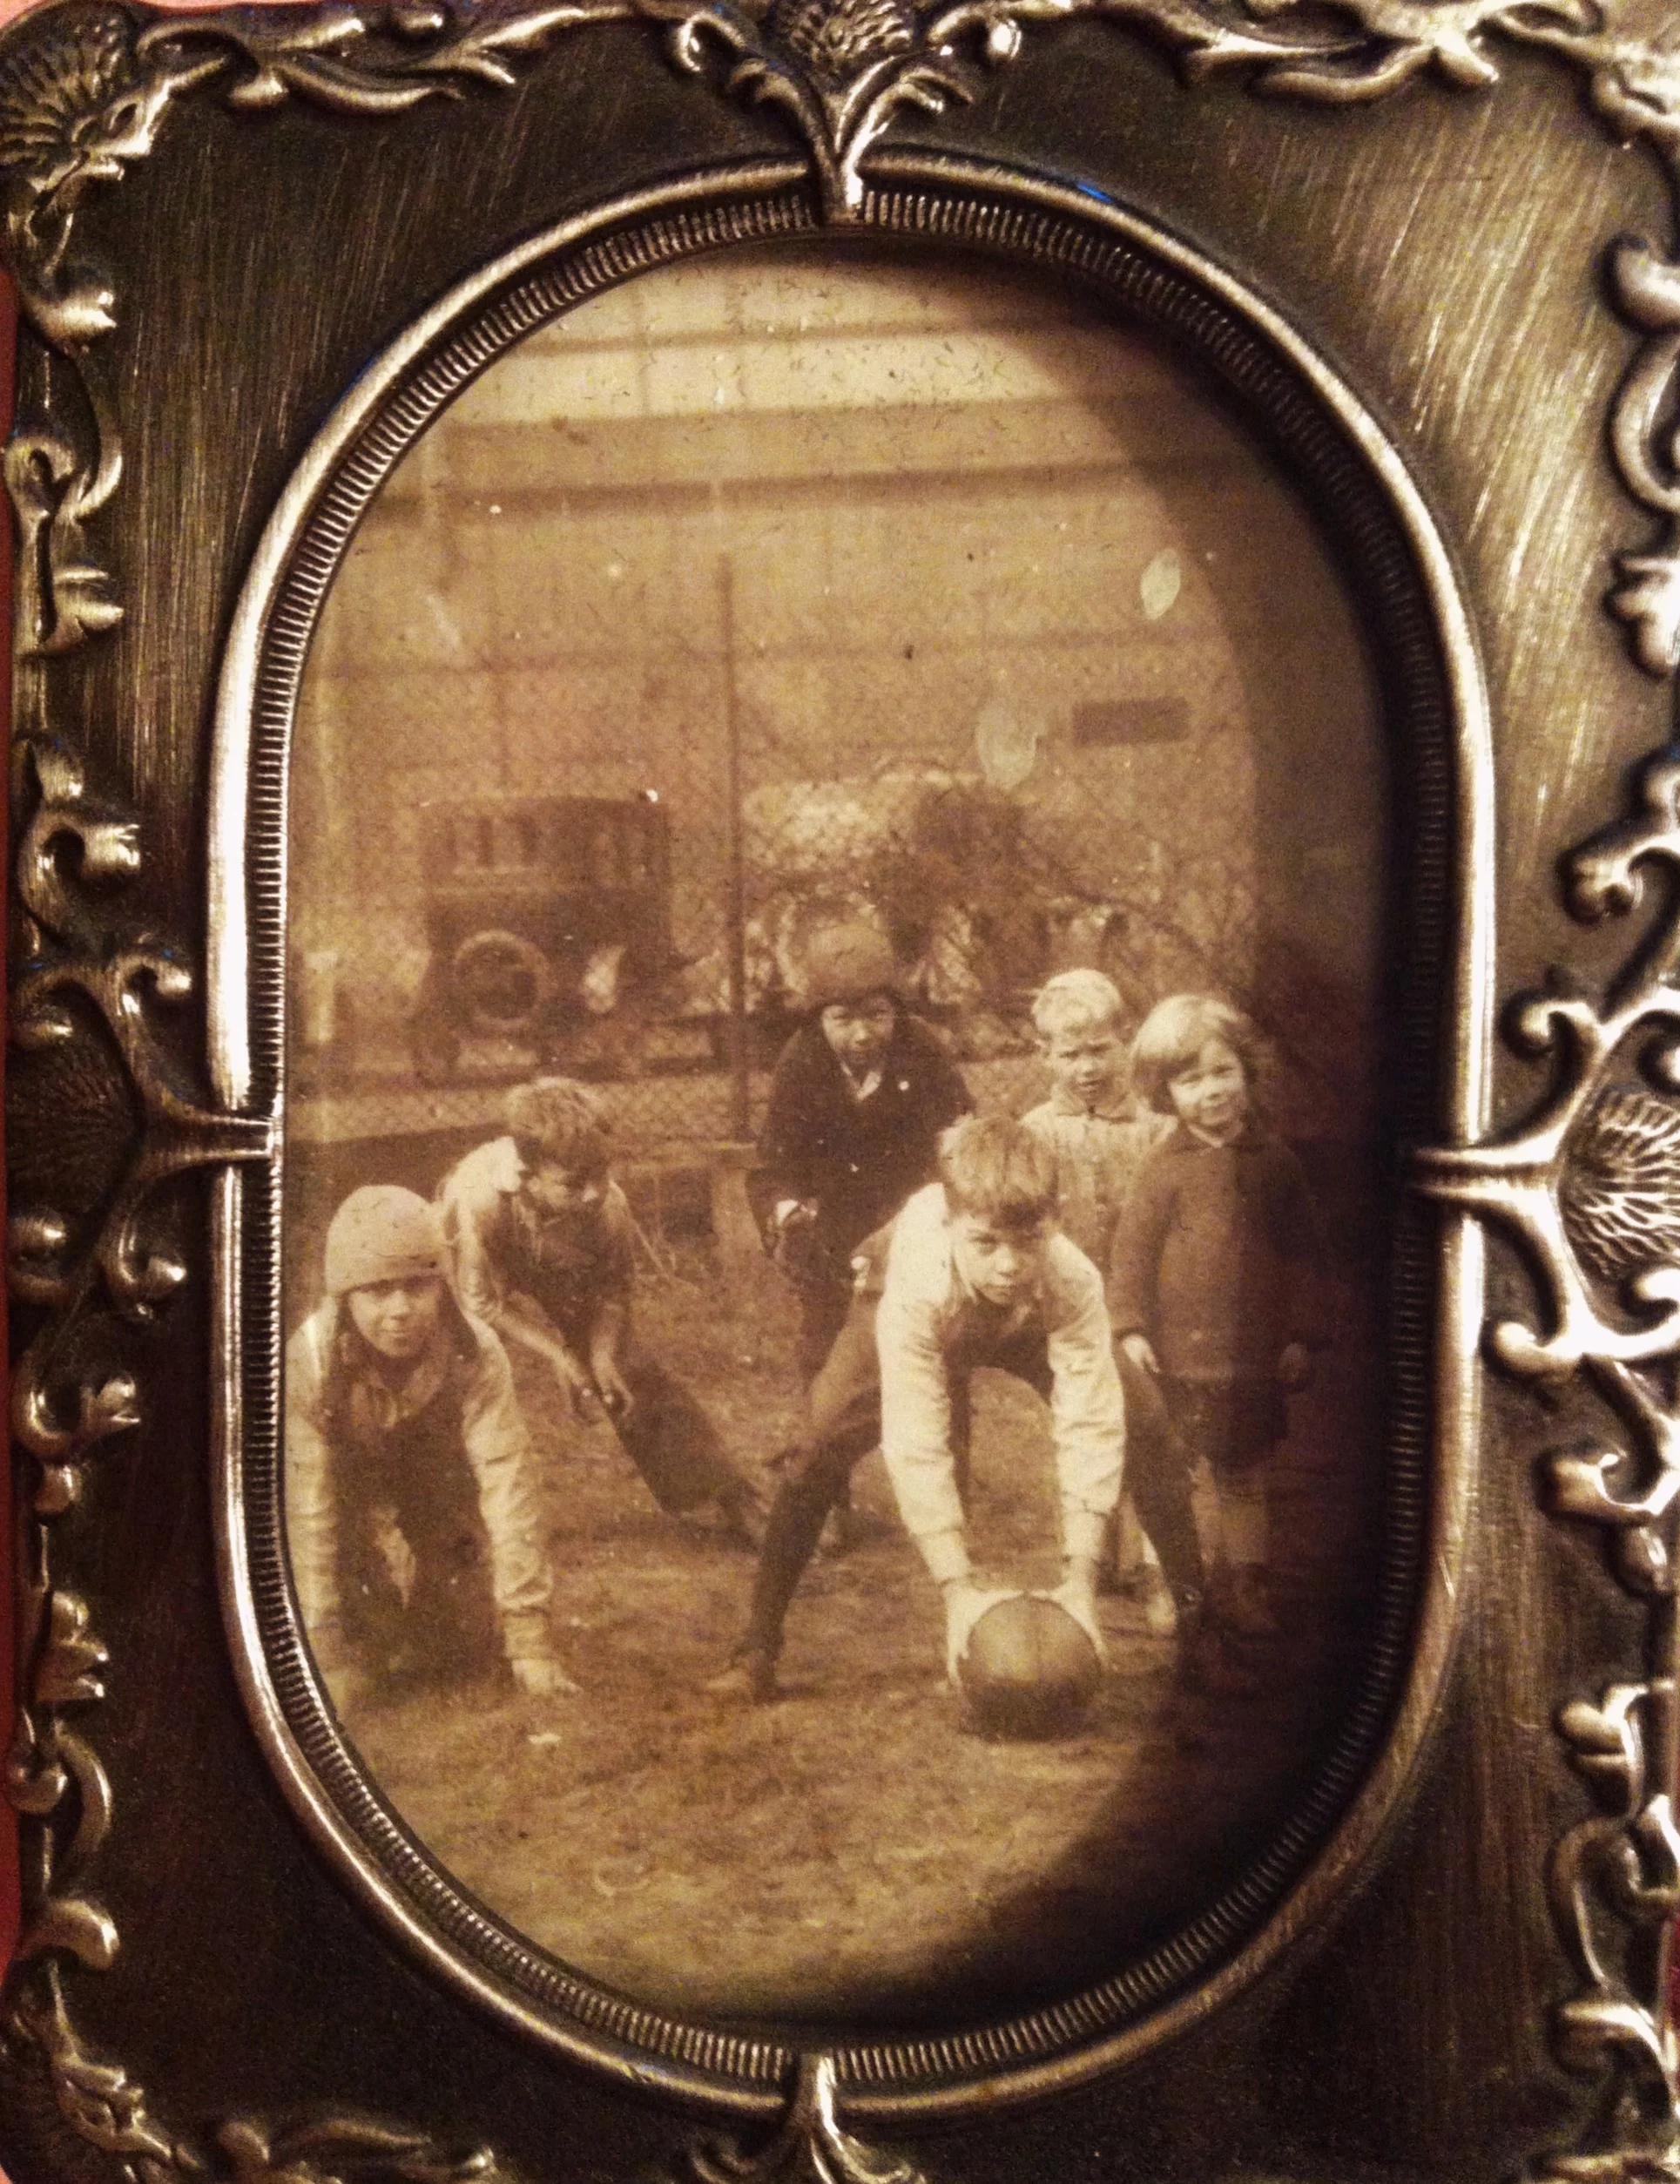
My grandma is the little girl on the left.

Becoming who you are.

Image by Kindred Cinema


I've been thinking a lot about my story and how I've gotten to this particular place. This curly haired, weird glasses wearing, bright sweater owning girl is me now - but it's the ying to the yang of the past few years.

I use to be a huge people-pleaser. In the name of acceptance, I always took other people's’ advice, I always deeply considered suggestions given to me about my life. I always convinced myself ‘their way was right’. When building my business I would have 10 tabs with other people’s websites open so I could cobble together ‘the best of’ what I saw out there because someone told me they didn’t like what I had already built (quote, it was too ‘bold’). I have made life decisions upon a passing comment and then blamed others for my poor choice. These are not easy words to type.

Finally, a few years ago I found myself sitting on my big brown chair in my living room, tears dripping into my coffee, ‘deeply contemplating’ more life advice I had been given the day before. I’ll spare you the details, but in a nutshell after years of being told I wasn’t ‘enough’ (holy enough, thin enough, pretty enough, creative enough) I was weighing new advice that I was ‘too much’ (too successful, too talkative, too loud, too busy, too happy...all adding up to ‘too unapproachable’).

Looking back, I was too unapproachable. But I had no idea how to temper who I was with what I was expected to be. I sometimes felt like I was being forced into a box of 'who I was expected to be' and so I went in the opposite direction. I have shut people out of my life that I shouldn't have. I have pressed advice on friends who didn't need it. I pushed people away, and was good at it. I was becoming a person I never wanted to be.

I say all this to really say...and this is important that you hear this.

Who you are right now doesn't have to be who you are becoming.

You can change.

There is permission available for you to change course. Take it and run in the direction of the person you dream of being. Believe you can, embrace you can, implant it in your soul. Tell your besties...open up...be vulnerable about your state of affairs and where you want to go - you don't have to walk towards the light alone.


Did you feel like this post lit up a part of you that needs to be let into the light? Hit the heart button below to let others know we're in this journey of becoming together.


Photo by Alex Good

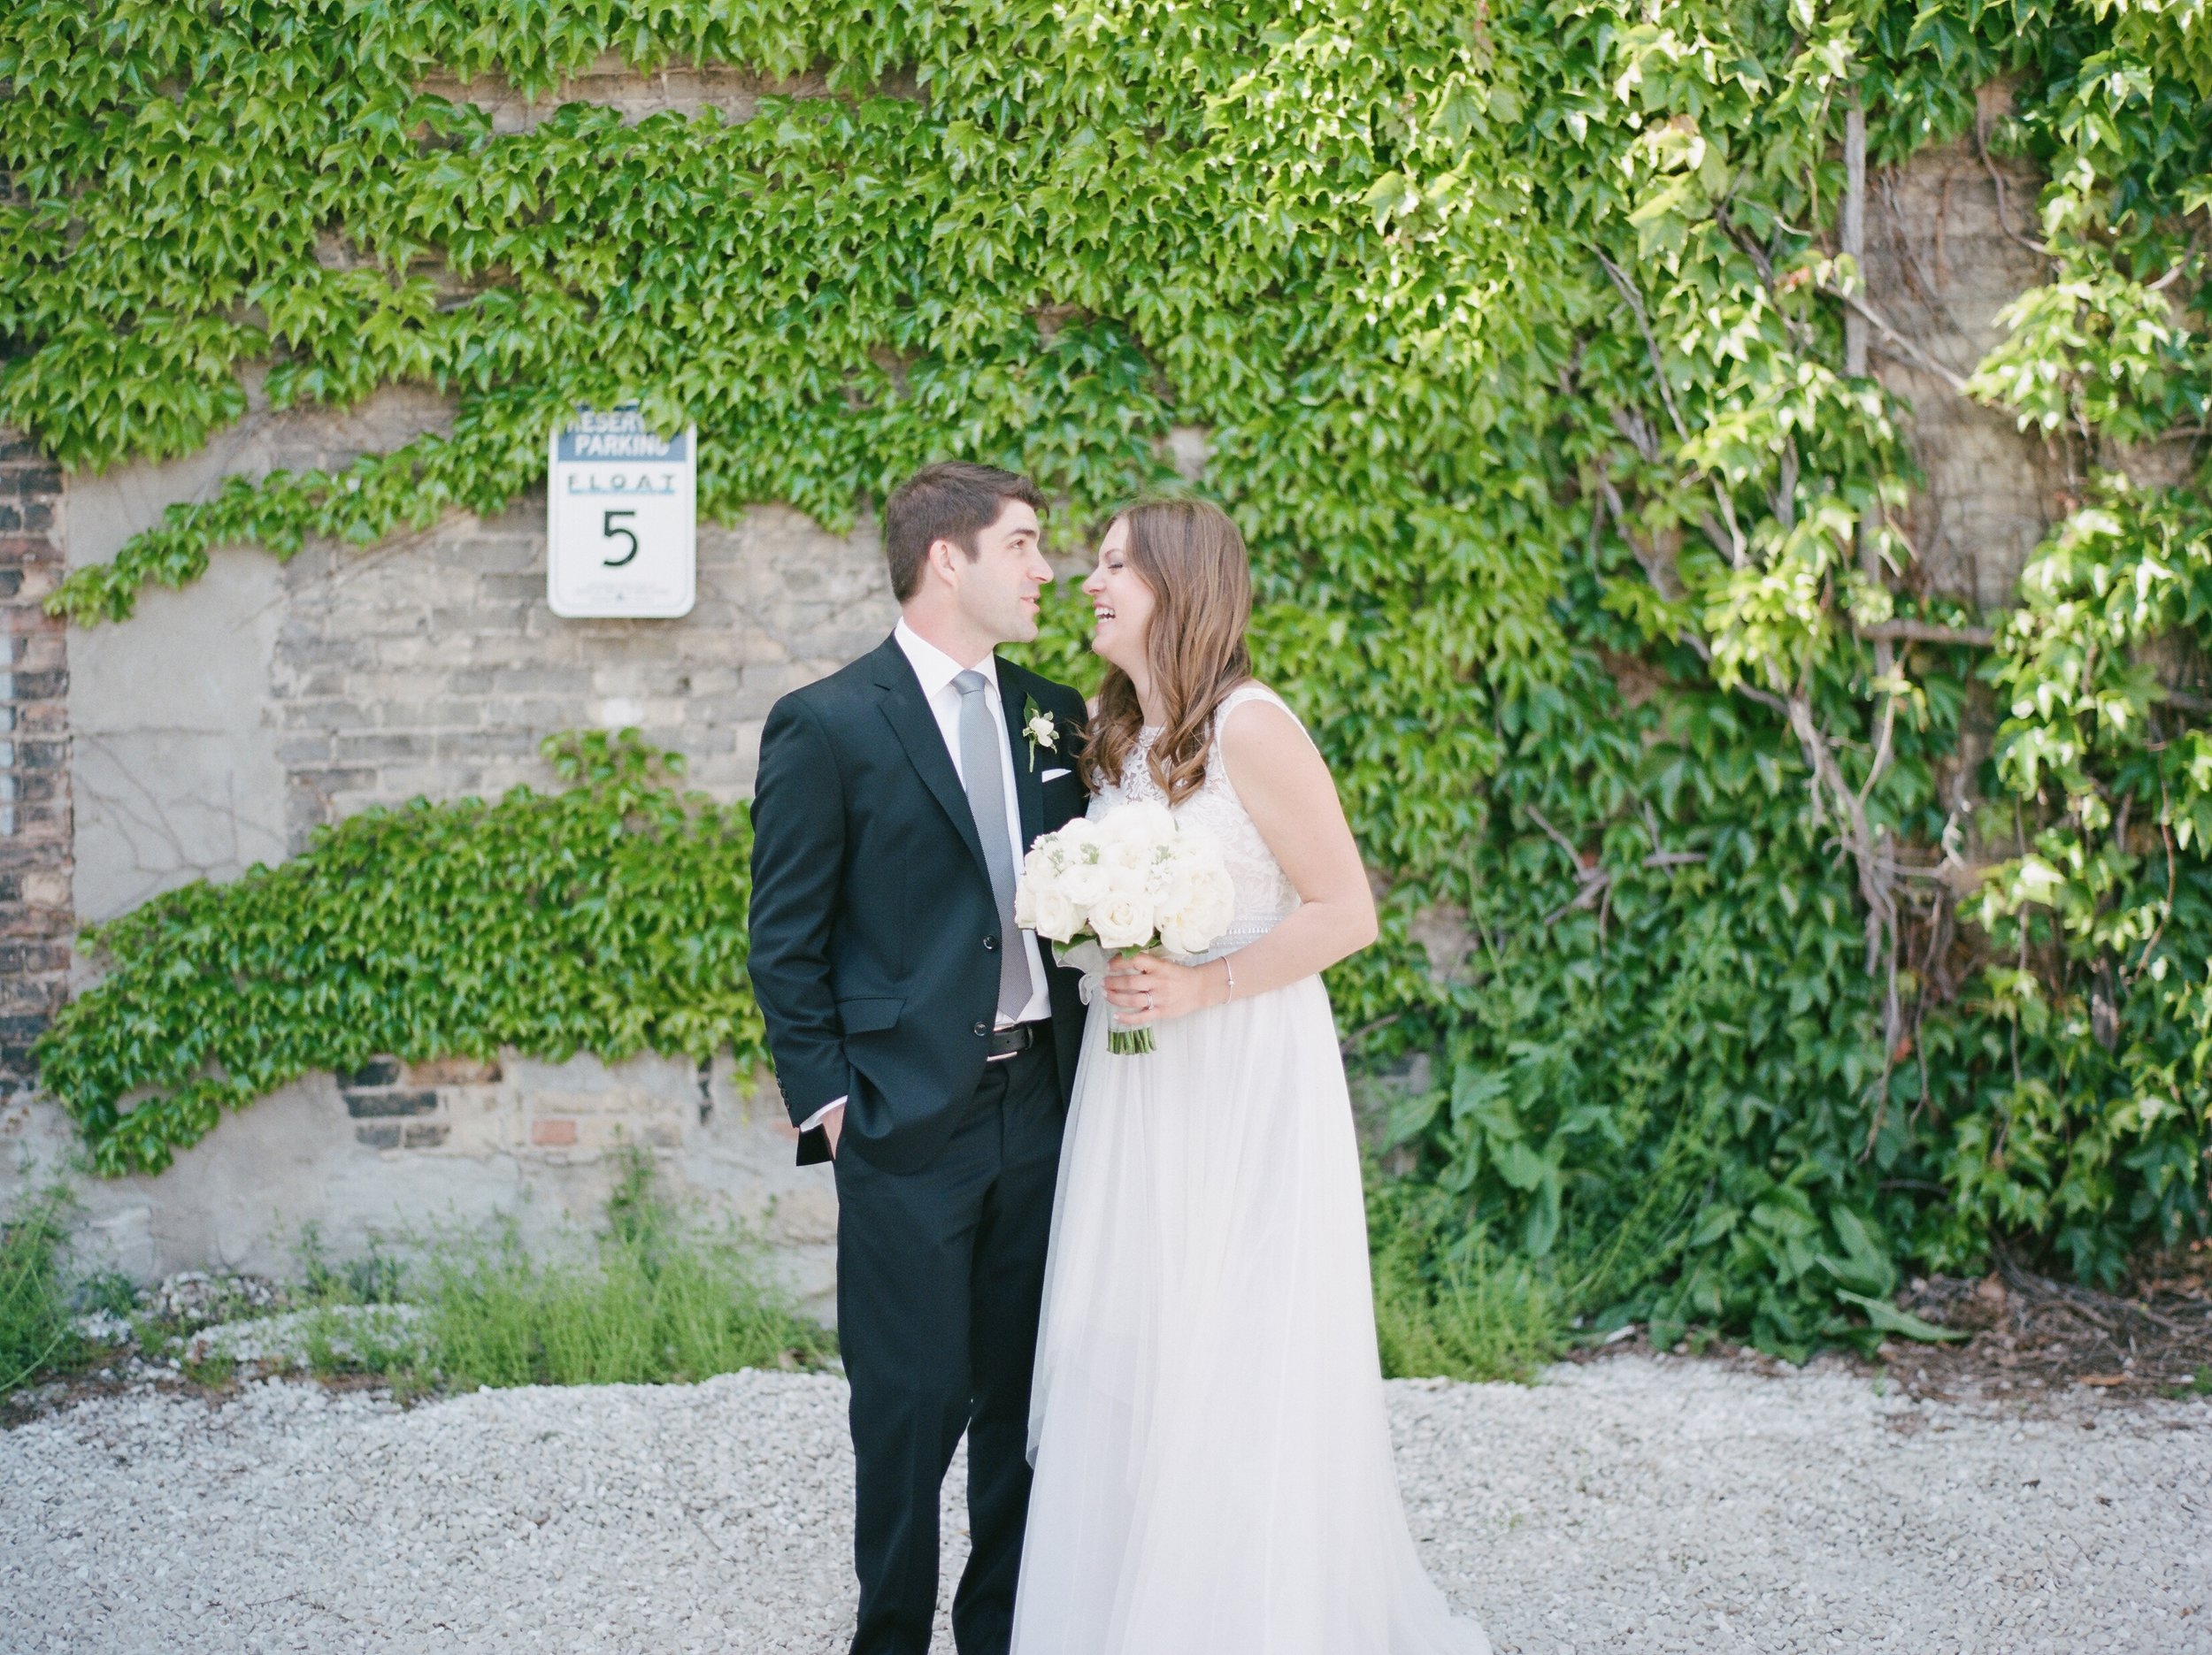
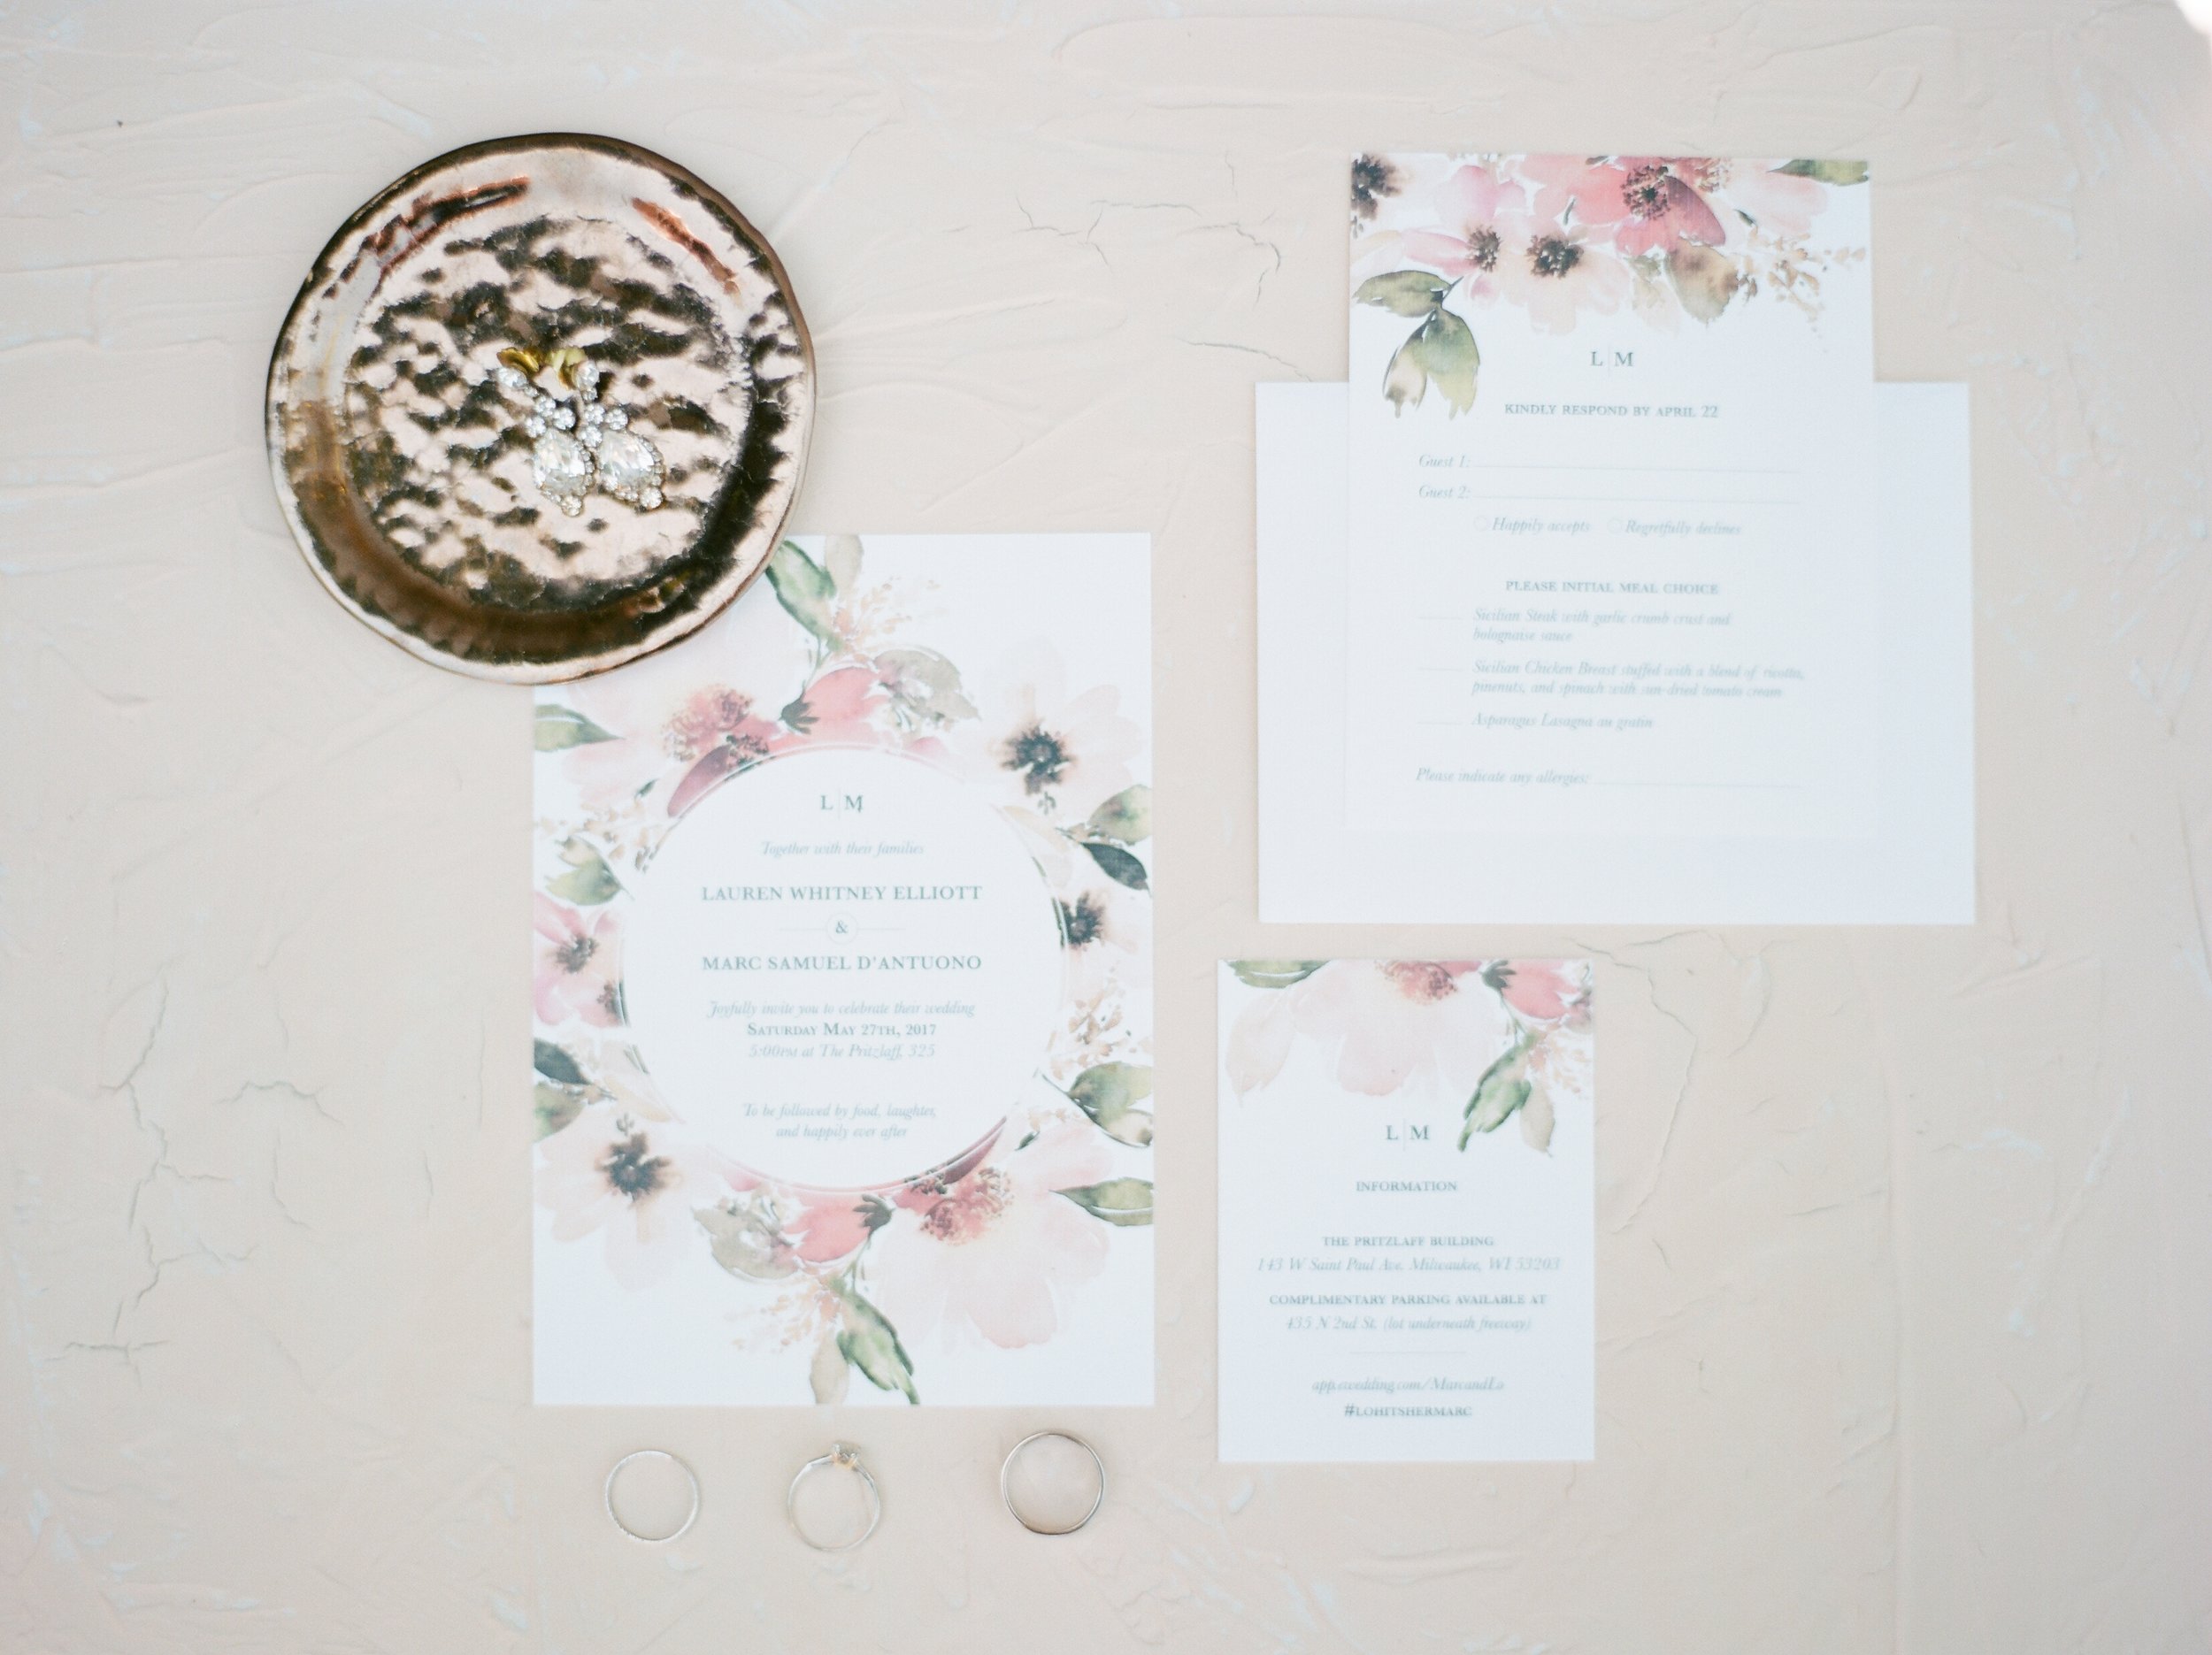
Pritzlaff Fine Art Film Wedding Portraits for Elizabeth Haase Photography
 

One thing I love about the photography industry is the partnerships that can form in community with other photographers. There are niches for everyone and everything, and while I few years ago I decided big, huge, mansion weddings didn't fit with the heart behind my craft - I absolutely love teaming up with another photographers. The heart of what I do is about supporting the other photographer, anticipating their needs and what I know will help them rest easy while herding a bridal party of 10.

It also is two fold, because I get to hone my craft, giving me more opportunities to document a story that I know will be cherished for generations - the wedding day. I exclusively photograph intimate weddings (with a guest list of 50 or less), and so my eye is always looking for intimate spots on location for future nuptials with my couples.

So when I met Elizabeth Haase on cold, January night in 2016 at a Rising Tide Society meet-up, I knew we'd be fast friends. And even better? We're both film photographers, so as we both traverse the wedding day loading film, metering for each other and calling out readings - I can't help but be so grateful I've found not only a partner to journey in this crazy business owner life, but a friend!

The full post is over on Elizabeth's amazing website, leave her some love!

 
My favorite S'more Cupcake
 

I have a secret. Well, I'm sorry to say it might not be that big of a secret, but...here it is. I'm obsessed with S'mores. I don't know the exact date of my infatuation, since let's face it, s'mores is an American institution. And really if I'm being honest, the ingredient at the heart of my obsession is the humble marshmallow. Through the years, as I have sought out s'mores (i.e. marshmallow) in different forms to quench my obsession....in cakes, ice cream, frappachinos, and even my favorite Martian Mallow Lipsmacker circa 1998 (which also inspired a sundae I invented at the ice cream shop I worked at in high school...different story for a different day) I came upon my favorite form of the s'more (besides the traditional form of them)...the s'more cupcake.

It was a cold January afternoon in Chicago when I strolled into Sprinkles to get a quick afternoon bite with my mom. Typically I get the Vanilla Chocolate cupcake, but that day in the case, the blistered meringue marshmallow topper beckoned me. 

One bite and I was a goner. Instead of going into detail, I beg you to experience for yourself. You can go to Sprinkles in August (it's the cupcake of the month) -or- you can whip it up for your 4th of July celebrations this week. 


alicia's S'more cupcake

ingredients

for crust

  • 1 1/2 cups graham cracker crumbs (from about 20 squares)
  • 1/3 cup unsalted butter, melted
  • 1/4 cup sugar
  • 1-10oz bag Ghirardelli Chocolate Premium Baking Chips 60% Cacao Bittersweet Chocolate (or just 9oz any bittersweet chocolate, chopped)

for cake

for frosting

  • 8 large egg whites
  • 2 cups sugar
  • 1/2 teaspoon cream of tartar
  • 2 teaspoons pure vanilla extract

steps


Cupcakes

  1. Preheat oven to 350 degrees and line 2 cupcake tins (24 cupcake liners)
  2. In a large bowl, place graham cracker crumbs, sugar, and melted butter...stir until combined.
  3. Place 1-2 tablespoons (your preference on how thick you want it) graham cracker mixture into the bottom of each prepared muffin cup. Press crumbles to form crust. 
  4. Place 2 tsp of chocolate chips in each muffin cup. Place pans in oven for about 5 minutes until the edges of the 'crust' is golden.
  5. Remove from oven and fill each cup three-quarters full with cake batter. Sprinkle each with remaining chocolate chips.
  6. Return to oven and bake 8-10 minutes...rotate pans and bake for another 8-10 minutes until toothpick inserted in cupcake comes out clean.
  7. Cool cupcakes in tin on a wire rack for 10 minutes, then remove.

Marshmallow Frosting

  1. Place egg whites, sugar, and cream of tarter in a glass bowl over a saucepan of boiling water.
  2. Whisk constantly until sugar is dissolved and whites are warm to the touch, 3 to 4 minutes.
  3. Transfer bowl to electric mixer fitted with the whisk attachment, and beat, starting on low speed, gradually increasing to high, until stiff, glossy peaks form, 5 to 7 minutes.
  4. Add vanilla and fold over a few times to combine.

To finish...

  1. Frost cooled cupcakes with marshmallow frosting. Doesn't need to be perfect, and the thicker the frosting, the better!

Oven-toasted method

  • After cupcakes are all frosted, place cupcakes on a sheetpan. Under a low-broiler, return cupcakes to oven to toast tops. Keep a close eye, I've burned the tops before. 😳

Blow-torch method

  • After cupcakes after frosted, take a blowtorch and quickly toast the top of each cake. See my video!


a tip for you

to crumble your graham crackers, put a few in a plastic ziplock bag and pound out with an ice cream scoop, or run them all through your food processor to create the perfect crumb.