“OHH, you didn’t have to — really, you didn’t have to. I’m used to just bringing my own meal.”
I used to hear this all the time from my friends with food allergies or preferences when they’d come over for dinner. They’d sit with their sad little grocery store takeout containers while the rest of us feasted on homemade meals and desserts every Tuesday at our community group gatherings.
And honestly? I hated it.
What kind of hostess invites someone to dinner and then expects them to just watch everyone else eat because the menu isn’t allergy-friendly? Not the kind of hostess I want to be.
Before what one of my favorite YouTubers calls The Great Unpleasantness (you know the one), I cooked and baked constantly for various get-togethers — Tuesday night dinners with gluten-free friends, Wednesday girls’ nights that needed baked goods without eggs or milk. I loved it, but after a while, I got tired of the same three allergy-friendly cookbooks and the endless substitutions.
I wanted Ina Garten’s brownies.
Gesina Prado’s focaccia.
The “real” recipes — but made so that everyone could enjoy them.
So I did what I always do when something doesn’t sit right:
I went to the kitchen.
🍰 Introducing: The Bakeover
That’s when the idea for Bakeovers was born.
A Bakeover is my take on a recipe makeover — taking beloved, traditional recipes and transforming them into inclusive versions that everyone can enjoy. Gluten-free. Dairy-free. Vegan. Friendly for every seat at the table.
At first, I didn’t tell anyone what I was doing. I just served the food and waited.
To my friends with allergies, I’d say, “This one’s [insert their name here] friendly.”
They’d smile, dig in, and every time someone said, “Wait… this is gluten-free?” I knew I was onto something.
Bakeovers are my way of saying: no one should have to bring their own dinner.
🍪 Our First Bakeover: Pan-Banging Chocolate Chip Cookies
Intriguing title? ✔️
Drool-worthy golden ripples and crisp edges? ✔️
Sarah Keiffer’s Vanilla Bean Blog made these cookies famous — so famous that even Ina Garten included her version in a cookbook. They’re huge, dramatic, buttery, and rippled like the edges of a pie crust. But could I make them gluten-free, dairy-free, and egg-free without losing that chewy-meets-crisp perfection?
Challenge accepted.
🥄 Bakeover Notes
Sugar is the star.
These cookies get their golden color and crisp edges from sugar — mainly white sugar — which caramelizes as it bakes. That caramelization absorbs moisture and makes the cookies both chewy and crunchy. It’s also the secret behind those famous ripples. When you drop the baking pan mid-bake, the melted sugar pushes the dough outward, forming those iconic waves.
Use chopped chocolate, not chips.
Trust me on this one. Chopping a bar of bittersweet chocolate creates beautiful pools that spread better than chips. Plus, bittersweet and semisweet chocolates are naturally dairy-free — cocoa butter (despite the name) comes from the cocoa bean, not milk.
If you’re navigating allergens, check out brands that label their chocolate as gluten-, nut-, and soy-free. It makes a big difference.
Freeze the dough.
After scooping your dough, pop it in the freezer for about 15 minutes. This helps the centers stay gooey instead of flattening out completely while baking.
🌱 Allergy-Friendly Variations
Dairy-Free Butter
The main dairy ingredient here is butter, which is easily replaced.
My favorite brands: Miyoko’s European Style Butter or Earth Balance Vegan Unsalted Butter. I used Earth Balance for the cookies you see here.
Egg-Free Lift
Eggs provide lift and moisture in cookie dough, but this recipe only calls for one — perfect for replacing. My favorite substitute:
1½ tbsp water + 1½ tbsp oil (I use coconut or vegetable) + 1 tsp baking powder
Combine, stir, and add as you would an egg. You’ll see fizzing — that’s lift magic happening.
Gluten-Free Flour
This recipe doesn’t rely on much flour, so it’s a great candidate for a gluten-free swap.
I like to blend my own GF mix for control, but any quality all-purpose gluten-free blend works. Just remember:
Gluten-free dough spreads a little more
It may take longer to brown
And patience is your best friend — let them cool fully before biting in!
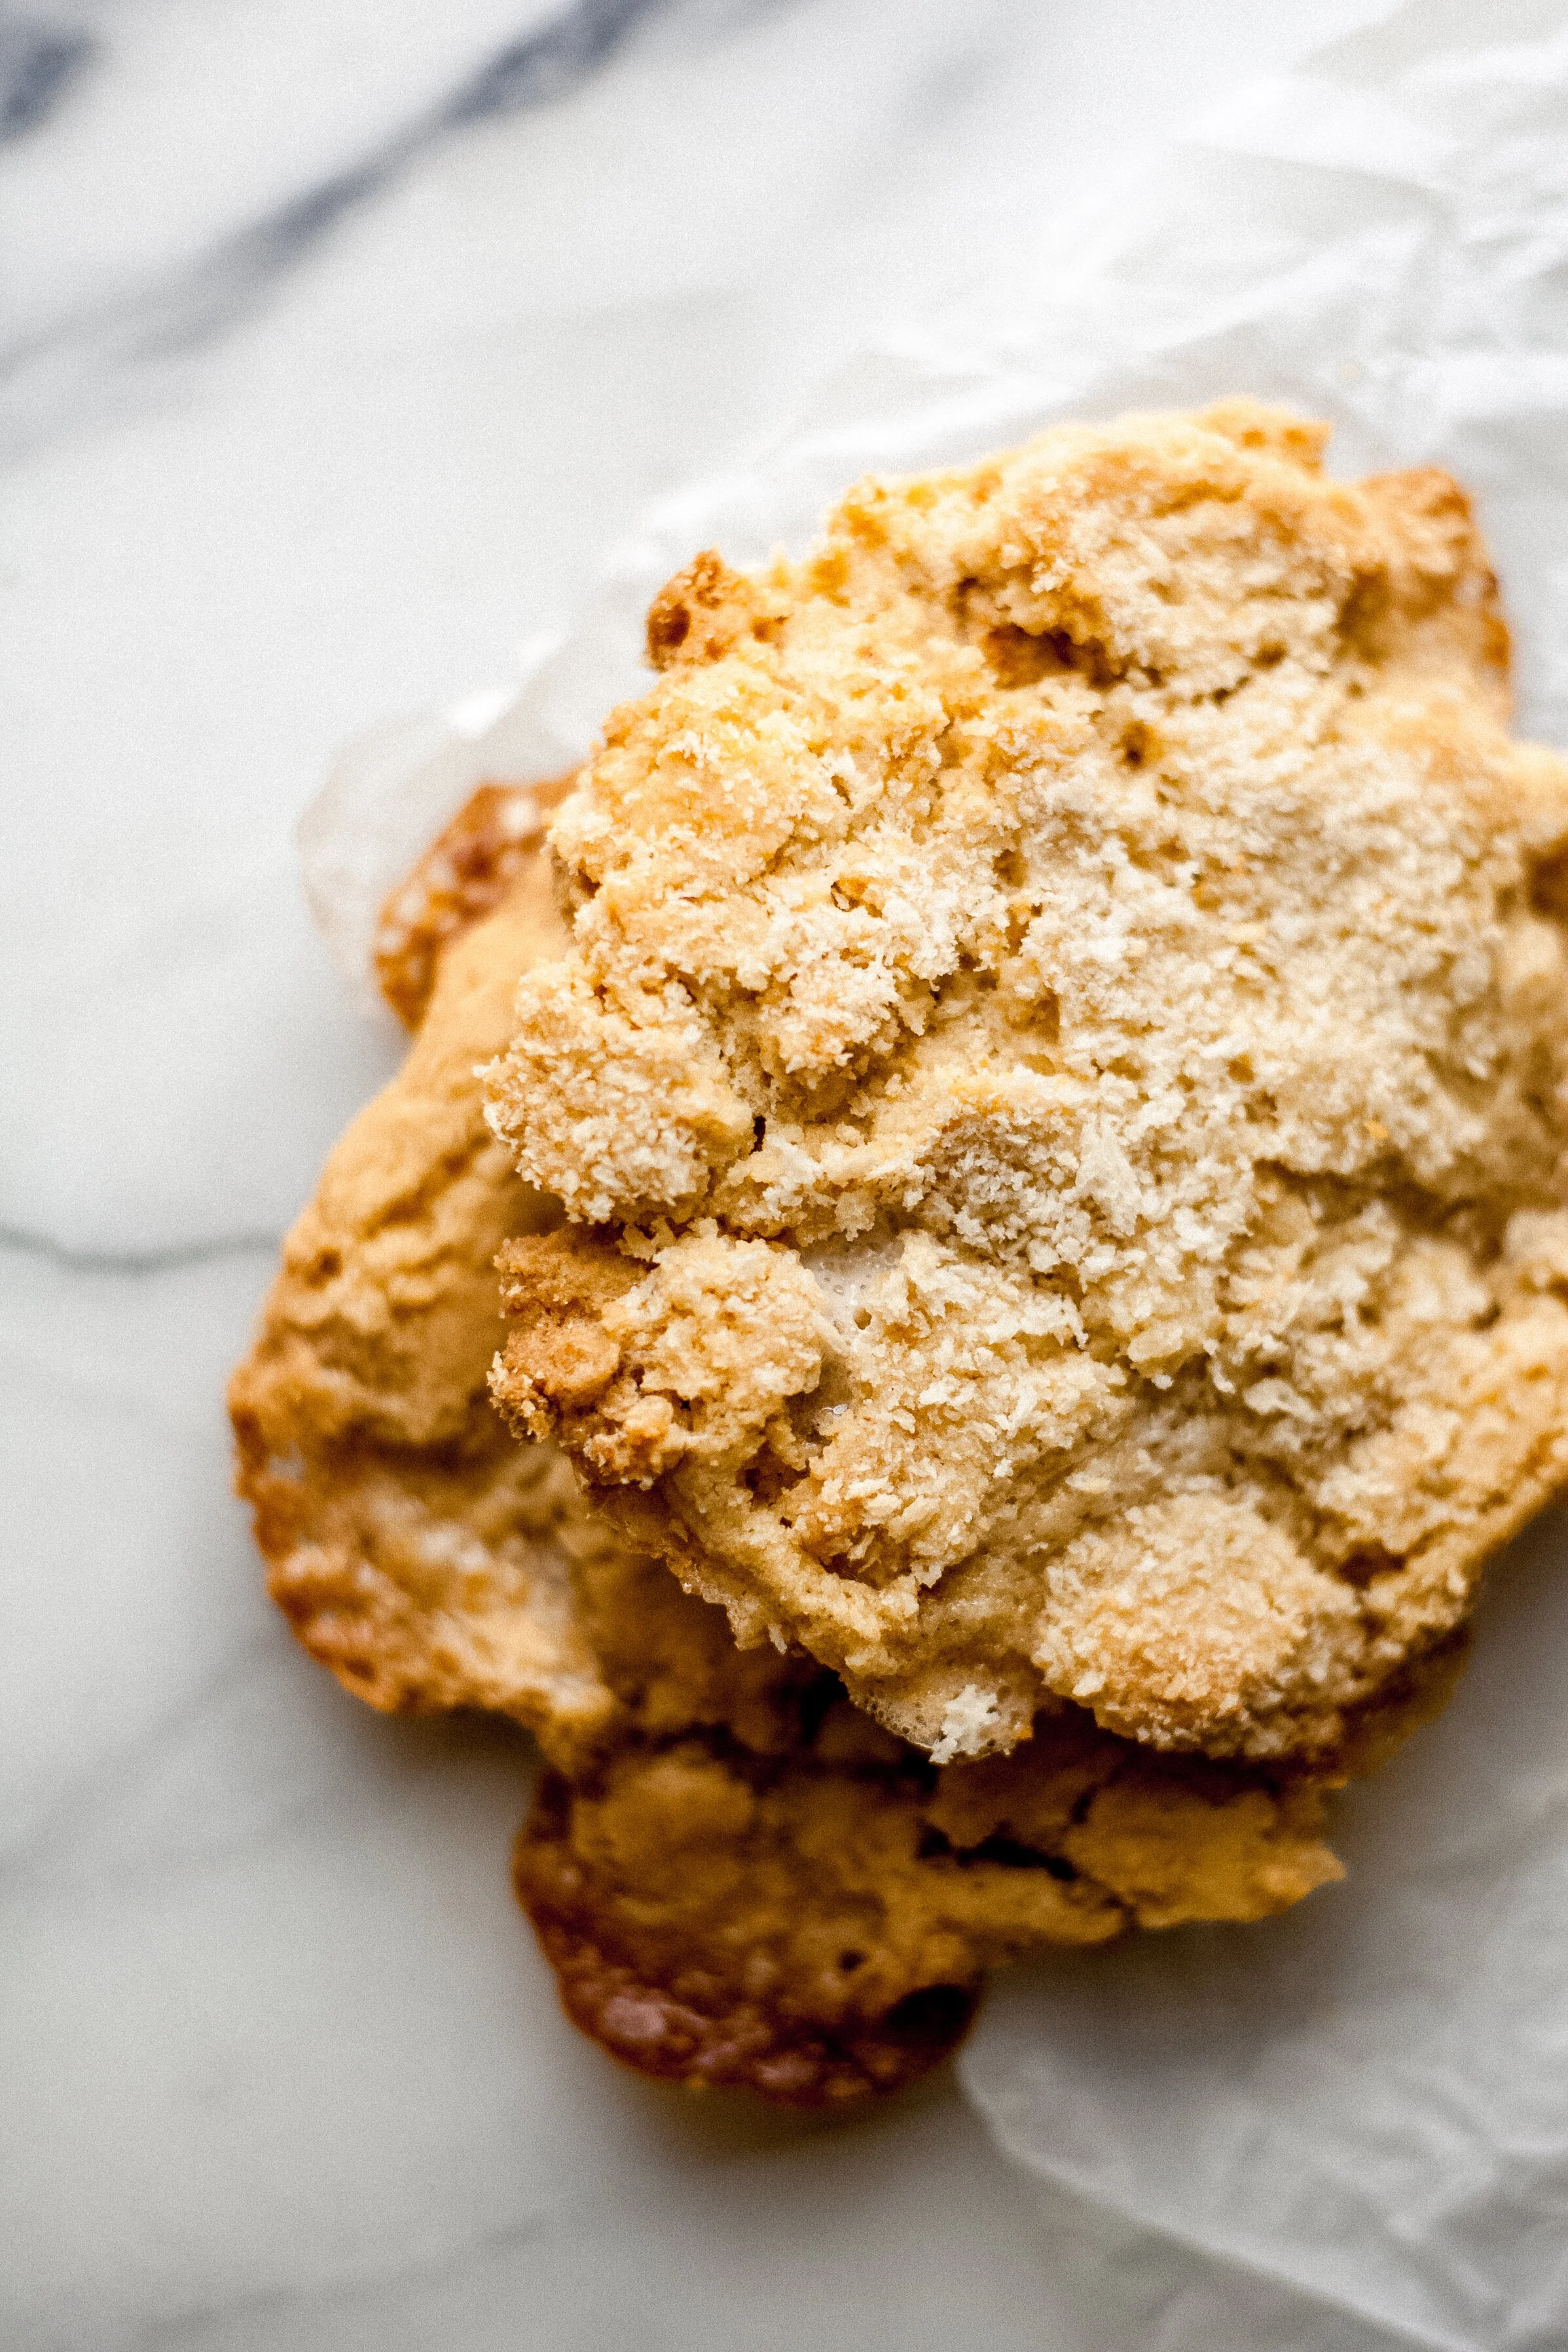
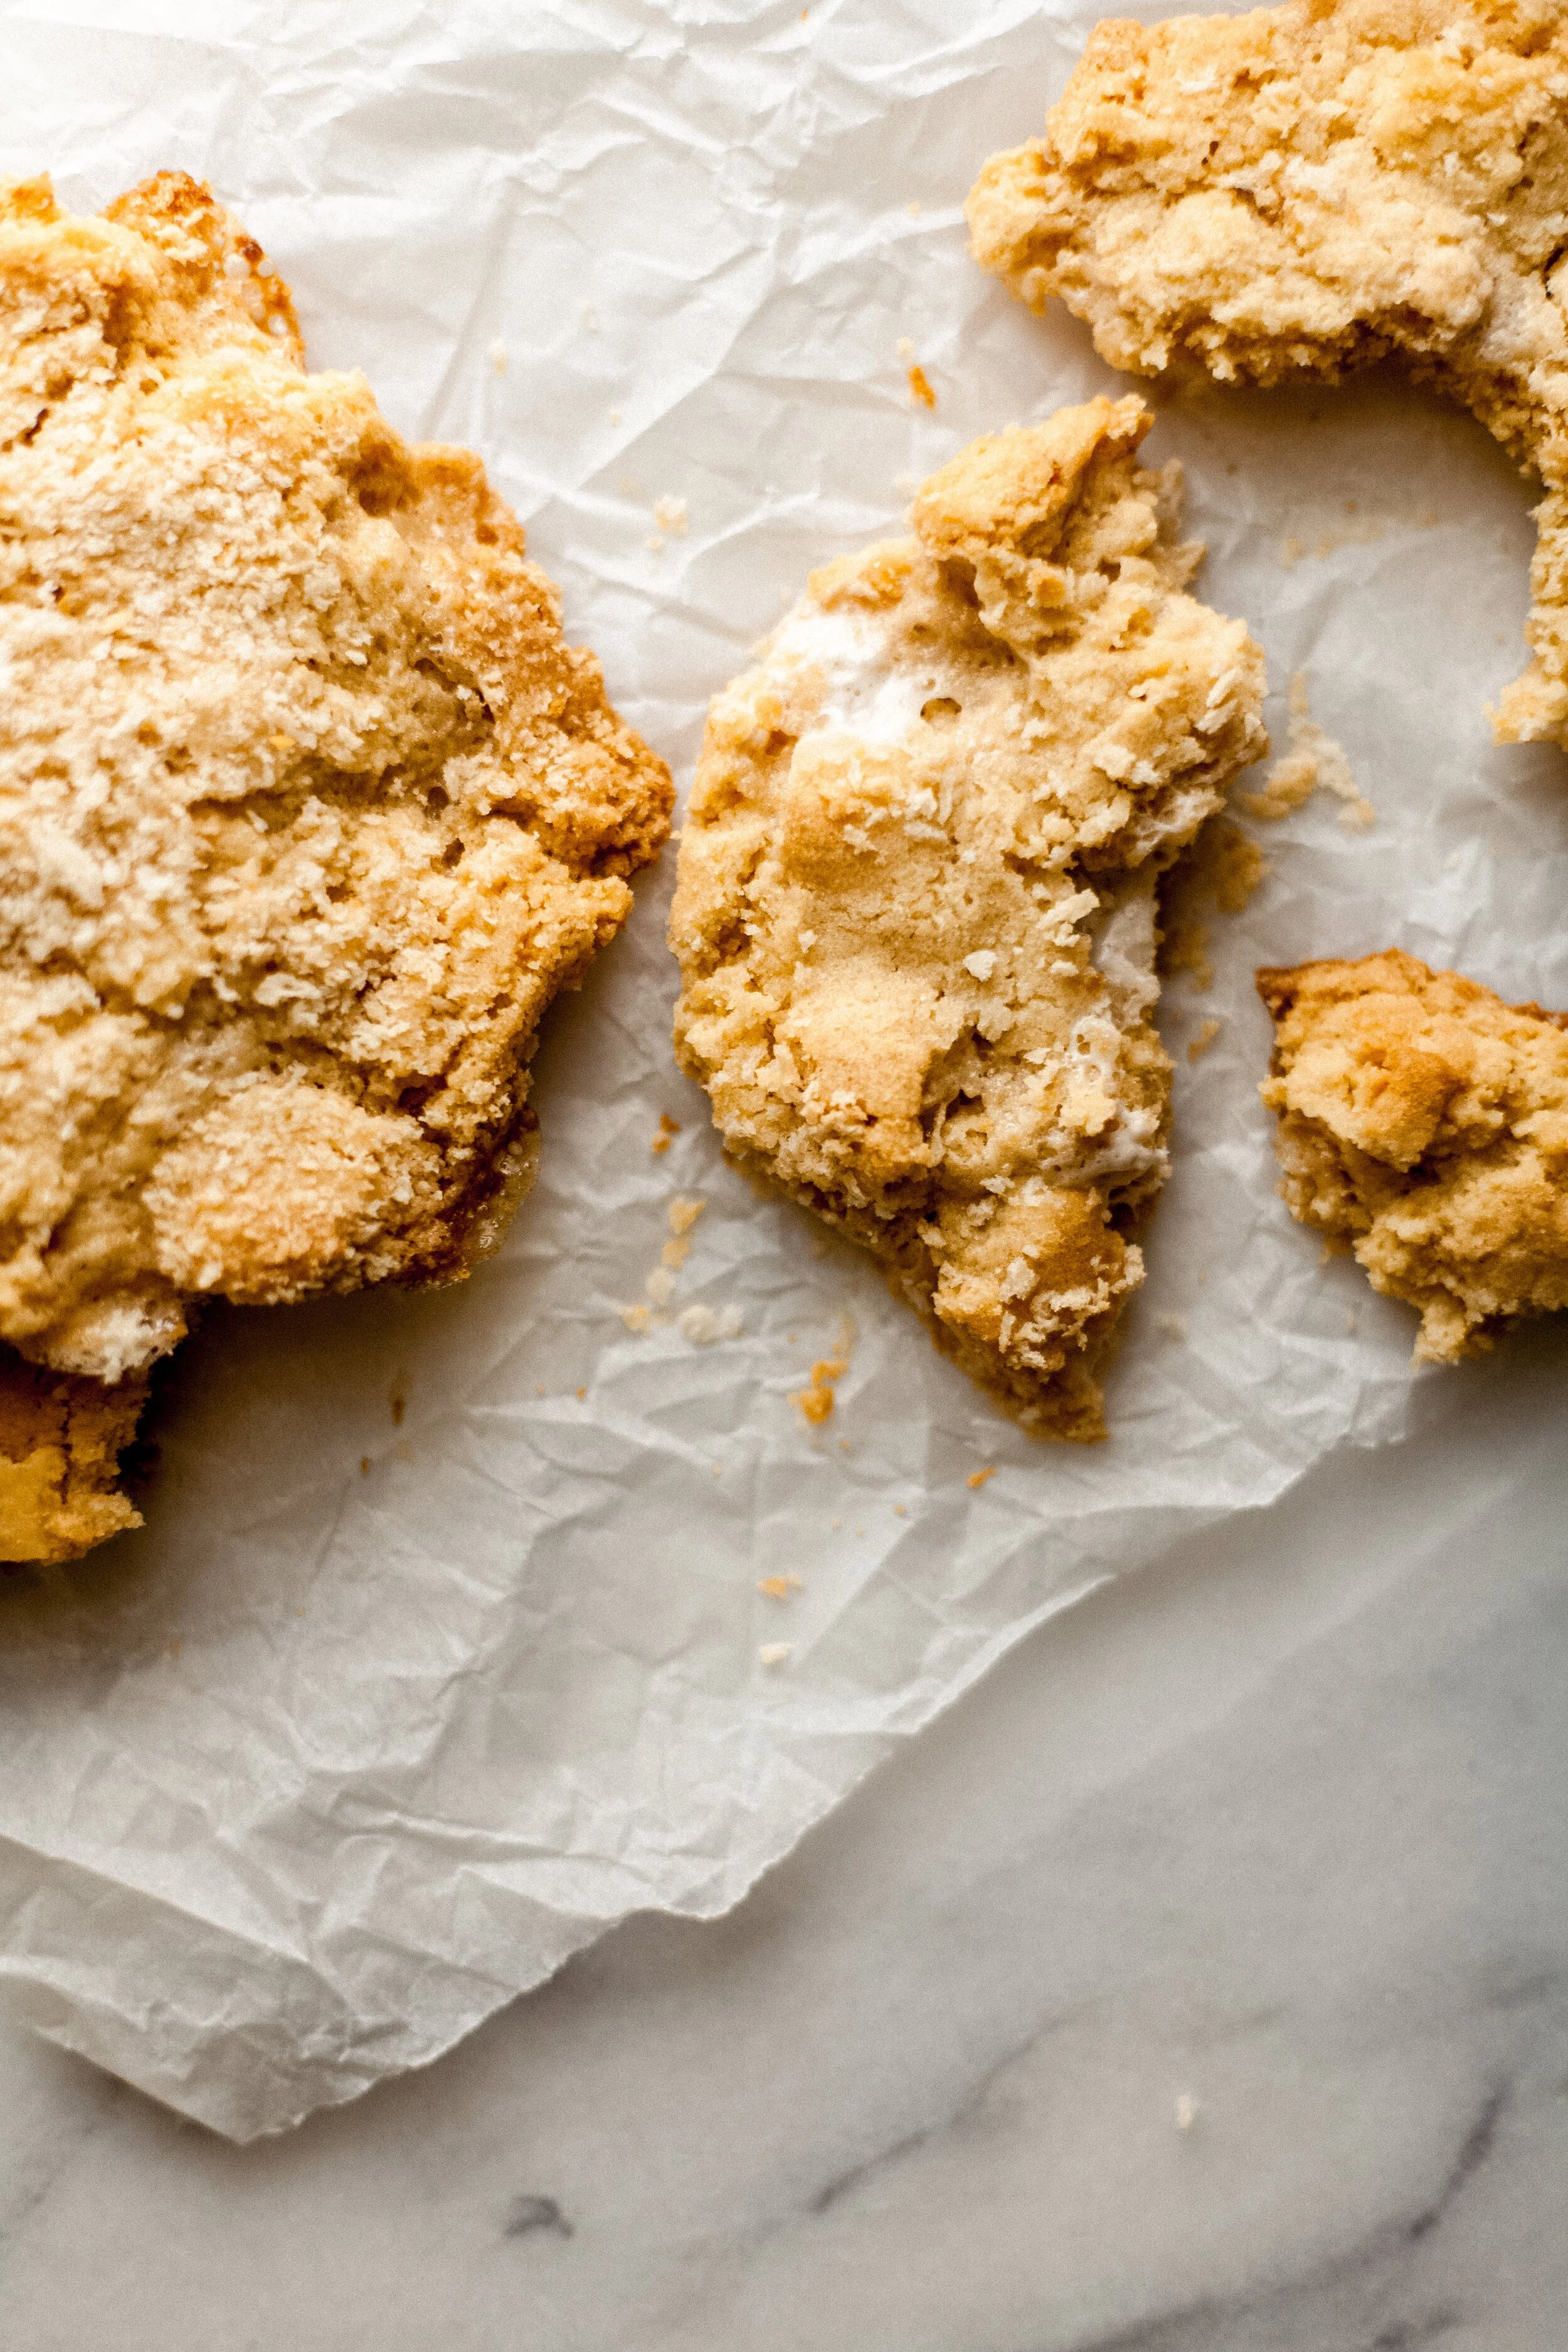
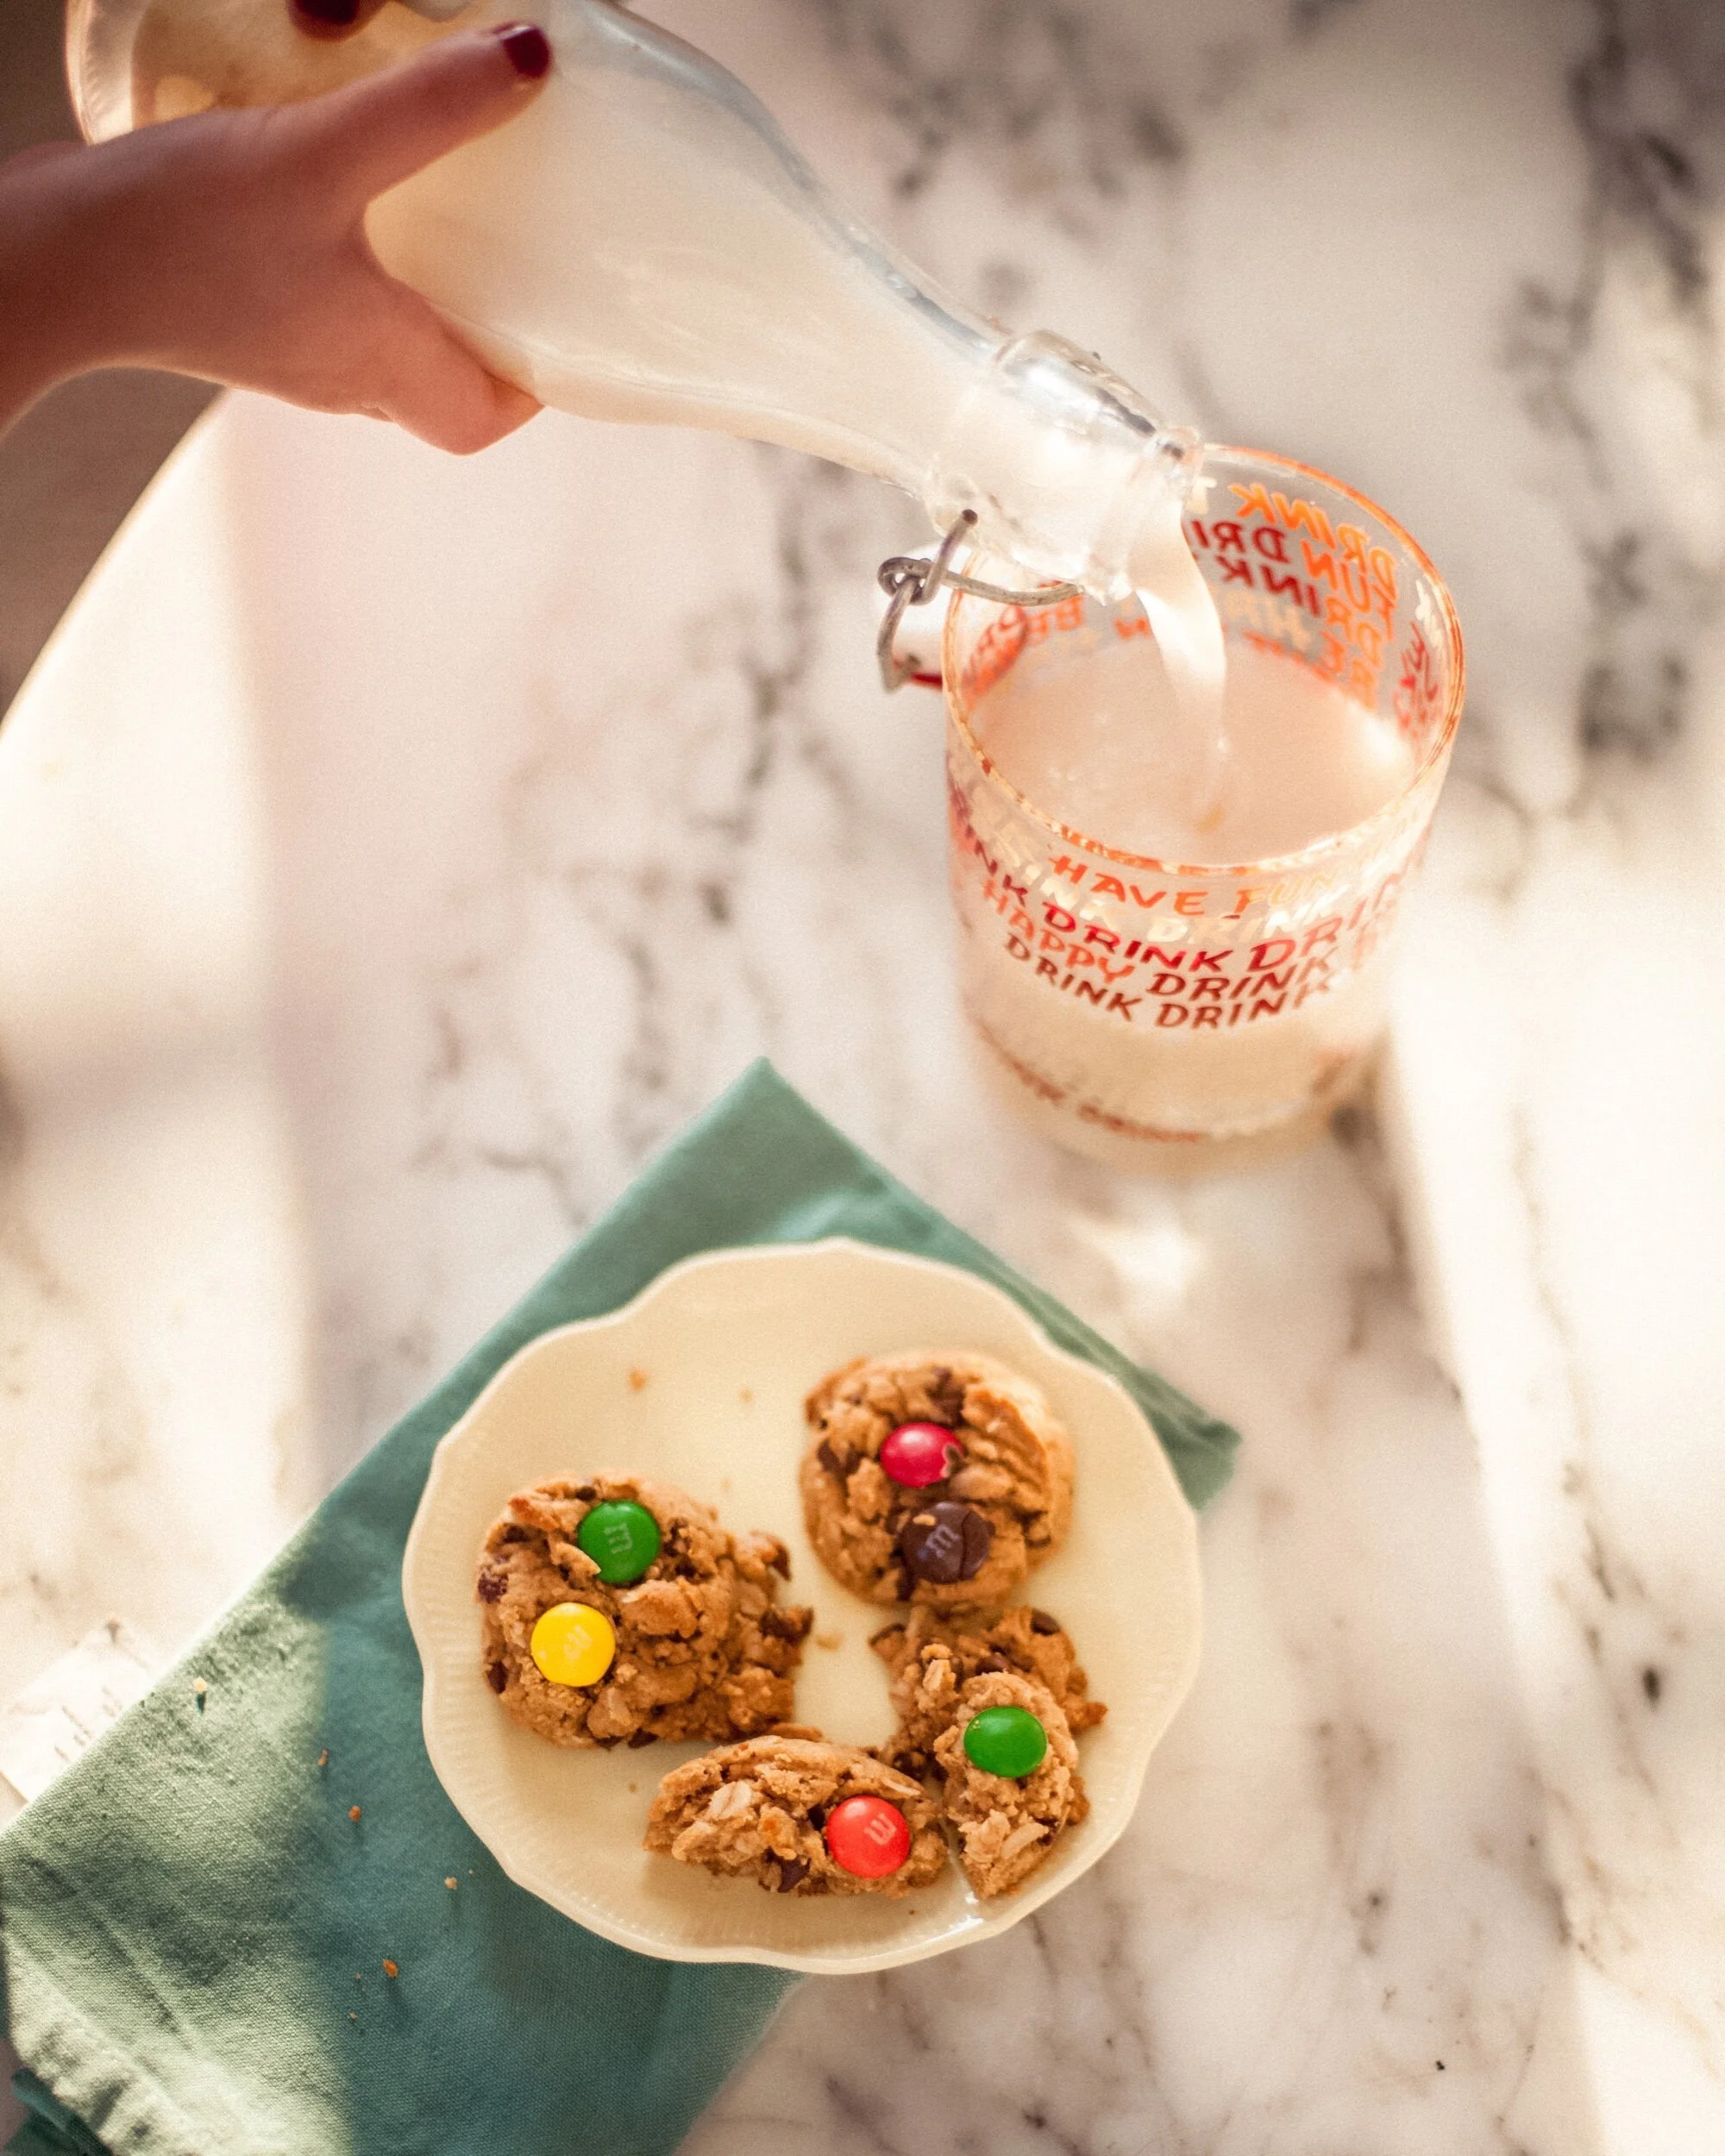
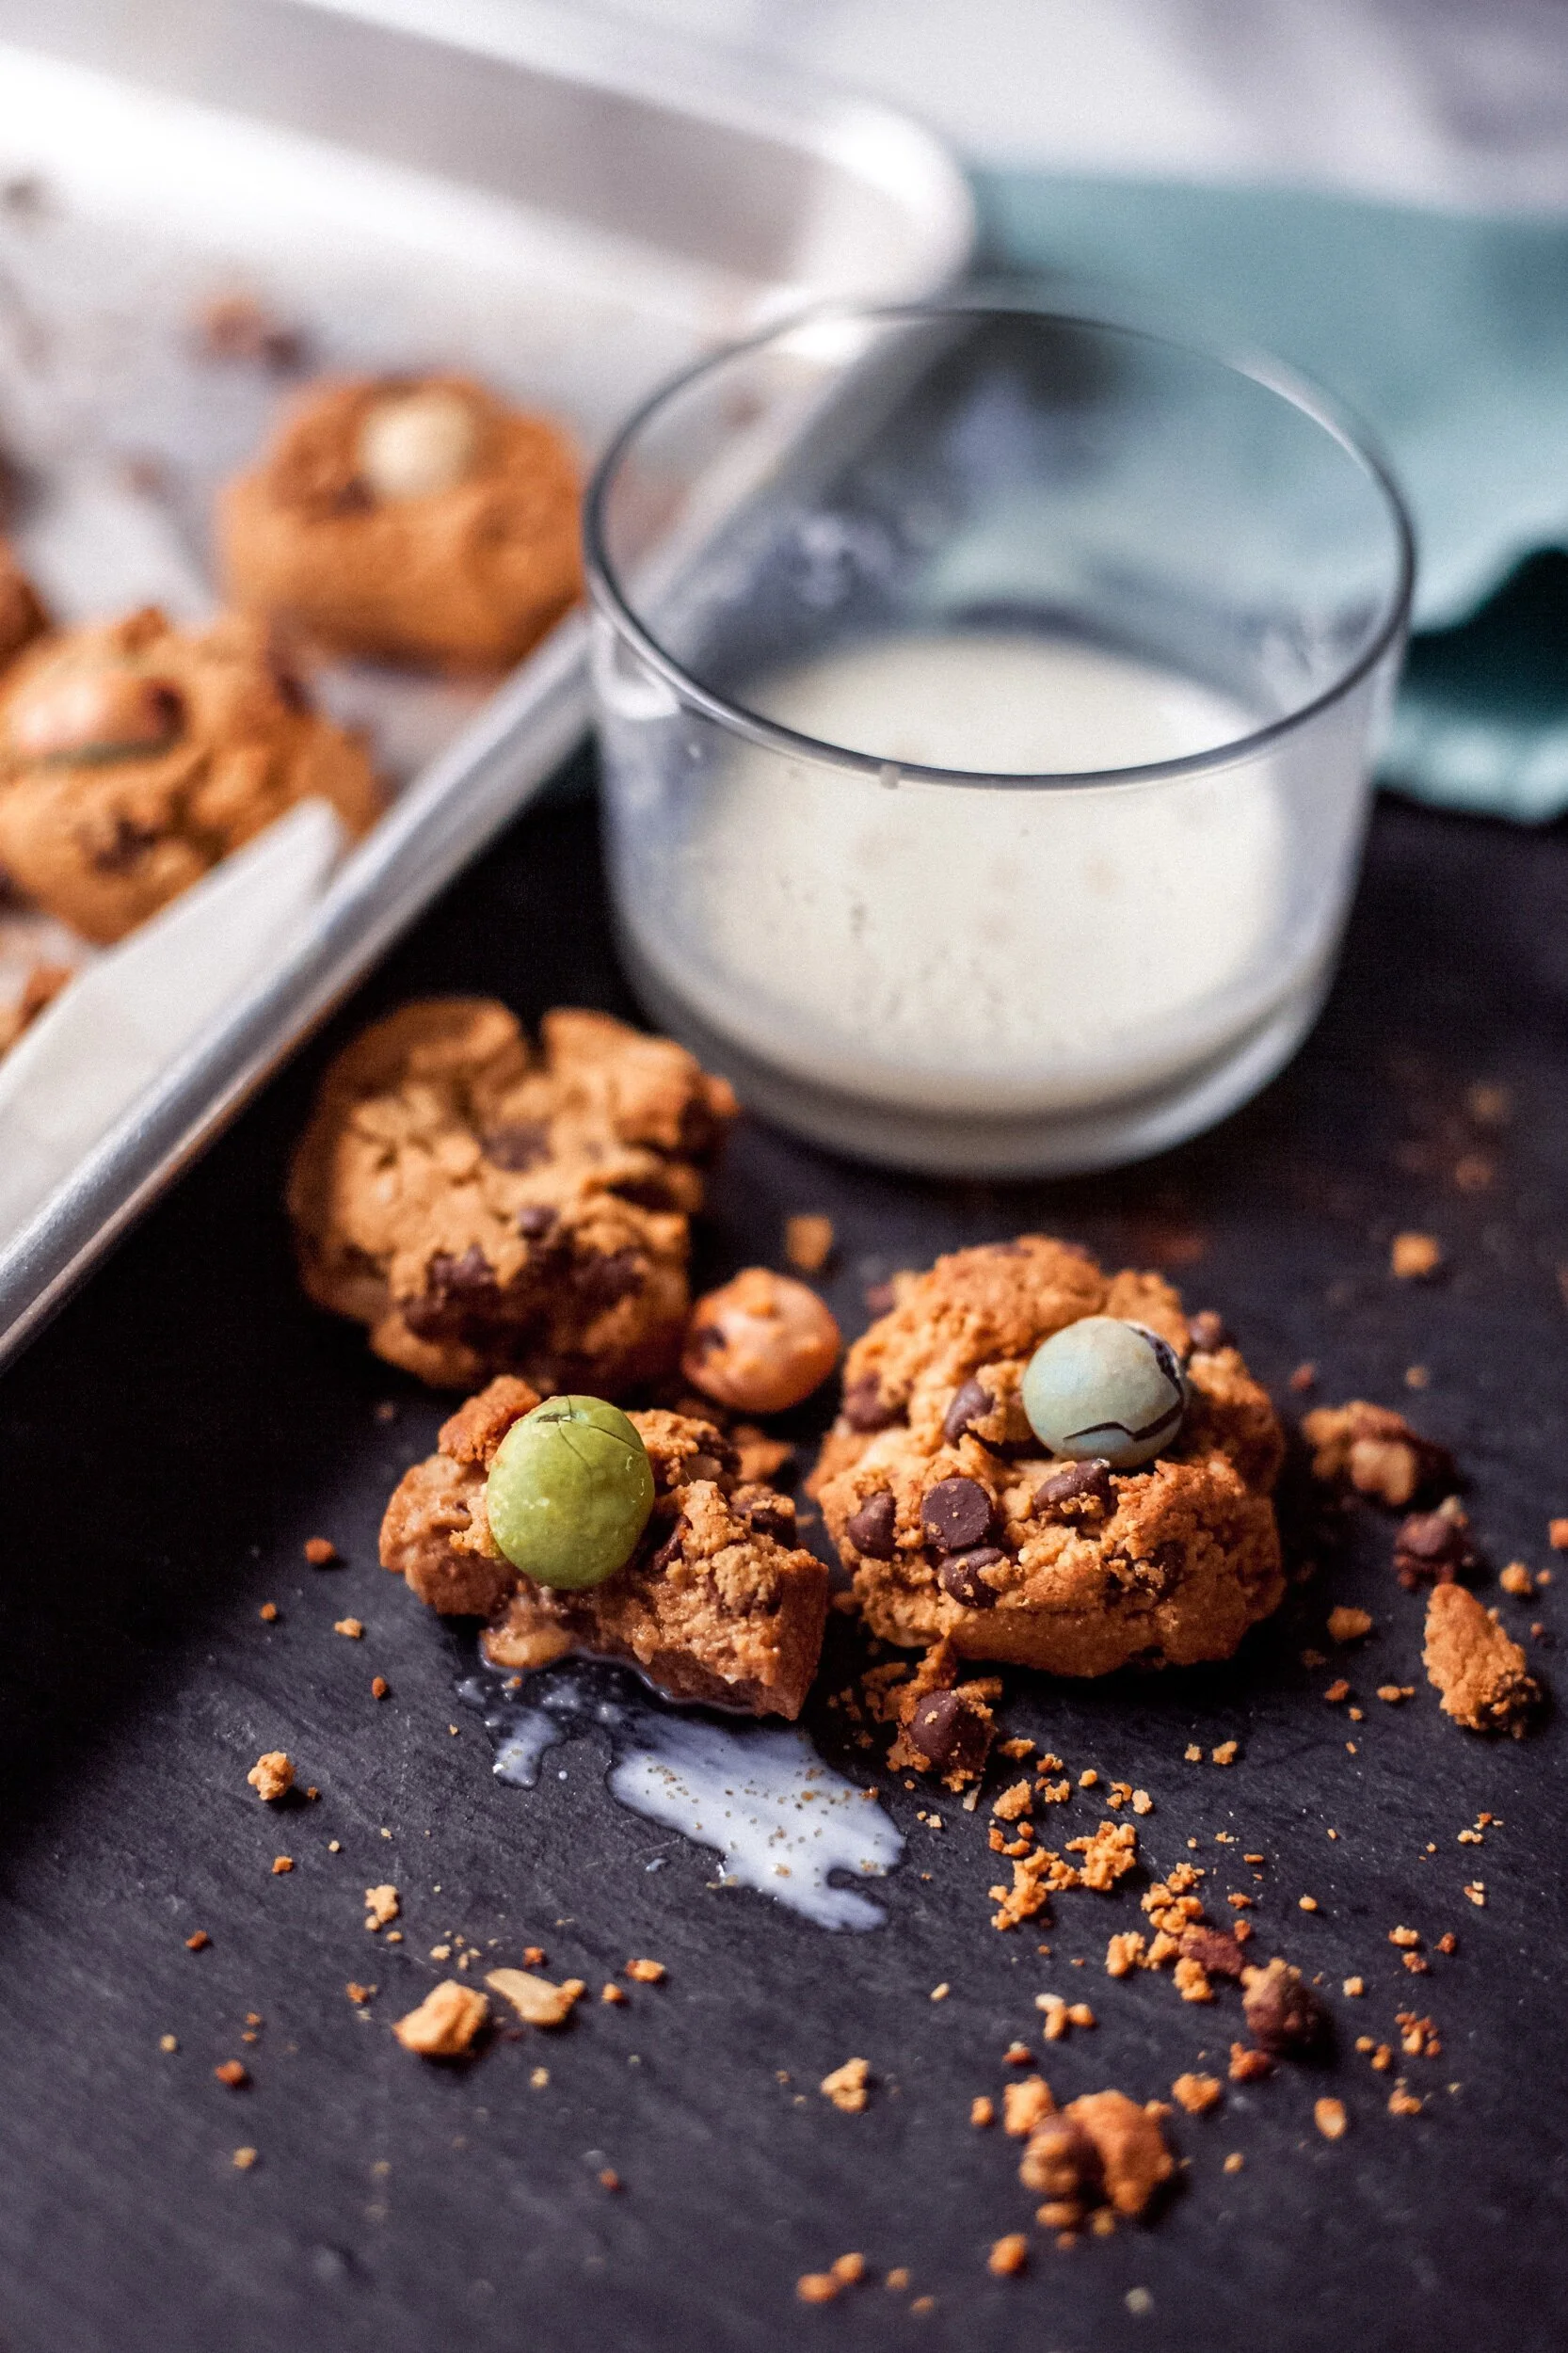
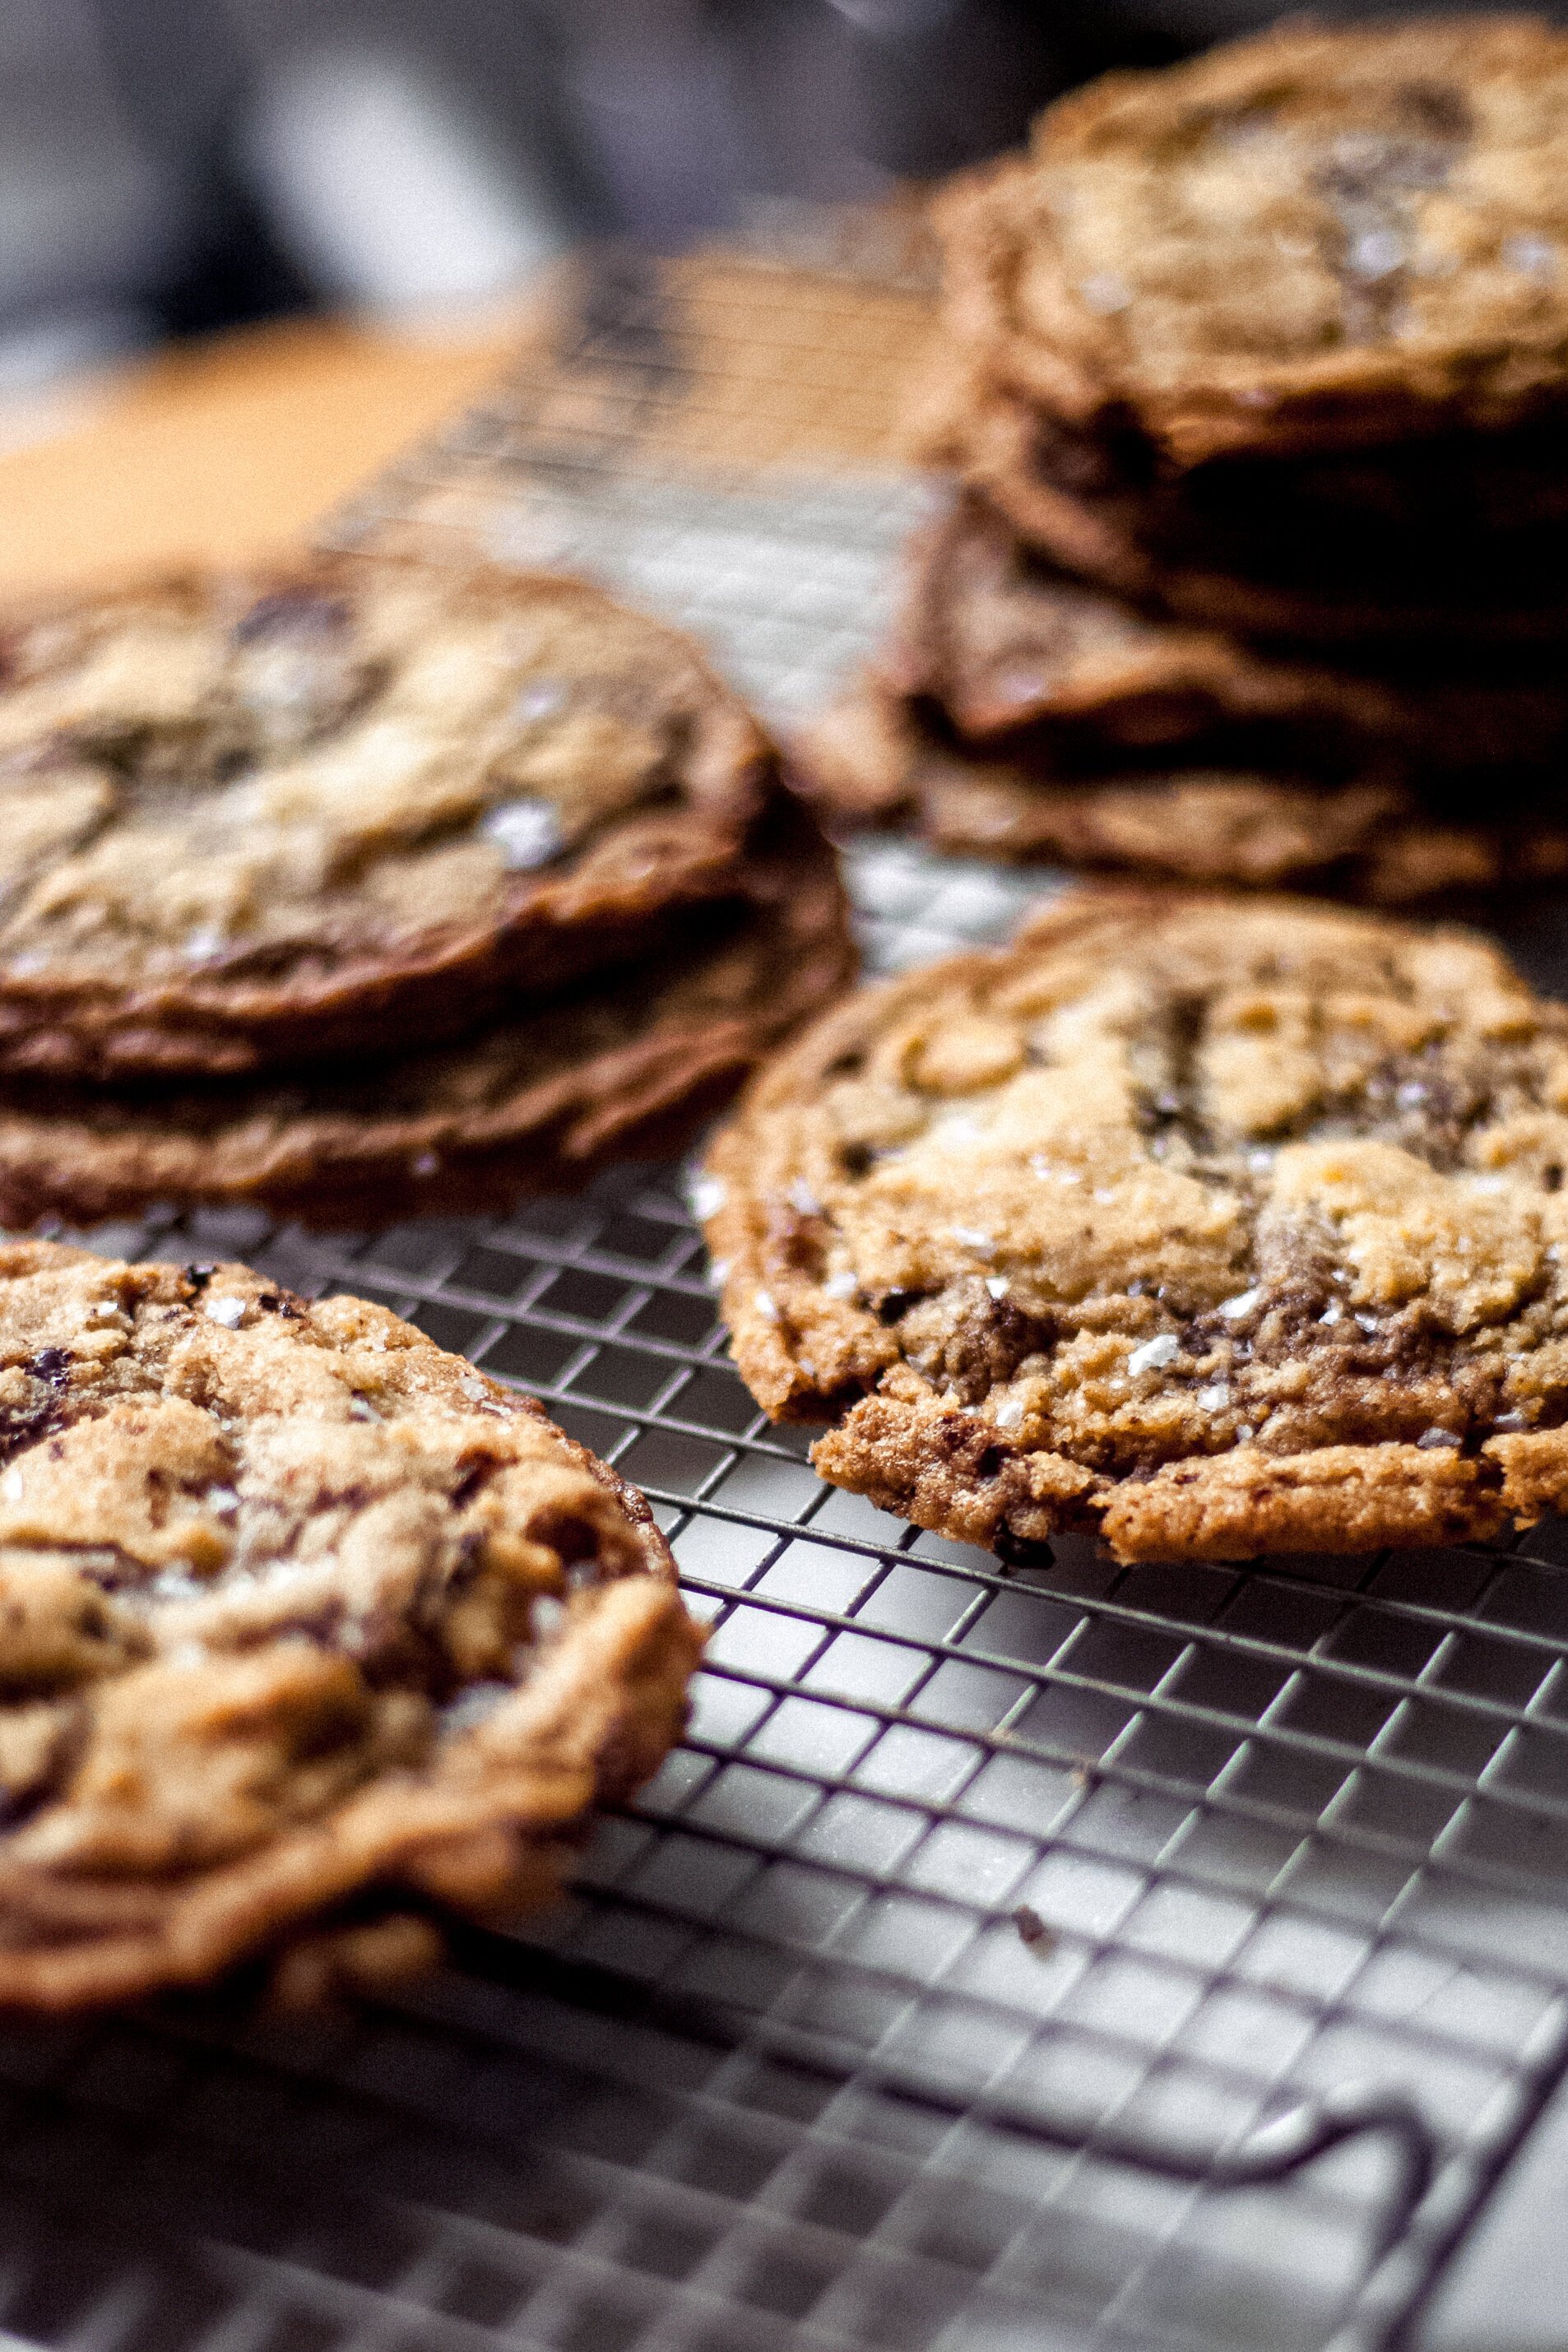
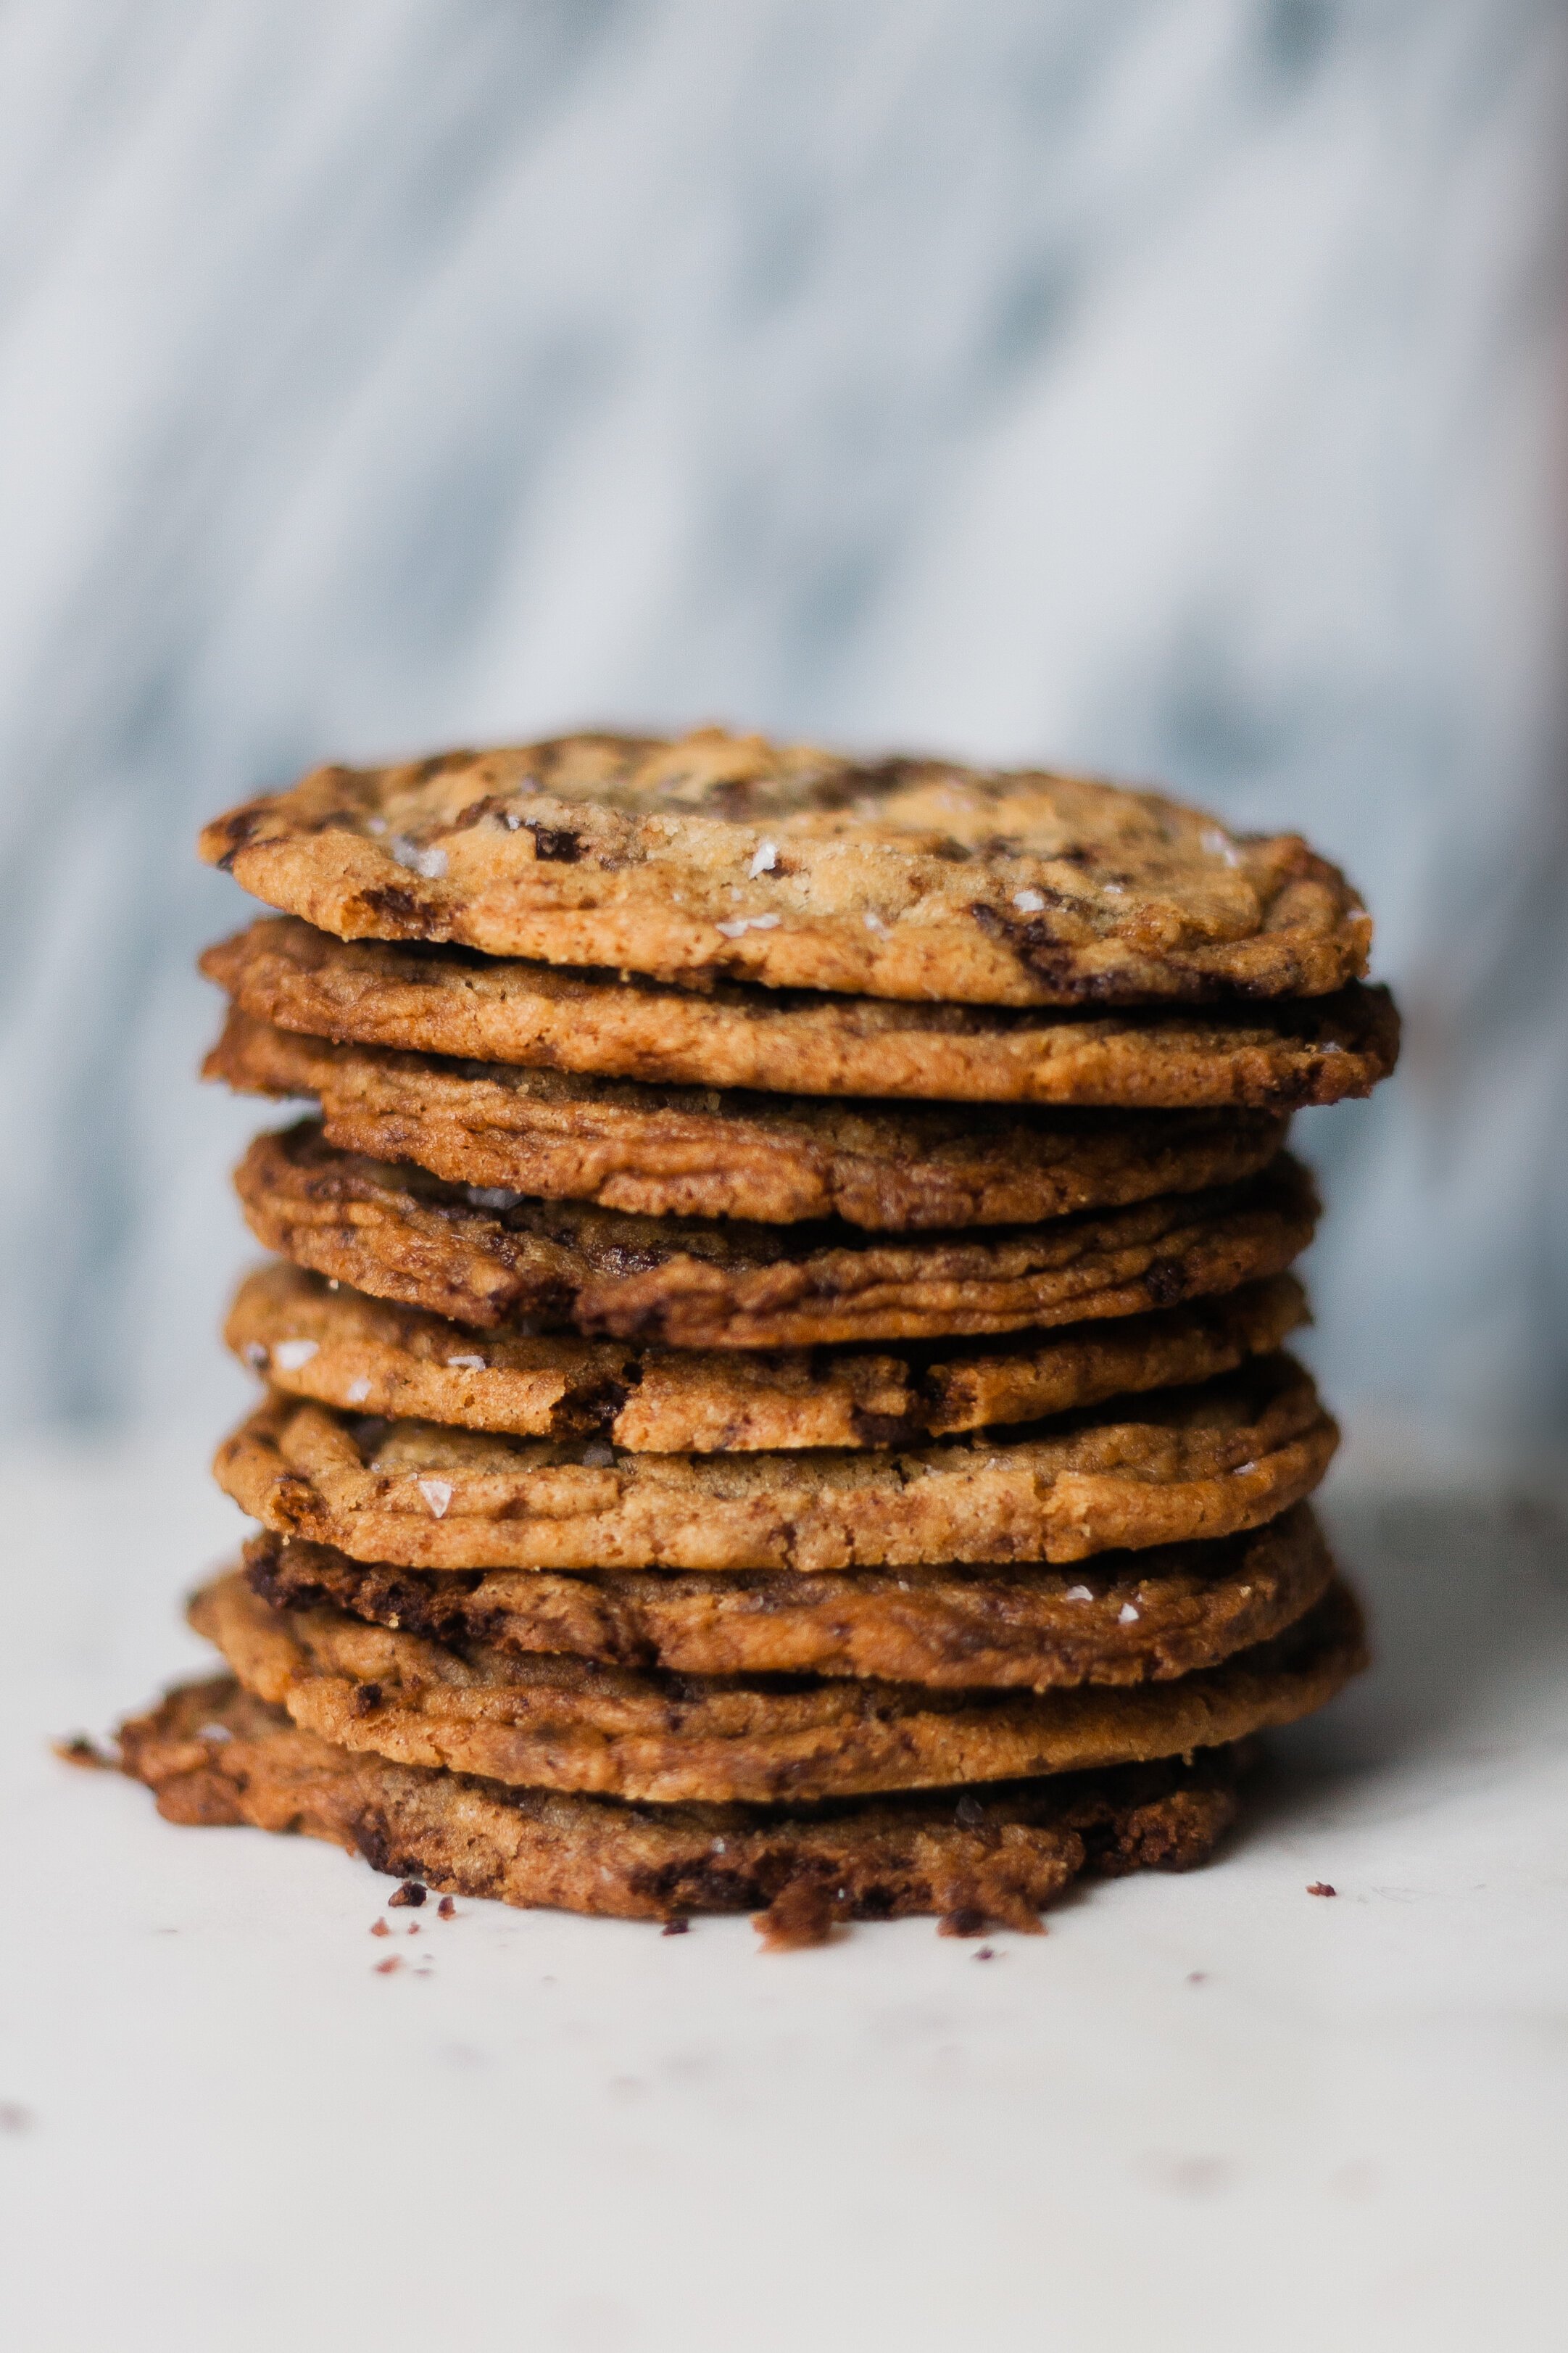
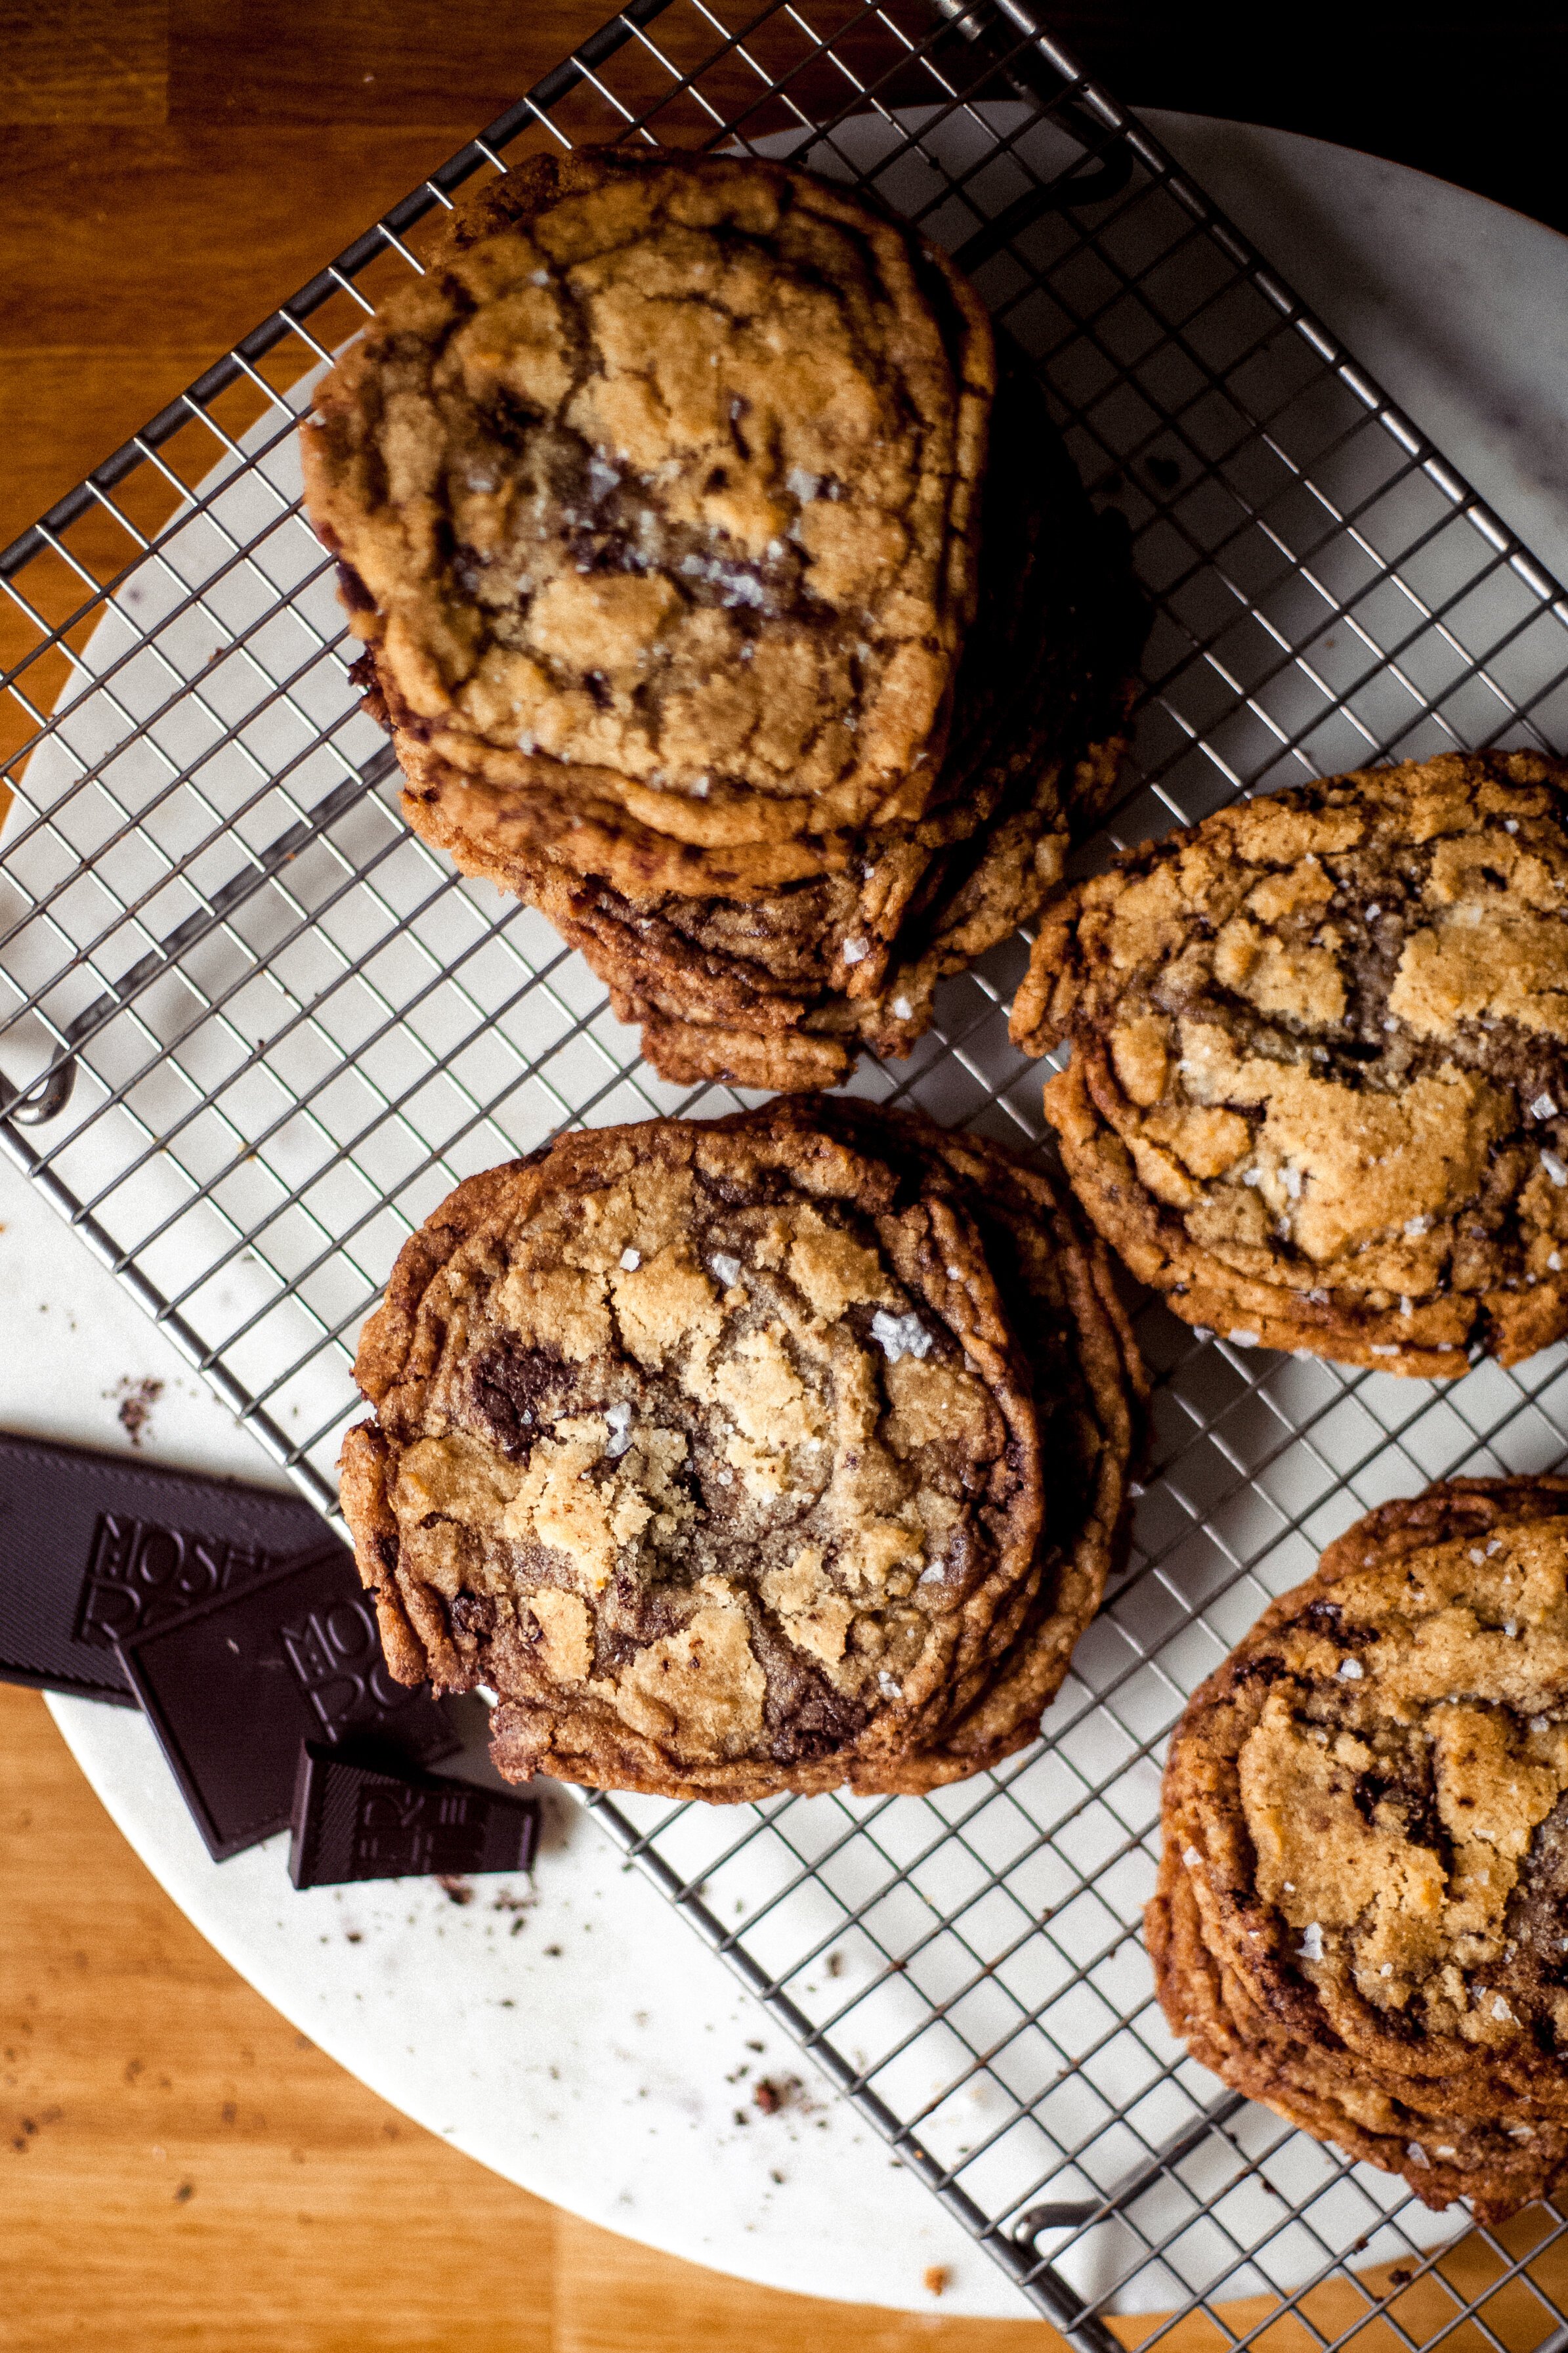
✨ The Result
The cookies I photographed here are gluten-free, dairy-free, and egg-free. BELIEVE YOUR EYES, FRIENDS.
They’re crispy on the edges, soft in the middle, and full of rich, bittersweet chocolate ripples. You’d never guess they’re allergen-friendly — and that’s the point.
Bakeovers aren’t about compromise. They’re about inclusion without losing flavor, texture, or joy.
💯 Gluten & Dairy-Free Pan-Banging Chocolate Chip Cookies (Bakeover)
Author: Alicia Sturdy | Inspired by: Sarah Keiffer, The Vanilla Bean Blog
Category: Cookies | Dietary: Gluten-Free, Dairy-Free, Egg-Free
GF Flour Blend
- 84g White Rice Flour
- 84g Brown Rice Flour
- 42g Potato Starch
- 42g Tapioca Starch
- 14g Potato Flour
- 8g Xanthan Gum
- 8g Pectin
Cookie Dough Ingredients
- 12g (1 tsp) baking soda
- 5g (1 tsp) kosher salt
- 225g unsalted vegan butter, at room temperature (2 sticks)
- 300g granulated sugar
- 50g light brown sugar
- Equivalent of 1 egg: mix 1.5 tbsp water + 1.5 tbsp oil + 1 tsp baking powder
- 2 tablespoons water
- 170g bittersweet chocolate (I prefer Guittard), chopped into ½-inch pieces (about 6 oz)
Materials
- Stand mixer
- Kitchen scale
- Small and medium bowls
- Cutting board & knife
- Spatula
- 2 ¾ oz cookie scoop or ⅓ cup measure
- Foil
- Sheet pan
Instructions
- Preheat oven to 350°F and position the rack in the middle of the oven.
- Line your baking sheet with aluminum foil, dull side facing up.
- In a small bowl, weigh and combine your dry ingredients: flour(s), baking soda, and salt. Set aside.
- In a stand mixer fitted with the paddle attachment, beat butter on medium speed until creamy.
- Add both sugars and continue beating until light and fluffy, about 2–3 minutes.
- Scrape down the sides of the bowl and paddle. Add the egg (or replacement), vanilla, and water. Mix on low to combine.
- Scrape the bowl again, then add the dry ingredients and mix on low until just combined.
- Add chopped chocolate and mix on low to incorporate.
- Using a cookie scoop or ⅓ cup measure, portion dough (about 100g each). Place four dough balls evenly spaced on the prepared baking sheet.
- Freeze the sheet pan for 15 minutes before baking. Continue scooping remaining dough and freezing while the first batch bakes.
- Bake for 10 minutes, until centers are slightly puffed. Open the oven and lift the pan about 4 inches, then gently drop it to create ripples. Repeat every 2 minutes until cookies bake 16–18 minutes total.
- Cookies should be golden brown with lighter centers that appear underbaked—this is perfect!
- Transfer the baking sheet to a wire rack and cool completely before removing cookies.
- Note: For gluten-free cookies, carefully transfer the foil (with cookies still on it) to the rack to cool fully and preserve structure.
These gluten-, dairy-, and egg-free cookies have irresistibly crisp edges, gooey centers, and that signature pan-banged ripple. Proof that everyone deserves dessert night. 🍪