If you’re new to Everybody Baking Co…
you might have noticed that we strive to celebrate Equal Opportunity Treats for All. That anyone with any type of food preference, intolerance, or skill level could come and find something incredible to bake.
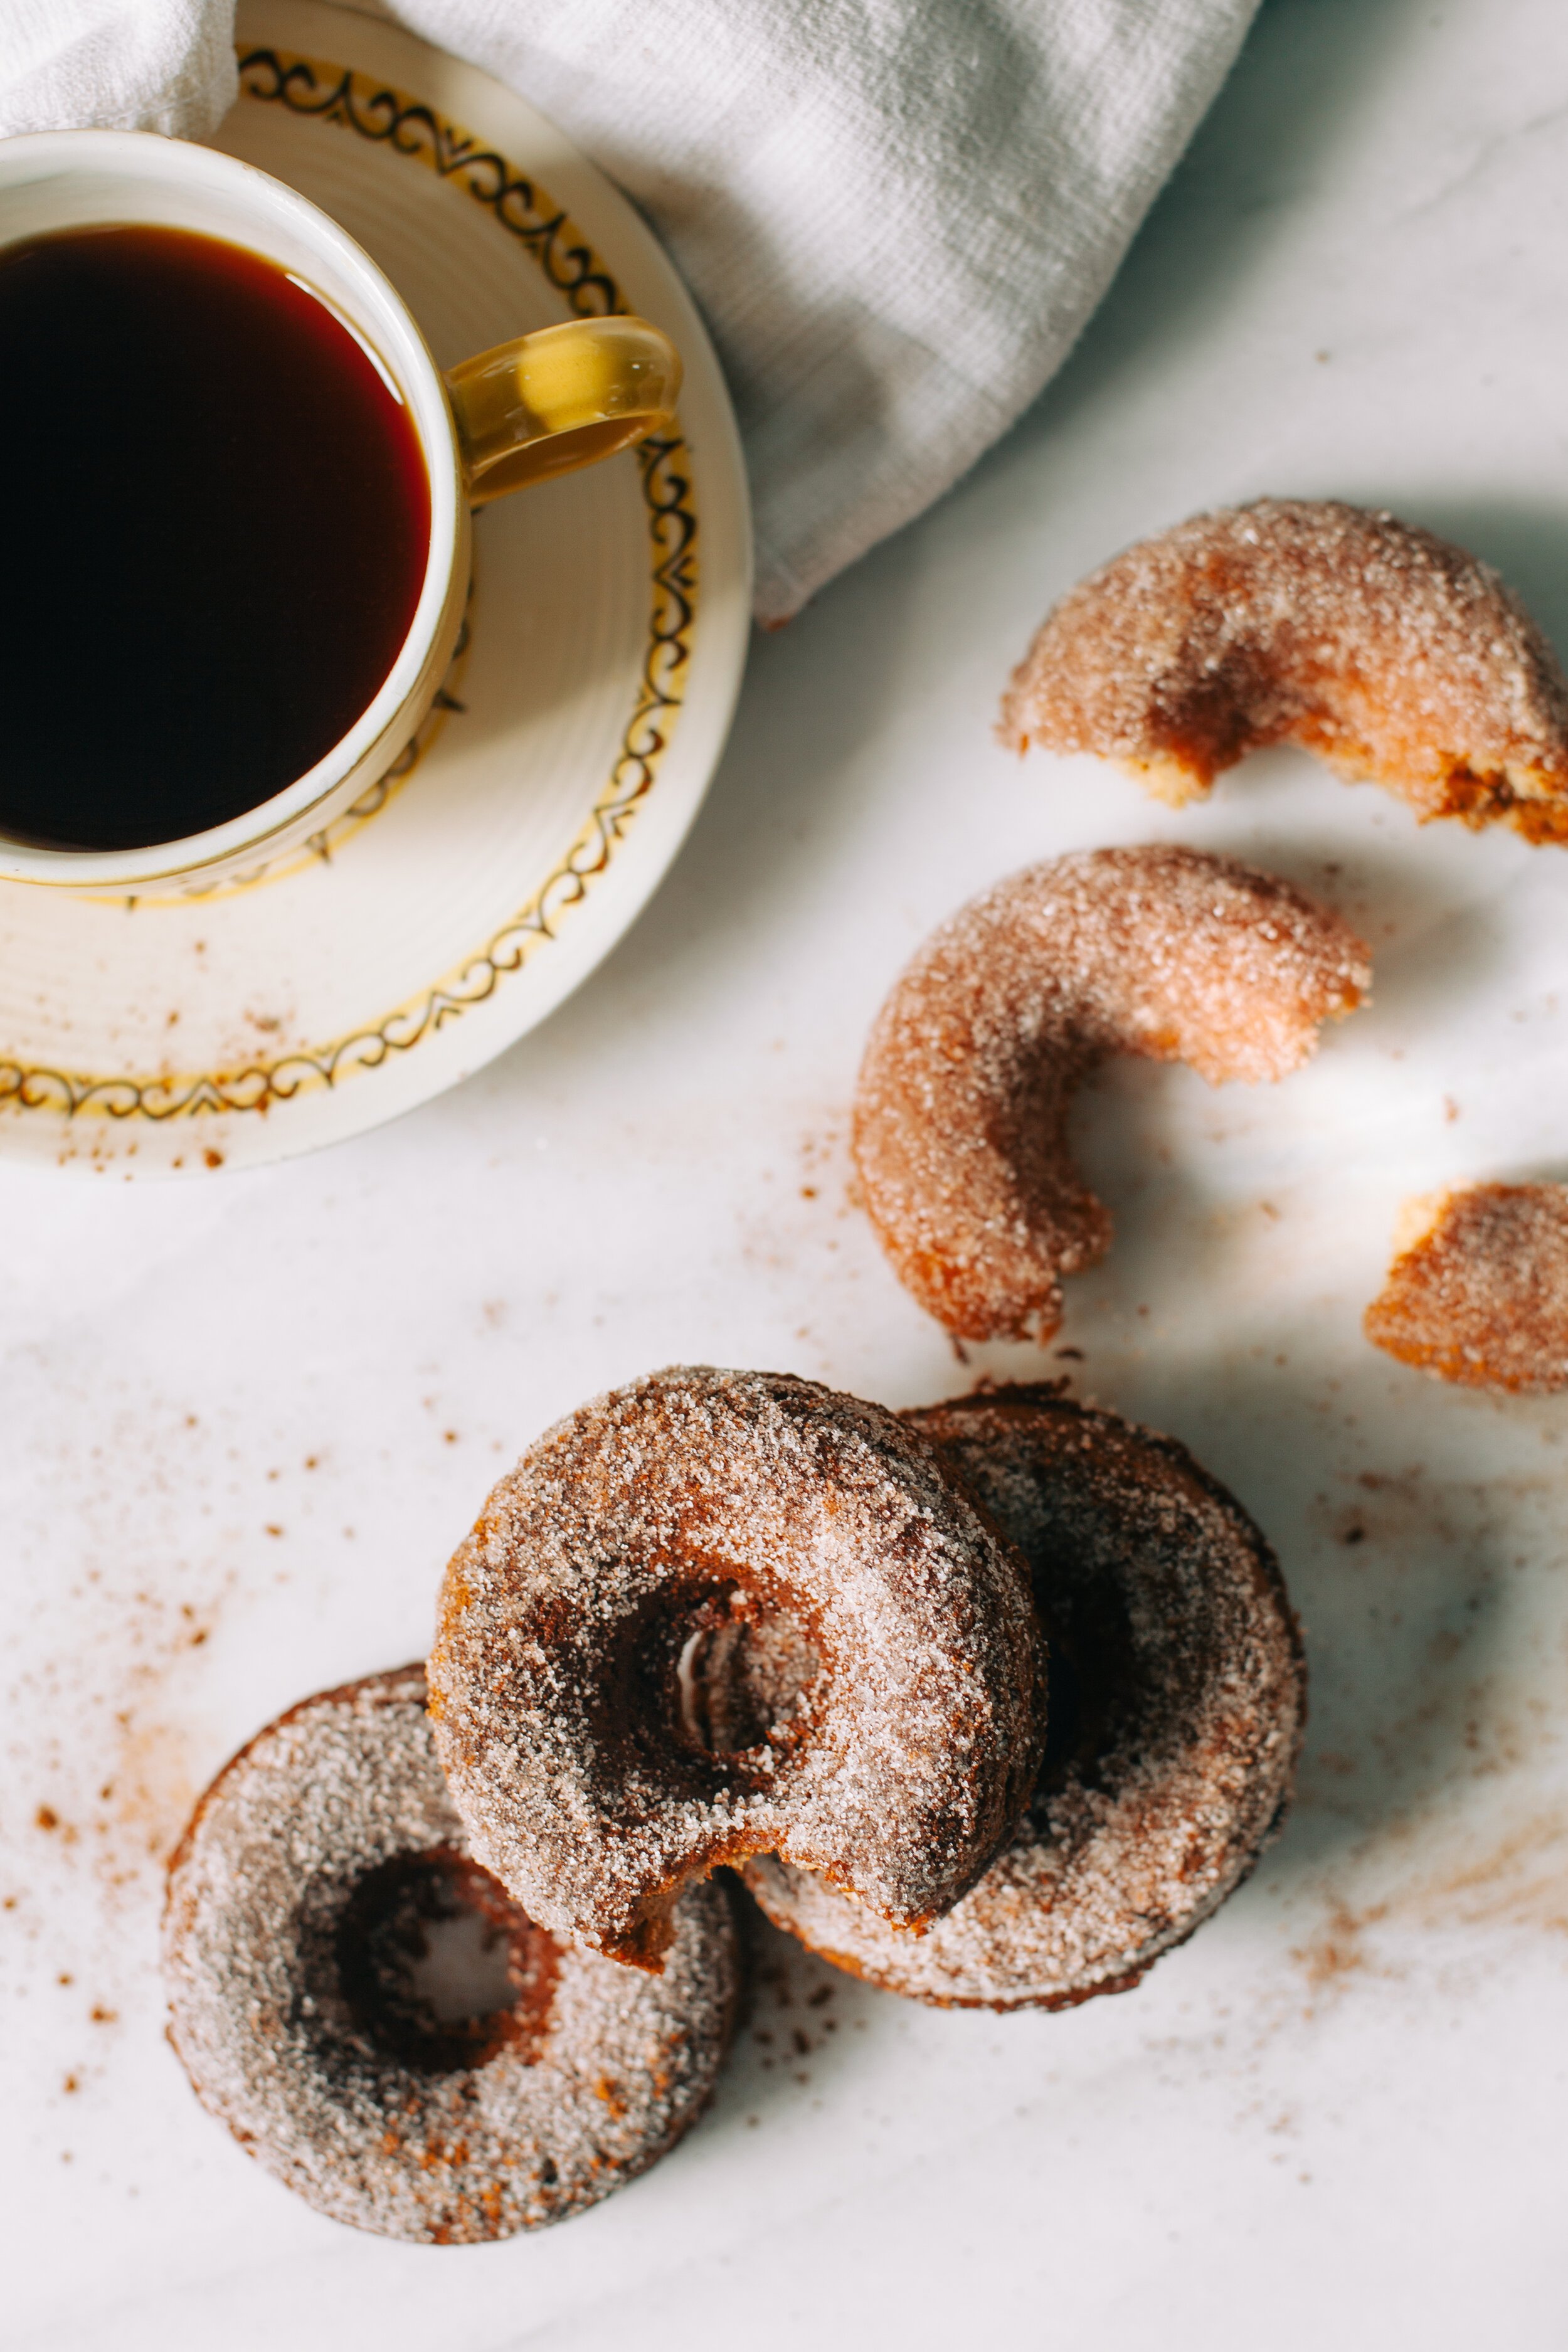
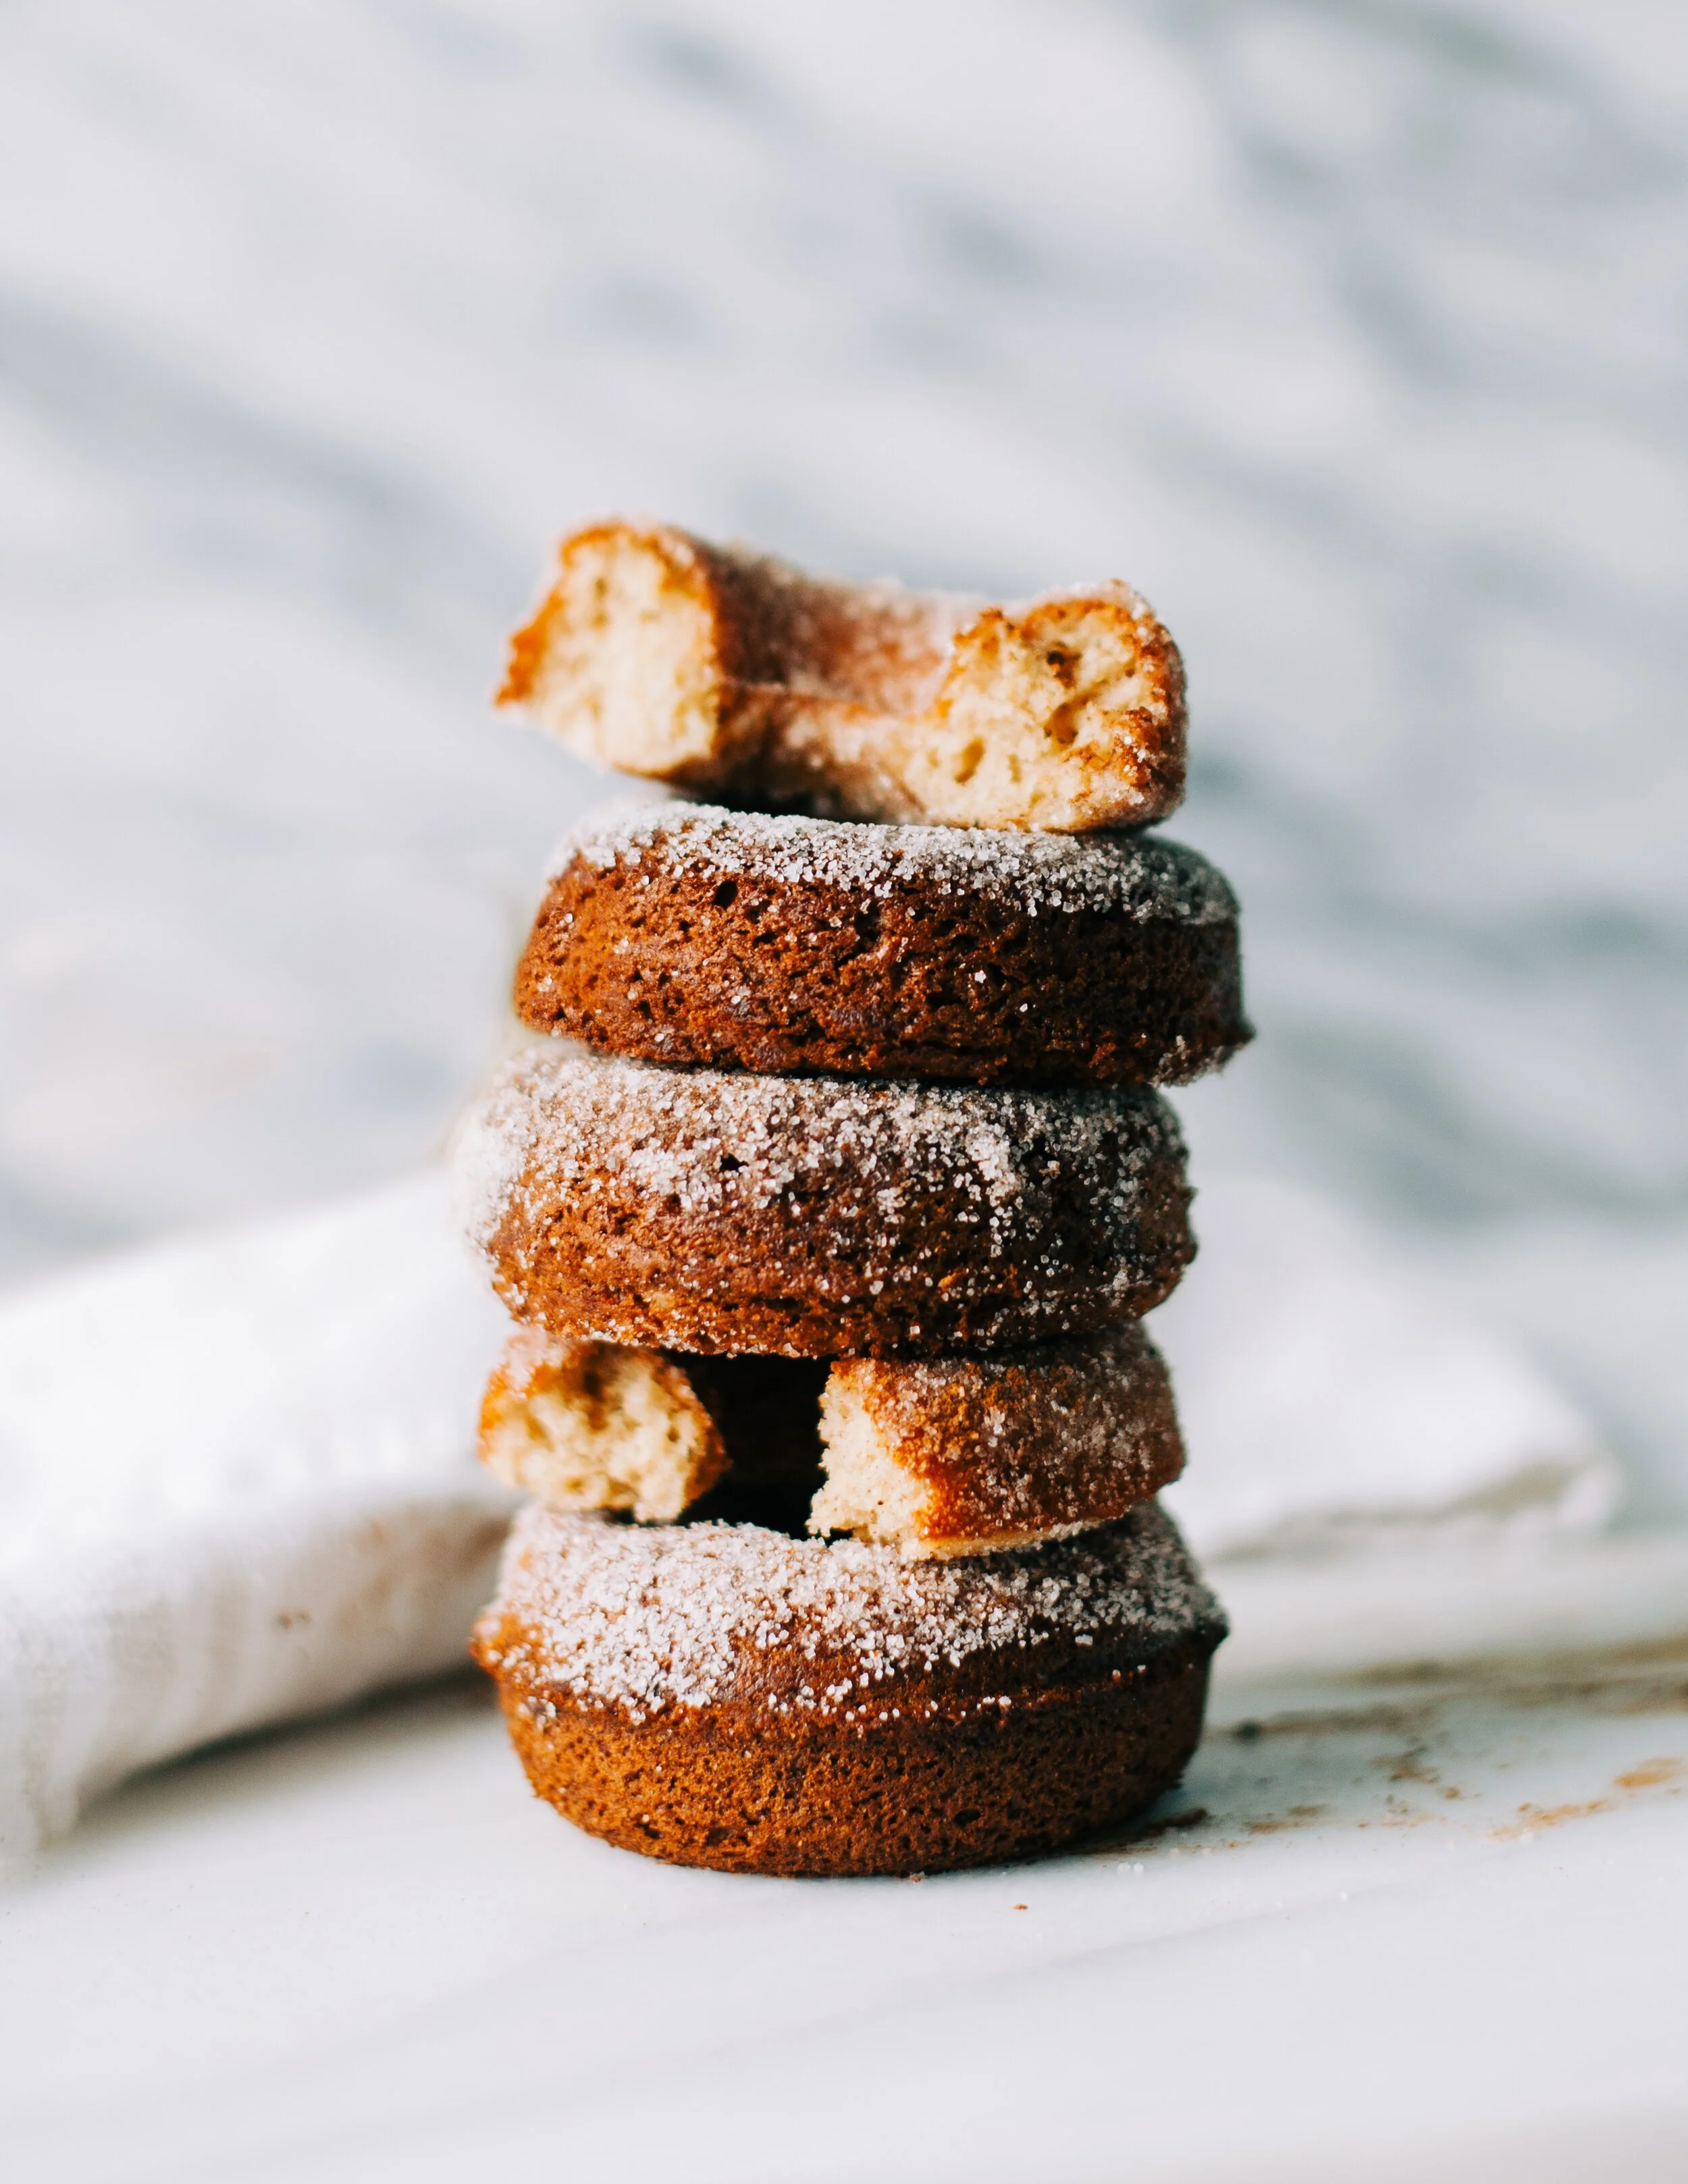
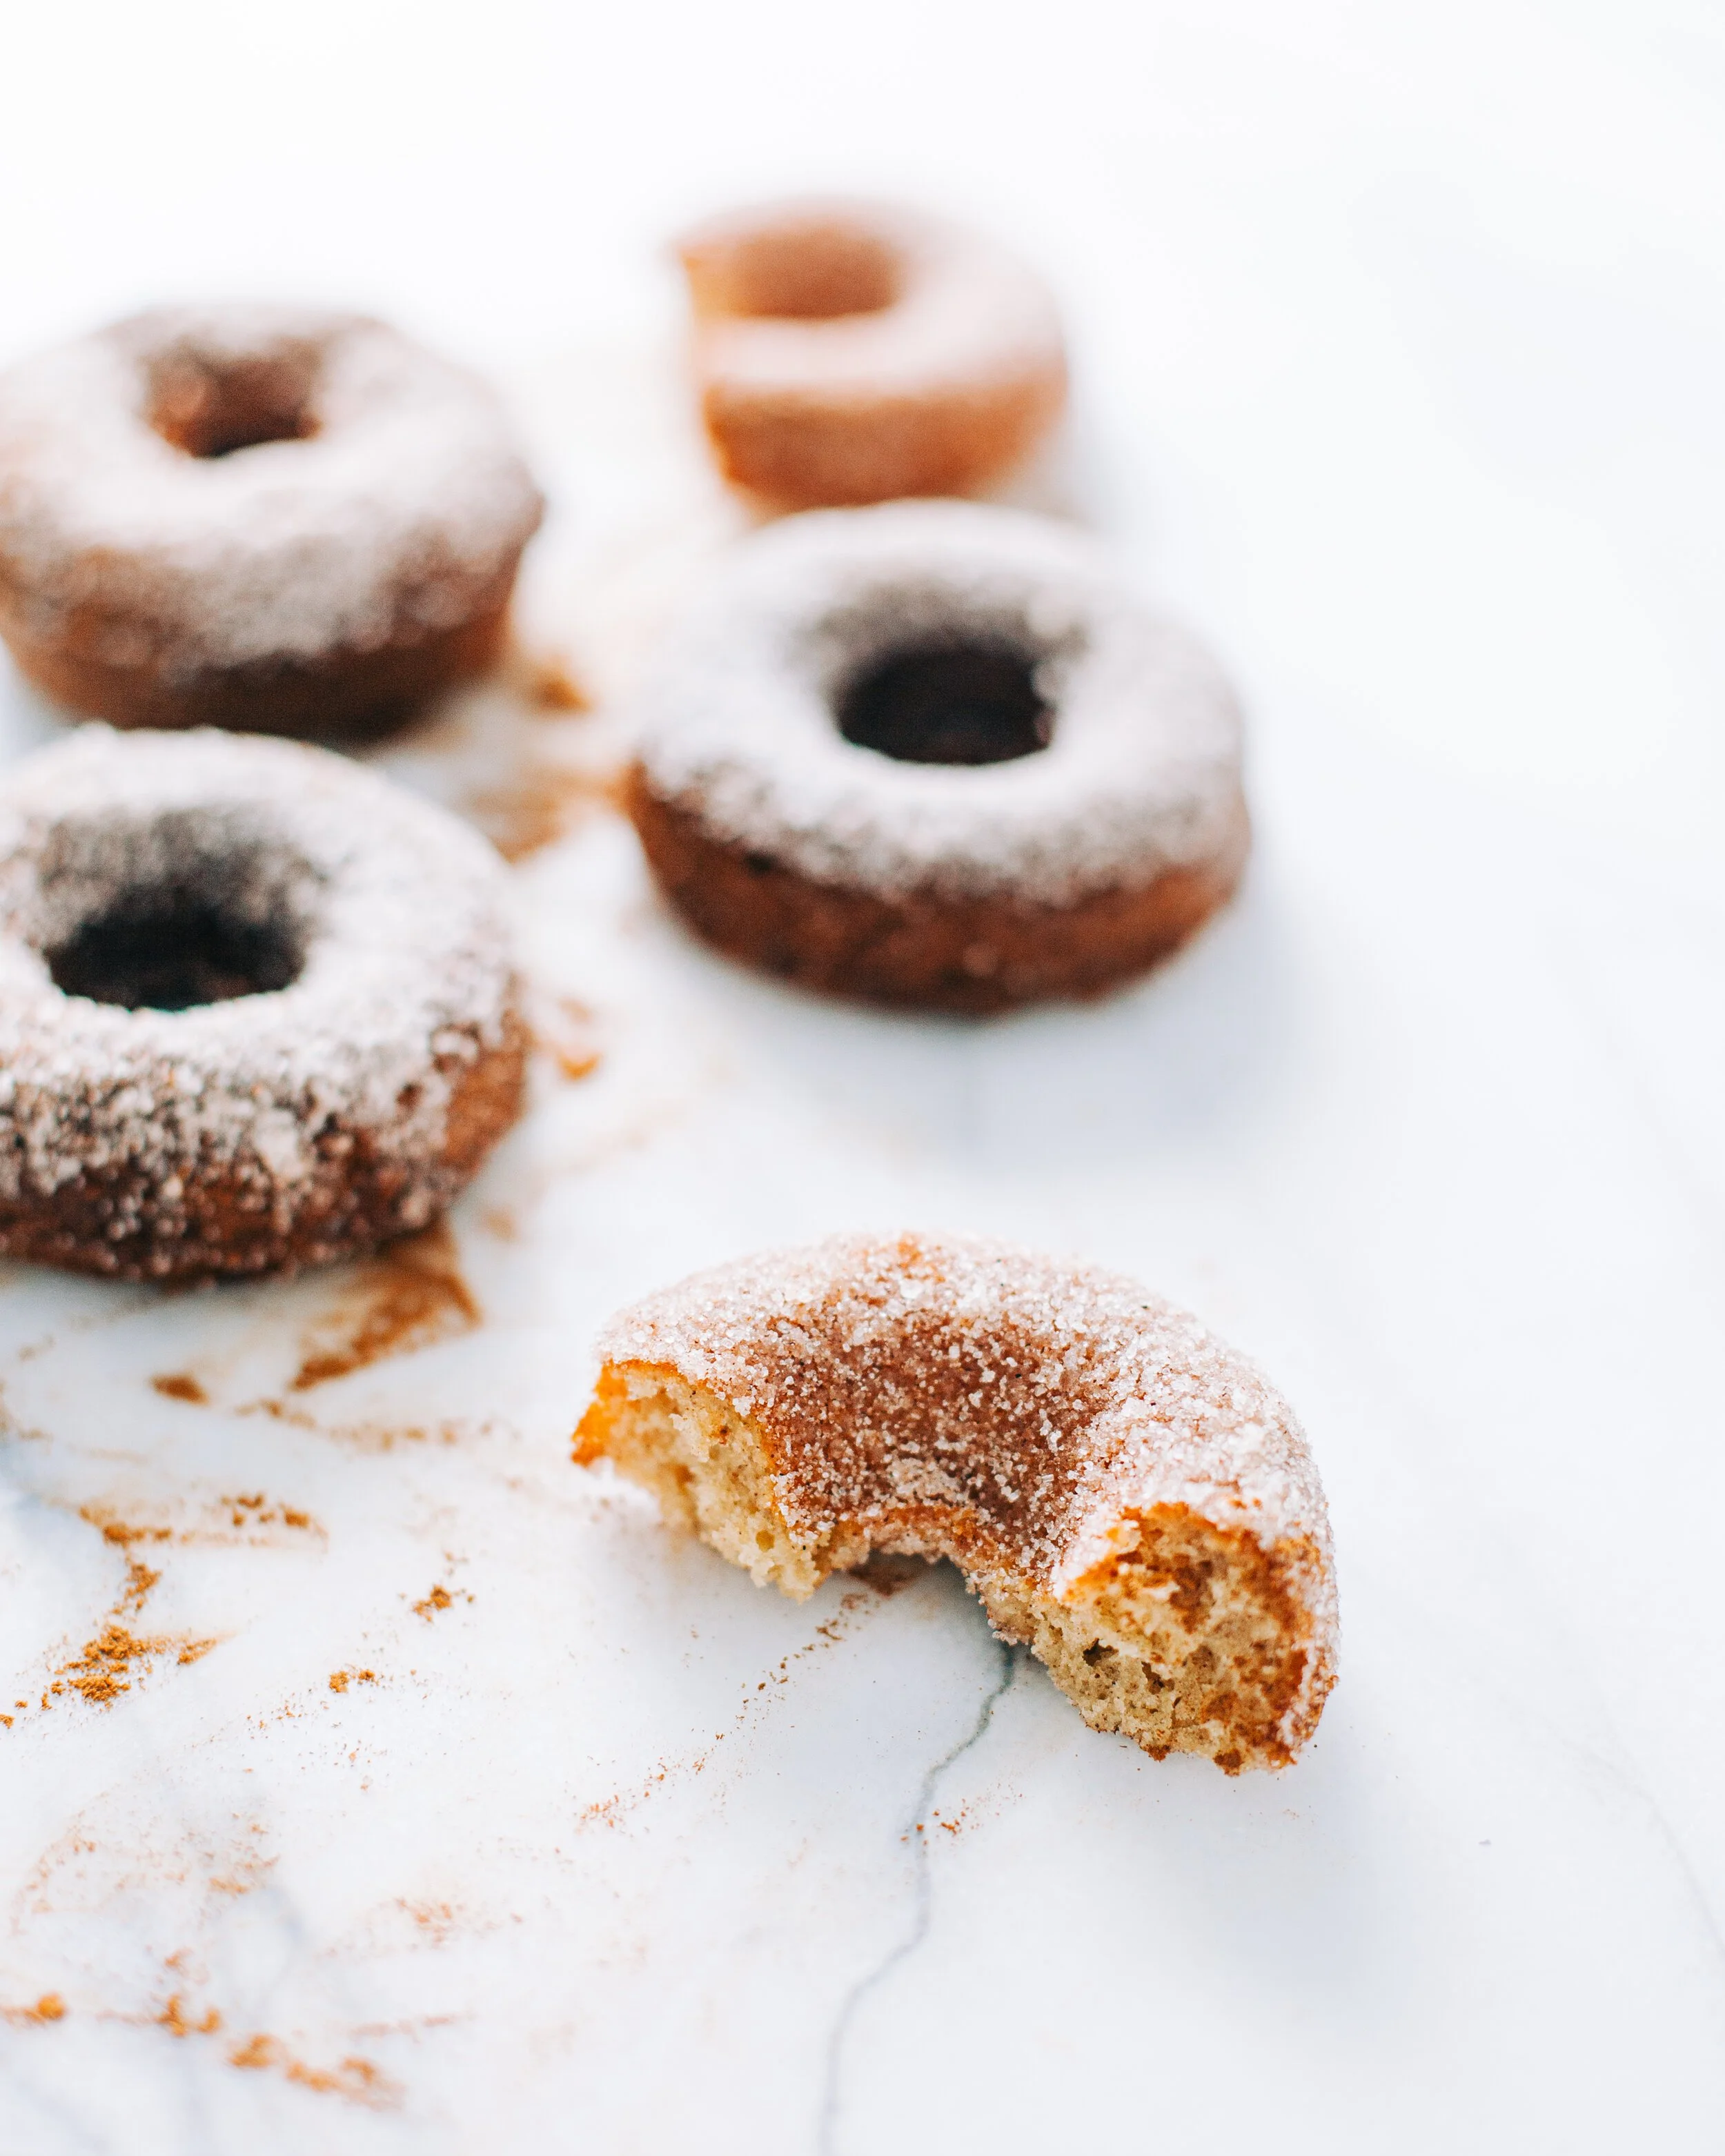
For months I’ve been wrestling with this question “What does Equal Opportunity baking really mean?” - and the picture above is a manifestation of my processing. One recipe, four ways to get to that result.
Just to remind you, we have:
🥐traditional (flour eggs milk butter - all fair game)
✨vegan (flour is cool but you avoid butter eggs and milk)
🌈gluten free (avoiding flour but embracing milk butter and eggs)
💯allergy free (using alternatives to flour, milk, eggs and butter in all circumstance)
And just to note, they all taste incredible (my family got the full sheet pan of 32 scones and everyone agreed that while all of them were tasty, the Gluten Free were the BEST in show).
So I give you the first in this series - and I’d love to hear what you think. Here’s your homework if you’re up for the challenge:
Scone Homework!
Choose a recipe that fits your baking style (🥐Traditional, ✨Vegan, 🌈Gluten Free or 💯Allergy Free).
Bake it til’ you make it! Enjoy the process and the results of your scone of choice.
Post your Scone on Instagram and use the hashtag #everybodybakescones so we can celebrate our community bakes!
jump to your recipe of choice: TRADITIONAL | GLUTEN FREE | VEGAN | ALLERGY-FREE
🥐traditional
Dough:
1 egg
¾ cup cream
1 tbsp apple cider vinegar
2 tsp vanilla extract
3 cups All-Purpose Flour
½ cup sugar
2 tbsp baking powder
¼ tsp salt
200g Fat
1 stick butter (about ~110 g)
1 stick shortening (about ~90g)
Glaze:
1 cup powdered sugar
¼ cup cream
½ tsp vanilla bean paste or extract
Method
Dough!
Preheat the oven to 350 degrees F.
Stir together cream, apple cider vinegar, and vanilla extract in a measuring cup until it’s one mixture. Set aside for 10 minutes.
Measure and whisk together the flour, sugar, baking powder, and salt. Cut the butter and shortening into cubes - add to the flour mixture and use a pastry cutter or your fingers to break up the fat into the flour (I like to think of this as I’m squishing flour into the fat pieces). Continue until the flour looks like coarse sand.
Add the egg to the cream mixture and mix until egg is incorporated. Add to flour mixture and mix with your hands, prioritizing pulling the flour at the bowl’s bottom into the mix. Keep mixing until a rough dough forms; it’s okay if it’s still a little crumbly - that’s what we’re going for!
Flour your counter or board, and dump the dough out and lightly press it all together in one big round. With a rolling pin, roll it out until it’s anywhere from ½ to 1 inch thick (I prefer a thicker scone, so I’m always more on the 1-inch side)
Cut into eight wedges with a sharp knife and place on a baking sheet lined with parchment to bake for 18 minutes or until they’re golden brown. Cool for 15 minutes on the cookie sheet, and then lift the parchment over to a cooling rack for the next step (makes cleanup for the next part super easy).
Glaze!
Measure out the cream in a measuring cup and add the vanilla bean paste (this gives it those beautiful bean bits! But you can use extract). Add powdered sugar and whisk with a fork until the mixture is smooth. It shouldn’t be thick like frosting (see my frosting example in my photo…it’s too thick), but it should not be water - it should coat the smooth part of the back of the fork. Adjust powdered sugar or milk quantities to get the consistency right.
With a spoon, take a level spoonful of glaze and glaze each scone.
Allow the glaze to set, about an hour.
🌈gluten free
Dough:
1 egg
¾ cup cream
1 tbsp apple cider vinegar
2 tsp vanilla extract
3 cups 1:1 or Cup for Cup Gluten Free Flour that contains xantham or guar gum (RiceFlour based blend preferred)
½ cup sugar
2 tbsp baking powder
¼ tsp salt
200g Fat
1 stick butter (about ~110 g)
1 stick shortening (about ~90g)
Glaze:
1 cup powdered sugar
¼ cup cream
½ tsp vanilla bean paste or extract
Method
Dough!
Preheat the oven to 350 degrees F.
Stir together cream, apple cider vinegar, and vanilla extract in a measuring cup until it’s one mixture. Set aside for 10 minutes.
Measure and whisk together the flour, sugar, baking powder, and salt. Cut the butter and shortening into cubes - add to the flour mixture and use a pastry cutter or your fingers to break up the fat into the flour (I like to think of this as I’m squishing flour into the fat pieces). Continue until the flour looks like coarse sand.
Add the egg to the cream mixture and mix until egg is incorporated. Add to flour mixture and mix with your hands, prioritizing pulling the flour at the bowl’s bottom into the mix. Keep mixing until a rough dough forms; it’s okay if it’s still a little crumbly - that’s what we’re going for!
Flour your counter or board, and dump the dough out and lightly press it all together in one big round. With a rolling pin, roll it out until it’s anywhere from ½ to 1 inch thick (I prefer a thicker scone, so I’m always more on the 1-inch side)
Cut into eight wedges with a sharp knife and place on a baking sheet lined with parchment to bake for 18 minutes or until they’re golden brown. Cool for 15 minutes on the cookie sheet, and then lift the parchment over to a cooling rack for the next step (makes cleanup for the next part super easy).
Glaze!
Measure out the cream in a measuring cup and add the vanilla bean paste (this gives it those beautiful bean bits! But you can use extract). Add powdered sugar and whisk with a fork until the mixture is smooth. It shouldn’t be thick like frosting, but it should not be water - it should coat the smooth part of the back of the fork. Adjust powdered sugar or milk quantities to get the consistency right.
With a spoon, take a level spoonful of glaze and glaze each scone.
Allow the glaze to set, about an hour.
✨vegan
Dough:
1/4 cup dairy free yogurt
3/4 cup dairy free milk
1 tbs apple cider vinegar
2 tsp vanilla extract
3 cups All-Purpose Flour
½ cup sugar
2 tbsp baking powder
¼ tsp salt
200g Fat
1 stick earth balance Unsalted baking stick (about ~110 g)
1 stick shortening (about ~90g)
Glaze:
1 cup powdered sugar
1 tbsp dairy free milk
½ tsp vanilla bean paste or extract
Method
Dough!
Preheat the oven to 400 degrees F.
Stir together yogurt, milk, apple cider vinegar, and vanilla extract in a measuring cup until it’s one mixture. Set aside for 10 minutes.
Measure and whisk together the flour, sugar, baking powder, and salt. Cut the butter and shortening into cubes - add to the flour mixture and use a pastry cutter or your fingers to break up the fat into the flour (I like to think of this as I’m squishing flour into the fat pieces). Continue until the flour looks like coarse sand.
Add the yogurt mixture to flour mixture and mix with your hands, prioritizing pulling the flour at the bowl’s bottom into the mix. Keep mixing until a rough dough forms; it’s okay if it’s still a little crumbly - that’s what we’re going for!
Flour your counter or board, and dump the dough out and lightly press it all together in one big round. With a rolling pin, roll it out until it’s anywhere from ½ to 1 inch thick (I prefer a thicker scone, so I’m always more on the 1-inch side)
Cut into eight wedges with a sharp knife and place on a baking sheet lined with parchment to bake for 13 minutes or until they’re golden brown. Cool for 15 minutes on the cookie sheet, and then lift the parchment over to a cooling rack for the next step (makes cleanup for the next part super easy).
Glaze!
Measure out the dairy free milk in a measuring cup and add the vanilla bean paste (this gives it those beautiful bean bits! But you can use extract). Add powdered sugar and whisk with a fork until the mixture is smooth. This tends to be a little runny, but you can play with the recipe to adjust powdered sugar or milk quantities to get the consistency right.
With a spoon, take a level spoonful of glaze and glaze each scone.
Allow the glaze to set, about an hour.
💯allergy free
Dough:
1/4 cup dairy free yogurt
3/4 cup dairy free milk
1 tbs apple cider vinegar
2 tsp vanilla extract
3 cups 1:1 or Cup for Cup Gluten Free Flour that contains xantha or guar gum (RiceFlour based blend preferred)
½ cup sugar
2 tbsp baking powder
¼ tsp salt
200g Fat
1 stick Earth Balance Unsalted baking stick (about ~110 g)
1 stick shortening (about ~90g)
Glaze:
1 cup powdered sugar
1 tbsp dairy free milk
½ tsp vanilla bean paste or extract
Method
Dough!
Preheat the oven to 400 degrees F.
Stir together yogurt, milk, apple cider vinegar, and vanilla extract in a measuring cup until it’s one mixture. Set aside for 10 minutes.
Measure and whisk together the flour, sugar, baking powder, and salt. Cut the butter and shortening into cubes - add to the flour mixture and use a pastry cutter or your fingers to break up the fat into the flour (I like to think of this as I’m squishing flour into the fat pieces). Continue until the flour looks like coarse sand.
Add the yogurt mixture to flour mixture and mix with your hands, prioritizing pulling the flour at the bowl’s bottom into the mix. Keep mixing until a rough dough forms; it’s okay if it’s still a little crumbly - that’s what we’re going for!
Flour your counter or board, and dump the dough out and lightly press it all together in one big round. With a rolling pin, roll it out until it’s anywhere from ½ to 1 inch thick (I prefer a thicker scone, so I’m always more on the 1-inch side)
Cut into eight wedges with a sharp knife and place on a baking sheet lined with parchment to bake for 13 minutes or until they’re golden brown. Cool for 15 minutes on the cookie sheet, and then lift the parchment over to a cooling rack for the next step (makes cleanup for the next part super easy).
Glaze!
Measure out the dairy free milk in a measuring cup and add the vanilla bean paste (this gives it those beautiful bean bits! But you can use extract). Add powdered sugar and whisk with a fork until the mixture is smooth. This tends to be a little runny, but you can play with the recipe to adjust powdered sugar or milk quantities to get the consistency right.
With a spoon, take a level spoonful of glaze and glaze each scone.
Allow the glaze to set, about an hour.